Friday, March 31, 2017

March Evaluation

This month I didn't do that much since spring break took up half the month.
I didn't learn that much either in the time I had. I would call it wasted potential.

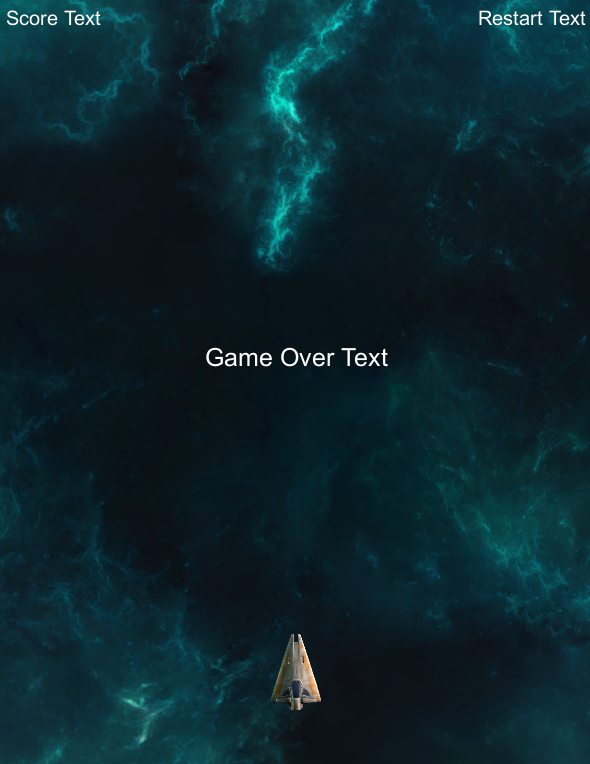
I finished my space shooter game within the first few days which can be found on this website here.

But after that the tutorial I started was a complete waste. Almost all the code and objects/environment in that tutorial were already pre-made and pre-written what they taught was just beginner stuff that I already knew. I would've liked to learn more but I didn't learn that much. I will still explain kinda what I did.

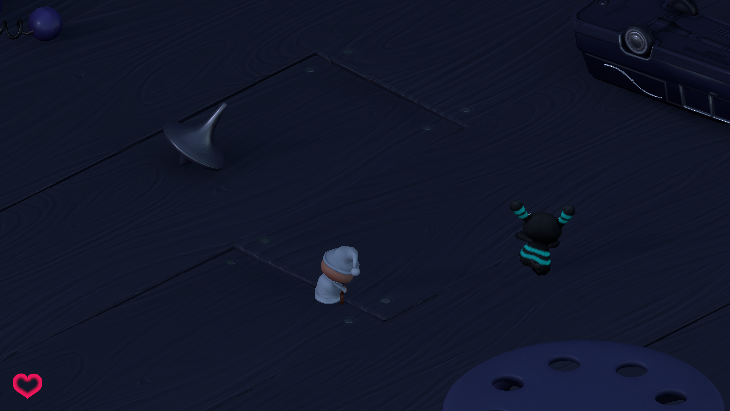
The point of the game was about a little boy that has a dream where his toys are coming to life and attacking him. 

I got up to the point of where I made the health bar and the zombie can attack you can can move around.

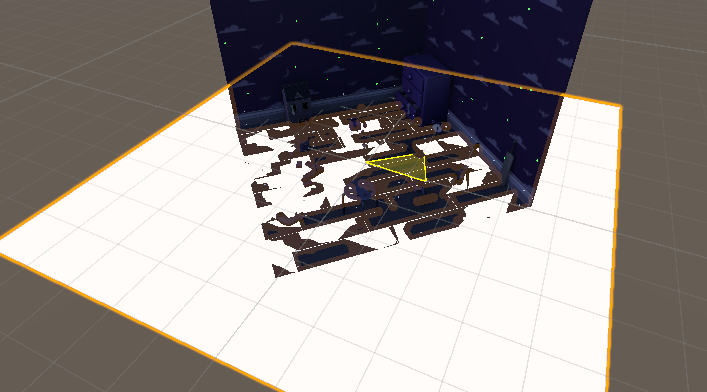
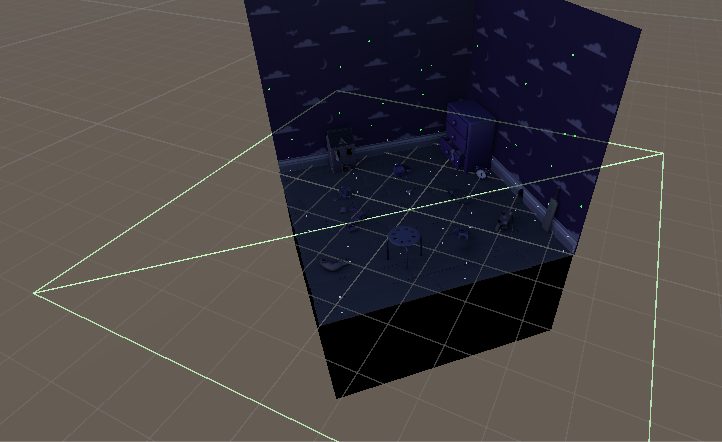
Here are some pics of my progress.
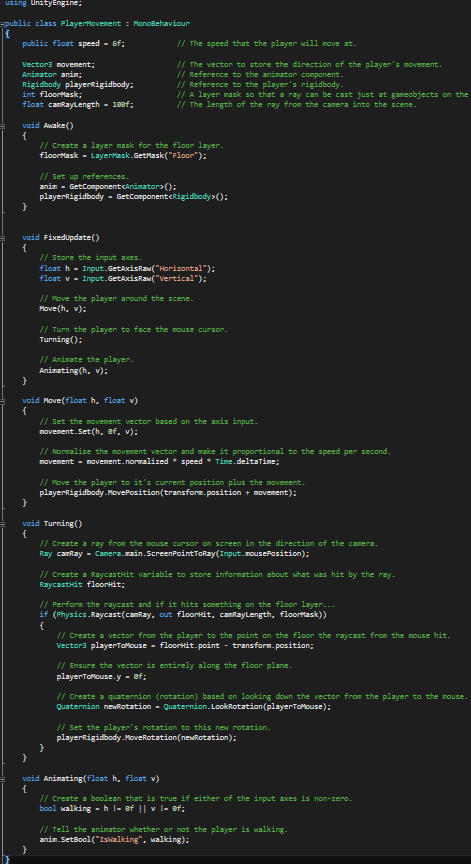
Player Movement

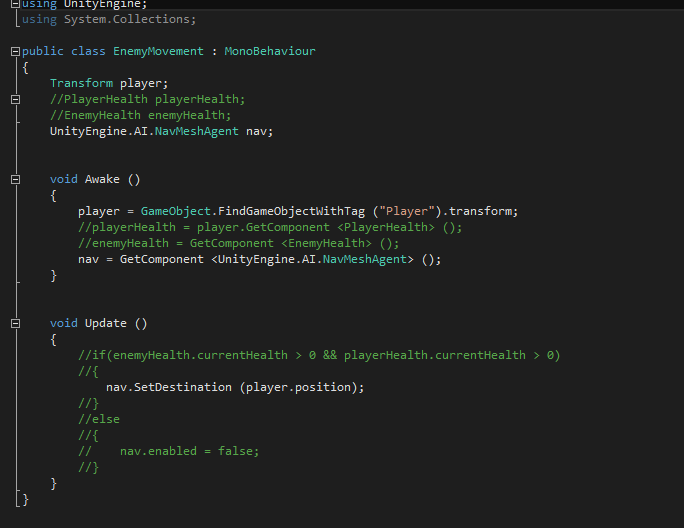
Zombunny following movement

Health Bar


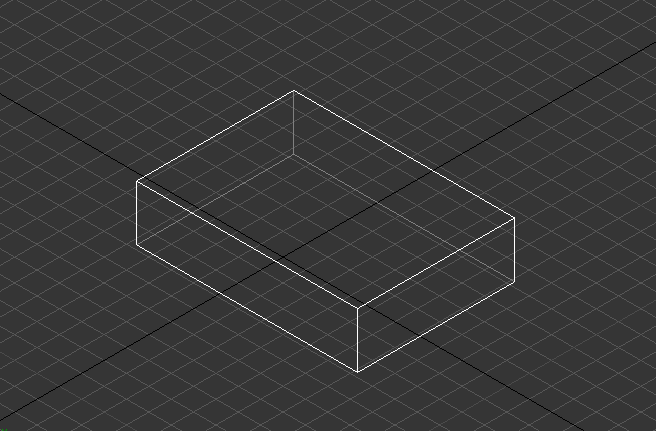
I hope I will learn more next month and it will be more productive. I have started working in 3dsmax which is really exiting because I've wanted to learn 3d modeling for the longest time.
Image result for 3ds max logo

See you next evaluation. Cheers :D

Day 27

Today I worked more in 3dsmax.

I watched this tutorial on how to make a pokeball.

I started off by making a basic sphere shape.
I then centered it right in the middle at coordinated 0,0,0
I pressed f3 and this made it kinda like rendered a color on the sphere. 

After this i went and changed the amount of segments there were on the sphere because they were too little. 

I then converted the sphere to an editable poly. What this does it it makes the program treat it like its an actual polygon and not to apply any sphere mathematics to it.

I then selected the middle parts of the sphere and deleted them.
Now what I had to do was make a hole in the middle of the sphere and to do this I used the shape of another object to remove this space. These are called boolean operators.

So I made a cylinder inside the sphere and made it pop out a bit
Now I made a boolean on the sphere and selected the "subract" option and made a hole in the sphere.


Unfortunately this is all I did today as I was trying to set up 3dsmax.

Tomorrow I will do my evaluation.

Wednesday, March 29, 2017

Day 26

Today I finally got to do something :D

I started some tutorial on how to use 3dsmax.

It looked super scary at first 0_0


So I started off by learning the UI of the program.

I noticed that the navigation and some of the program was really similar to Unity.

I watched a tutorial on youtube on the basic UI and what you can do with the program.

I found out that there are a lot of cool preset shapes already made and setting you could use.

I started off by making a cube

And then i selected 4 edges and used the chamfer tool to make it look like this


And then I learned that you should save each edit on an object by adding things called modifiers. (kinda like layers but theres no layers involved just the seperate changes)
I then used the "relax" tool to make it a bit smaller.

After this I made a cone and made it super pointy. Then I used the "relax" tool to make it a bit smaller and flat at the top.

I then learned about animating in this program.

The animation is very similar to photoshop. You use these things called keys that store information about that current point. Then you can use it to automatically transfer from one point to another over time. In this case I was using the "Melt" tool to make a transition from a melt point of 0 to a melt point of 100.
You can also do the same thing with movement. In this case I used the rectangularish box I made and use keys to move it from one place to another animating the whole way there.

Tomorrow I will be continuing the 3dsmax tutorials and will learn more.


Tuesday, March 28, 2017

Day 25

Today was the first day back from spring break and they wiped all the PC's over the break. So for the entire class I was resyncing my OneDrive, redownloading and installing Unity Engine and installing 3ds max again -_-. I helped out my classmates with their photoshop project for most of the class.

Friday, March 10, 2017

Day 24

Today I wanted to start how to do modeling with a program called 3dsmax.

I found out that you can get the whole program with a three year license free using my school.

So again I spent most of the class trying to download and didn't do anything

Heres a pic of the progress -_-

Last day before spring break hopefully all is good.

Next class when I come back I will start some 3dsmax tutorials.

Thursday, March 9, 2017

Day 23

Today I worked more on the zombie shooter game.

I changed the color of the bar and made it decrease every time I got hit until i reached 0.

So I made the value of the health bar 100 and we will modify this value through a script that will decrease  the length everytime the player health decreases.

Unfortunately the script was already premade by the people who made the tutorial so I didn't get to write it. So I put the script on the player and dragged all of the health slider on him. 

After this I personally modified some stuff that made the health bar look better because preciously health bar wouldn't be completely depleted when so I just added a line of code that made the health bar deactivate when the health is 0.

This is how it looks so far.

Tomorrow I'm thinking of starting something new and ditching this tutorial because I'm not really learning much by doing this.

Wednesday, March 8, 2017

Day 22

Today I continued the tutorial.

I made the UI the game. I made a health bar and a heart in the lower left corner.

I made a new canvas object and called it HUDCanvas. 
Then I made an empty child of that object called HealthUI. And inside that I made an image child called Heart. And I set the sprite image to a preset heart image that came with the asset pack that looks like this:
And then I had to move it around to the bottom left corner using anchors. Unity automatically has presets to the places on the canvas so I used that.

Now it looks like this:
Next up I had to make a slider that showed how much health you have. So I made a new slider object by doing UI>Slider and made it a child of HealthUI. Now what I did next was set up some numbers that were in the tutorial to make it look good and organized in the bottom left corner.

And now it looks like this:

After this I had to set up a way to make it obvious that the player has been hurt. So inside the HUDCanvas I made an image child and called it DamageImage and I set it to a white color and made it the entire canvas in length (so filling the whole screen). And then I set the alpha to white for now so that it made it invisible. I will work more on this tomorrow maybe

Tomorrow I will continue the tutorial.

Tuesday, March 7, 2017

Day 21

Today I continued the tutorial.

I worked a bit more on the camera and then I moved on to the enemy.

I worked on a simple code on the camera that made it follow the player wherever it went.
What this code does pretty much is it gets the distance between the player and camera and then makes the camera equal the players position + the offset so that it'll always be above the player. It then uses Vector.Lerp to add a sort of smoothing to the camera so that it's not so rough.

And now the camera follows the player. 

Now next up I needed to make the first enemy called Zombunny. The model and everything was already set up in the prefabs but I had to still set up the animation and the navmeshagent. So I set up the animation in a similar way to the player and made its default state the running mode. then I made a transition from running to idle to activate when the player dies. 
Now I had to work with the navmeshagent now. I added a new component to the zombunny called a navmeshagent. What a nav mesh agent does is it bakes a mesh based on your settings and allows the object to move on that area. It automatically finds the fastest route to the destination and it is called every frame. Now I had to make a little script that makes the zombunny always follow the player.

The script was already written but I could've wrote it myself.
Now the zombunny follows me.

Tomorrow I will continue the tutorial.

Monday, March 6, 2017

Day 20

Today I started a new tutorial right here.

It a game where a kid is having a nightmare about his toys coming to life and trying to kill him. And the player has to shoot all the zombie toys until he dies (you can't win the game sadly) :(.

I downloaded the asset pack for this tutorial and imported it in the game.

I imported the environment prefab and the lights into the scene which was already set up before hand in the asset pack.

Since the surface is rough I had to add a quad and scale it up so it fills the whole place with a bit of headroom around the map for when I use the ray cast.

Now that white everywhere looks kinda dumb so I had to disable the mesh renderer.

And now it has the border so you can see it but the mesh isn't rendered at all so it's invisible.

Now next what I did was add a player to the scene which was already set up in a prefabs and I reset his transform position.
Now I made an animator controller and put on on the player and opened it up in the animator.
Now I dragged the animations for the player inside and arranged them in a sort of way and made links between them XD

Now I made 2 parameters: one boolean called IsWalking, and trigger called Die. And inside the switch from Idle to Move I made it if isWalking is true and if isWalking is false, set it back to idle. Now i want it to be possible to die in any state so I made the any state transition to death is Die is true.

Now I made a code called PlayerMovement and started programming.

I added some variables, an awake function, a fixed update function, a move function and an Animating function.

It's would take a while to explain what I did but hopefully the comments will help you understand what I did. 
In layman terms I'm pretty much making the player move along the X and Z axis and shooting a ray down to the quad and makes the player face the position of the mouse on the quad.

After this I set up the camera in Unity above the player and pointing down a bit, then I made it an orthographic camera.

This is how the game looks so far.

Tomorrow I will be continuing the tutorial.

Friday, March 3, 2017

Day 19

Today I finished my game and built it.

I uploaded the file online.

I went into build settings and selected my scene.


I then clicked 'Build' and made a new folder in the root of the project called 'builds'. I then saved it and waited like 15 min for unity to build the game.

After the game was built i went on a website called itch.io which is pretty much a place where you can upload games for free. So I made an account and filled out some information. I then put the game files in a .zip folder and uploaded it on that website. Which can be found here.

I had a lot of fun making this game and I learned a lot. Unity looks very promising and I look forward to doing more cool things with it.

I still don't know what I'm gonna go tomorrow but it will most likely be another tutorial or my own thing, I don't know.

Thursday, March 2, 2017

Day 18

Today I continued the tutorial.

I made a way where the game ends when you die and you can press 'R' to restart.

I made 2 more GUITexts, one called Restart Text, and the other Game Over Text. I set Restart text in the top right corner and the game over text a bit over the center middle.

Now I had to script them to actually do something. So I opened up the GameController script and wrote some stuff. I added 2 new GUIText variables(restartText, gameOverText) and 2 boolean variables(restart, gameOver) that I will use. I will use the booleans to pretty much check if the game is in a game over state or a restart state etc. I then made a public method called GameOver() and in it I wrote what to display in a game over state, I made the gameOverText.text = "Game Over" and made the variable gameOver = true.
Inside the DestroyByContact script under the if tag == player, I call the GameOver() method by doing gameController.GameOver();. And this worked. :D


Now I had to make a way to restart the game without having to exit and close it. So I'm gonna make it so that you can restart after the wave has cleared off the screen.

Inside the Game Controller script, under the while loop just after yield return new I wrote my code. I wrote and if statement that said if gameOver is true to make the restartText.text = "Press 'R' to Restart", made the variable restart = true and wrote break; so the it breaks the while loop so more waves don't spawn. 

This is how it looks:

Tomorrow I will be continuing the tutorial and hopefully build the game and upload it online.

Wednesday, March 1, 2017

Day 17

Today I continued the tutorial.

I added sound effects and music and I added a score text at the top of the screen that displays your total score. Everytime you destroy an asteroid it adds an amount to your total score.

I grabbed the sounds from the asset pack and dragged the asteroid explosion sound into the actual asteroid explosion prefab. I then set the check to play on awake.


What this does is it plays the sound on the first frame as soon as the prefab is spawned (so whenever the asteroid is destroyed). I did the same thing for the player explosion: I added the sound file to the animation prefab.

But for the weapon fire sound effect it's not as easy. I attached the sound to the player object but I set play on awake off. I had to actually open up the player script and do the code audio.Play() in the if statement for left clicking to shoot. What this does is everytime I shoot it plays the sound that is attached to the object.

Unfortunately I can't let you hear the sounds as the blogger doesn't support sounds. But trust me the sounds are there :P

After I made the sounds, I started working on the score.

I made a new GUIText and named it Score Text. Then I opened up the game controller script and worked on the code. I made a public GUIText variable and a private score integer variable. Then I made a new private method called UpdateScore() and inside I wrote "scoreText.text = "Score: " + score;". After, I made a new public method called AddScore(int newScoreValue) and inside I made newScoreValue += score so that score would be updated, then I called UpdateScore() inside of the method.

But I'm not done yet. I have the go inside of the DestroyByContact script and add score everytime you destroy the asteroid. I made a new public integer variable called scoreValue and inside the OnTriggerEnter method I typed gameController.AddScore(scoreValue);. Now back in Unity I set the scoreValue to 10 so that it adds a score of ten everytime I destroy an asteroid. I then moved the GUIText to the top left of the screen and dragged it on the GameController script for the public GUIText.

Now I'm finally done :)

Tomorrow I will continue the tutorial.