Tuesday, February 28, 2017

February Evaluation

This month I have learned a lot.

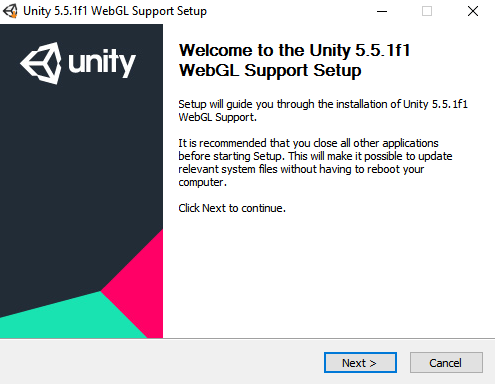
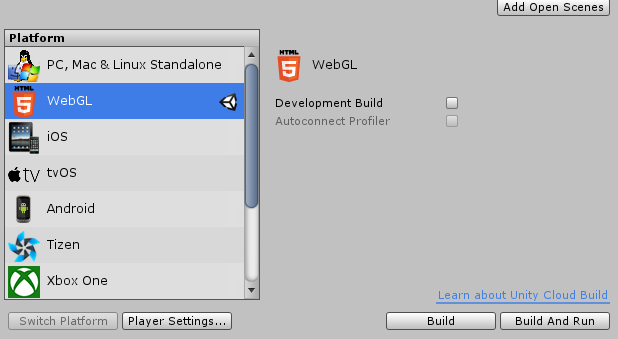
Starting Unity was a big deal for me and I am proud that I did.

Programming in C# is a completely different from programming in GML which is what I did last year. It is way more complicated and advanced but much more efficient, you can save a lot of typing.

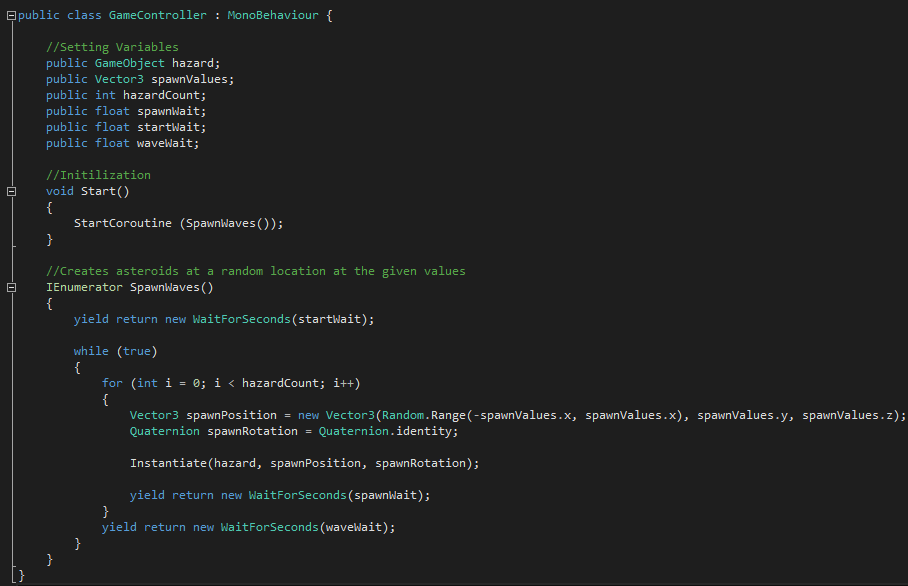
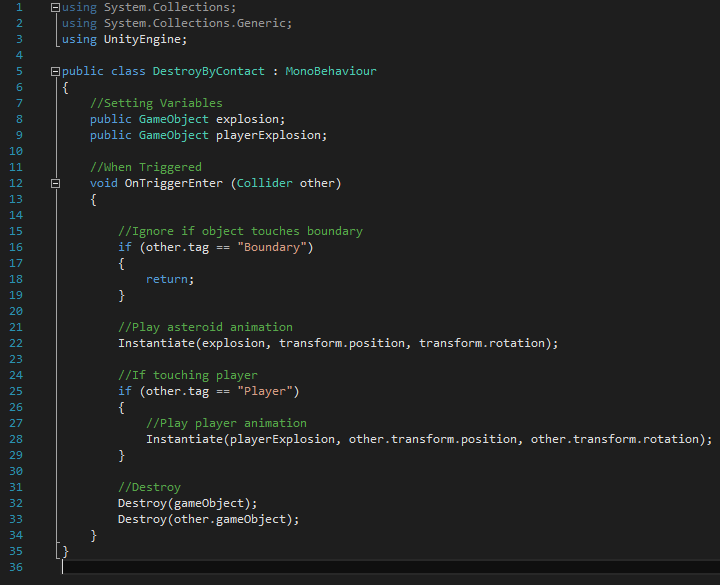
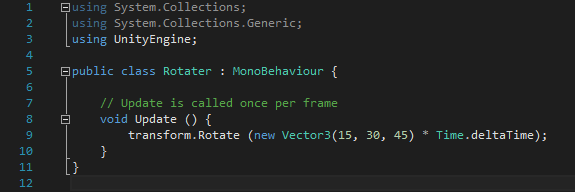
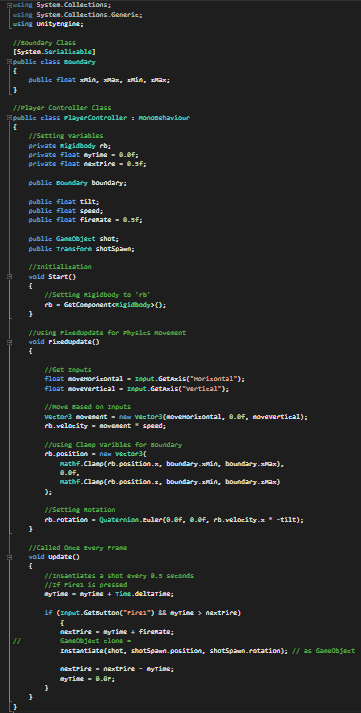
I have learned how to do a lot of stuff in C# from creating loops to working with method and using a lot of things in the Unity Engine in code. Such as Vector3's, Quaternions, Euler angles etc.

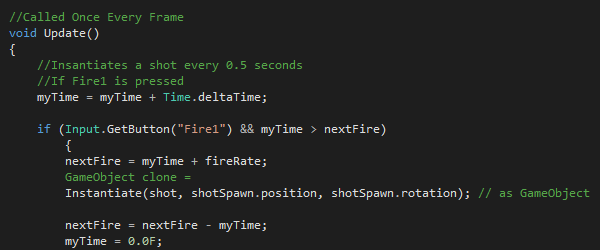
The entire movement code for the ship in my space shooter game that I'm working on


I also learned a lot of stuff inside of Unity itself. I already knew most of the basics but all the stuff that I didn't know is a lot. I learned how to do things like add components to game objects, make prefabs so that I could save time by editing all of the same object in the scene, using parent/child relationships etc. I won't go into detail because you could just scroll down a bit to find the answers but I have learned a lot :D.

This month I made 1 game, a scene and I'm currently working on another game. Even though the games seem very simple, they were kinda hard to make especially at my skill level.

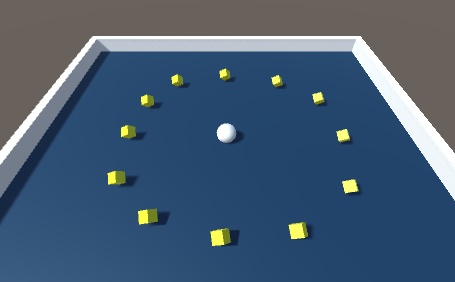
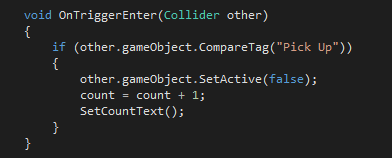
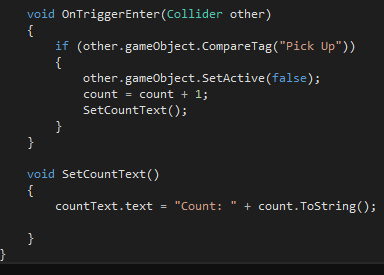
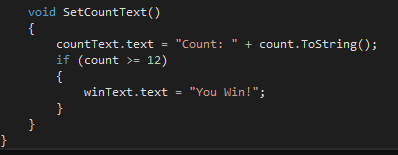
I made a game where you roll a ball around a plane to try to collect little cubes to win. You can download the game files here. You have to download both the .exe file and the game files. Then just launch the .exe file to play.

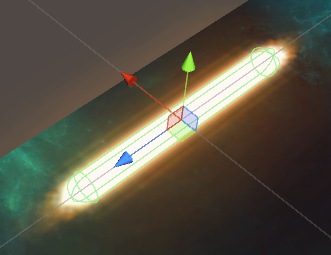
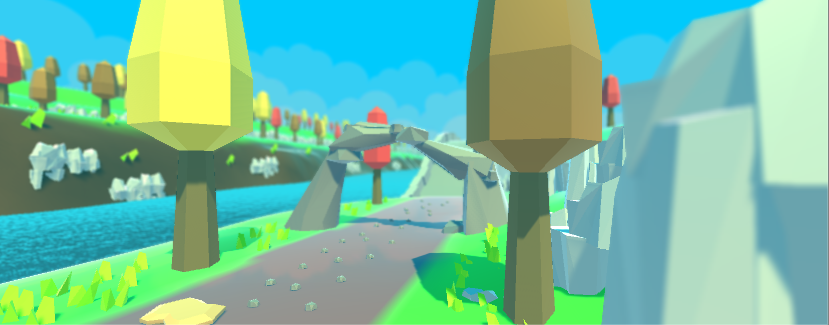
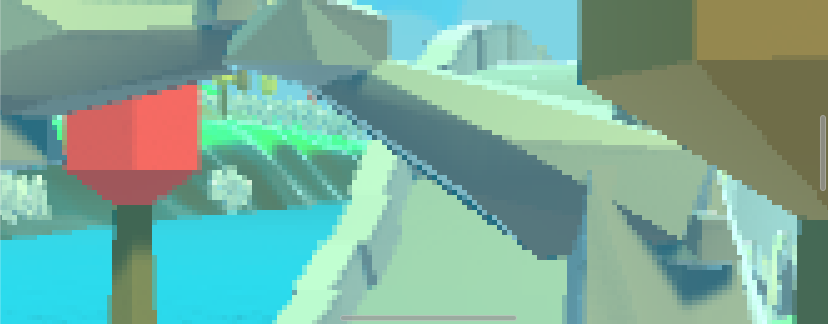
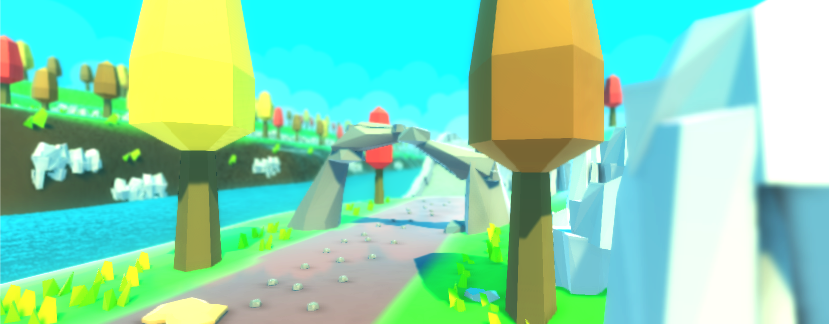
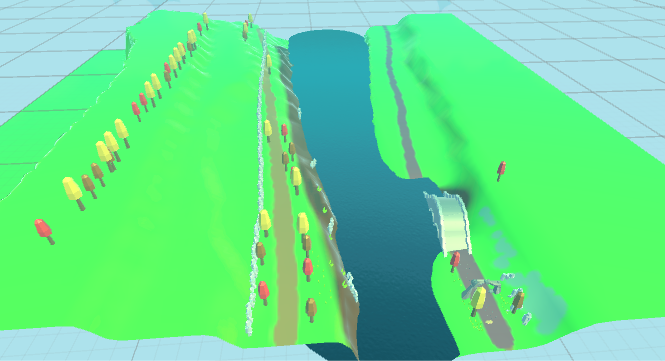
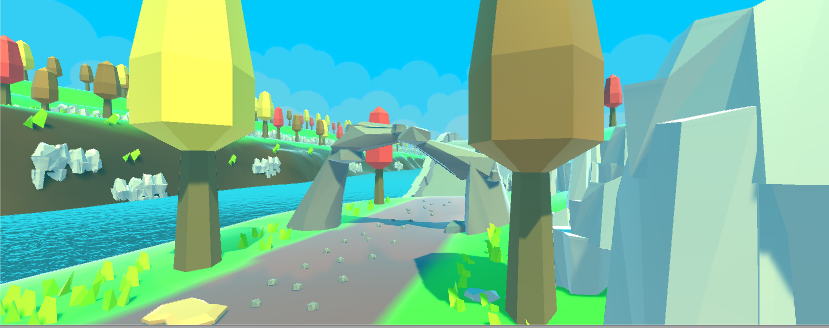
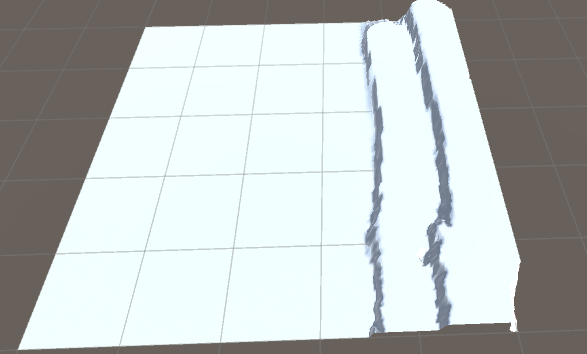
After that I worked on a little scene to try out my map making skills and it turned out pretty good :D.
You can download it here and see for yourself and just like above, you have to download both the .exe file and the game files. Then just launch the .exe file to play.

I will also be using onedrive as of now as I have more storage there.

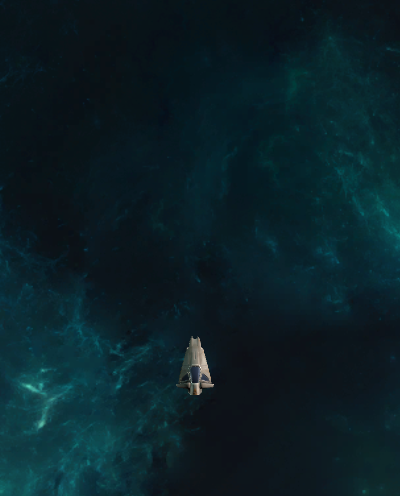
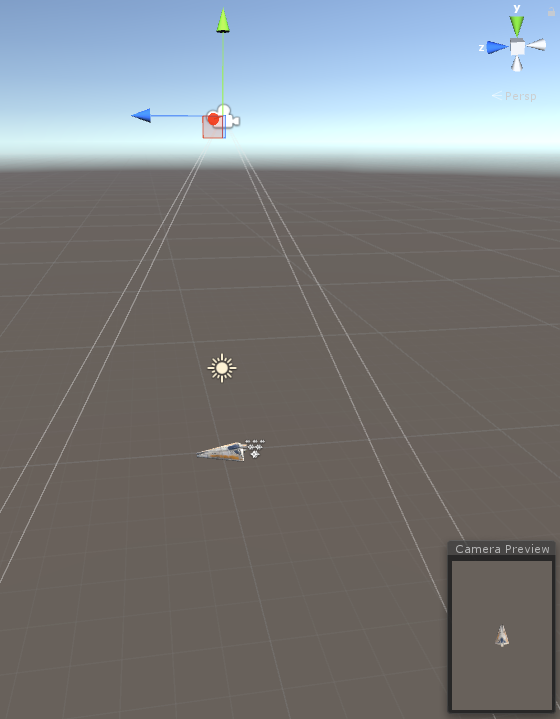
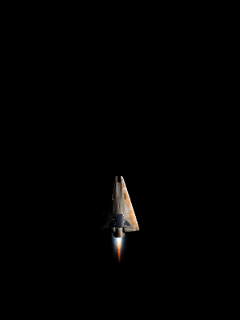
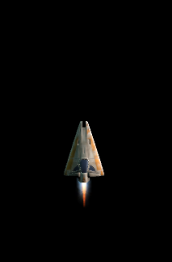
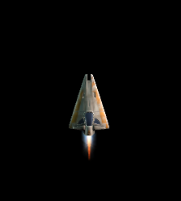
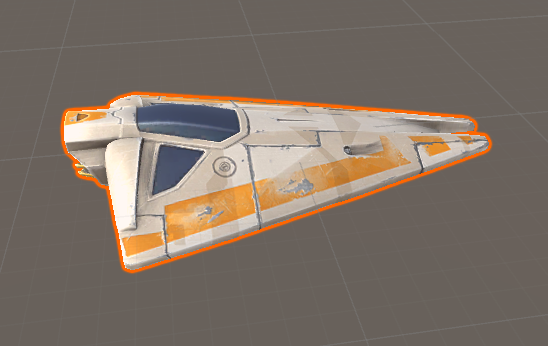
Now I am currently working on a space invaders kind of game where you're a spaceship flying in space trying to destroy everything in its path. I can't provide the download as I am not finished yet, but I will upload it next month's evaluation if I am hopefully done by then.

Next month I plan to finish this tutorial and maybe start a new one or work on my own game :D

I think I worked pretty hard this month and put in some effort but I think I could improve more next month.

I am excited to start a new month fresh and I'm looking forward with working more with Unity as it seems really promising; I have only uncovered just the surface of what I can do with the Unity Engine. Cheers! :D

Day 16

Today I continued my tutorial.

I made a way that the game would keep spawning waves of asteroids that never end until you die.

I started off by opening up 'GameController' which is the script I used for the spawning of the first asteroid and I modified it a bit.

I had to use something called a 'for' loop to keep creating asteroids until the criteria is met.
I made a public integer variable called hazardCount.

I did "for (int i = 0; i < hazardCount; i++) { //Asteroid spawning code}

What this does is it loops the create asteroid code as long as 'i' is smaller than 'hazardCount'. And it adds 1 to hazardCount every time it loops.

Now what this did was just make one big wave of 10 at once, what I want is to spawn a wave of 10 gradually then wait a few seconds and then spawn another wave.

So I wrapped the for loop in another loop called a 'while' loop. I said while (true) {//code here}.
Since the while loop is true it will always loop no matter what. Then I made a new public float variable called spawnWait. Now what I had to do is use 'Coroutines' as a way of pausing and resuming the loop. So inside the Start() method I typed "StartCoroutine (SpawnWaves());". I then had to make the SpawnWaves() method an 'IEnumerator' by changing 'void SpawnWaves()' to 'IEnumerator SpawnWaves()'. Then at the bottom of the while loop I add a 'yield return new WaitForSeconds(spawnWait)' that waits until the value of spawnWait in seconds is finished, then does the loop again until i = hazardCount. I set spawnWait to 0.5 so it waits 0.5 seconds before generating a new asteroid.

Now what I wanted to do was make it wait a certain amount of seconds in between each wave before it repeats the for loop. So I made a new public float called waveWait, and then after the for loop I added another  'yield return new WaitForSeconds()' but this time it was the value of waveWait. And I also wanted to wait a few seconds at the start of the game before the waves start spawning to prepare the player for the wave. I just did the same thing: made a public float 'startWait', and made a yield return you before the while loop.

This is the finished code:


Now I'm done and my waves are spawning nice and smoothly :D


Tomorrow I will be continuing the tutorial.


Day 15

Today I continued my tutorial.

Most of today is just scripting so there not many pictures to show.

I added an explosion system into my game so that whenever you shoot an asteroid it explodes, and when the player ship touches one they both explode.

I started off by making 2 public GameObject's and naming them explosion and playerExplosion.

And then I used the OnTriggerEnter method to make something went you enter the collider. So i set the name of the collider to 'other' and then proceeded to write my code.

Inside of OnTriggerEnter I made the asteroid be destroyed when in contact with a game object and then I made it instantiate an explosion at the transform.position and with the transform.rotation.

and then I did the same with the player, I made it destroy in contact with a game object and then I made it instantiate an explosion at other.transform.position with the other.transform.rotation.

What this did is cause a problem, whenever I would spawn in the game the explosions would happen as soon as it starts and the asteroid and players would disappear. What I had to figure out is what the asteroid and player were colliding with to cause this

So I used the Debug.Log() command which writes whatever you give it inside Unity's personal console, So i set Debug.Log() to display the name of 'other'.

What it turned out to be was that sneaky boundary we set a few days ago. Since the boundary is covering the play area it makes contact as soon as the game spawn causing the boundary to be destroyed taking the player and asteroid with it too.

So the way to approach this problem was by making a the objects have tags and choosing which ones to ignore and which ones to collide with.

I made a new tag for boundary and set it to 'boundary'. And I also made one for the player and set it to 'player'.
Now what I did was made an "if" statement and said if other.tag == boundary { return; }.
What return does is it makes it return back to the top of the method until it activates something else.

And I used the same if statement with player instead of the boundary and instantiated the explosion in that if statement.

This is the entire code:


This is what game looks like now:

Tomorrow I will be continuing my tutorial.

Thursday, February 23, 2017

Day 14

Today I continued the tutorial.

I made an asteroid object that has a random rotation, has a continuous forward movement and spawns somewhere randomly on the top of the screen.

I started off by importing the object from the asset pack and placing it about 8 units across the Z axis. I then made an empty game object, named it "Astroid" and put the model inside the game object.

Now what I had to do was program a sort of rotation to the asteroid so it gives it a realistic effect.
So I made a new script and named it "RandomRotator" and opened it up in Visual Studio.

What I did program the rotation was I made the Rigidbody's angular velocity = to a random point inside a sphere with a radius a 1. This code was rb.angularVelocity = random.insideUnitSphere but that makes the rotation too slow. So I made a public variable called "tumble" set it 5 and multiplied the rotation code by tumble.

This is how it looks so far.

Now I had to add a constant forward movement as soon as it spawns so to do that I made a public variable called speed. I then made the Rigidbody's velocity equal to transform.forward which adds a forward movement. I then multiplied that by speed so it's not too slow. 

Now when I place the object in the game it has a forward movement.

Now the last thing I had to do was add a game object that randomly places the asteroid randomly randomly on the top of the screen.
This code was a bit harder to do but i'll try to explain it as simple as possible. What I did was I made a public Vector3 variable named spawnValues. I then made a method called SpawnWaves() and inside it I typed the code. I made a Vector3 called spawnPosition and made it equal to a new Vector3 with the values of a Random range of spawnValues.x and -spawnValues.x, spawnValues.y and spawnValues.z. I then made it have no spawn rotation and aligned with the world axis by using the code Quaternion spawnRotation = Quaternion.Identity. And lastly I had to actually Instantiate it, so I made a public gameObject variable and named it hazard and then I used the code Instantiate(hazard, spawnPosition, spawnRotation). Now I gave the spawnValues some values to make it randomly appear on the top of the screen and it works :D

Tomorrow I will be continuing the tutorial.

Wednesday, February 22, 2017

Day 13

Today I will be continuing the tutorial by giving the ability to shoot to the player/ship.


I created a new material and named it fx_lazer_orange. And I added a texture that was inside the asset pack on it. And now i have a material for the shot.

I then made an empty game object and called it "Bolt" and as a child of this object I made a Quad and called it "VFX".

I added the texture on top of the quad but there was this black around it. So to fix this I had to set the shader to Paticles > Additive. And now the bullet is bright and has a nice transparent background.


My next step was to add a collider on it so that when it hits something it would disappear. So I got rid of the current mesh renderer that was on it and I put a Capsule Collider on it. I modified its height and length and now the capsule wraps around the bullet.

(The green cylinder that's inside the bullet) 


After this I had to make the code the makes it move. So I made a new script and called it 'mover'

And the code to make it have a constant motion was pretty simple.
It took one line of code:
rb.velocity = transform.forward * speed;

So the velocity is the transform with forward motion on the z axis multiplied by speed.

Now that was pretty simple and now I have a constant motion as soon as it spawn. But how do I make it shoot from the front of the ship?

What I had to do was make an empty game object and call it "Shot Spawn" and place is as a child of the player so that the shot spawn position is always relative to the position of the player ship. 

I then proceeded to edit the playercontroller script.

I made a few new variables called myTime, nextFire and fireRate. In the update function I made myTime + Time.deltaTime and made it so that I can only fire if the myTime is larger than the nextFire (which was set 0.5 seconds). So I could only fire every 0.5 seconds. And I made an if statement and made the shot instantiate (clone) at the position of Shot Spawn. Very simple code that works. 

This is how it turned out.


Tomorrow I will be continuing my tutorial.

Tuesday, February 21, 2017

Day 12

Today I will be continuing my tutorial of the space shooter game.

 I added a background in my game.

I made a new object called a "Quad" and removed the mesh collider component from it.

Inside one of the assets folder there is a background picture. I will be using this


So I dragged this texture onto the Quad and it automatically turns it into a material.
So now I had to scale it to fit the entire game screen. So I looked at the resolution of the original image and saw that it's about a 2:1 aspect ratio. So when I scale the Y should always be twice as much as the X value. I ended up with a 15:30 scale ratio at the end and it covered my screen.

Now the background looked very washed out and grey and this is because with Unity 5 the shader is automatically set to standard and the light shining on the texture makes it looks weird. So I had to make a way so that light doesn't shine on the texture, I went to unlit > Texture and it made it look nice and solid. 

Now when I went back to game view and looked at the ship it looked kind of off,


And this is because part of the background was covering the bottom and front of the ship (kinda like floating on water). So to fix this I moved the background's Y axis to -10 and it looks fine now.


After I finished the background I worked on the movement code. I made the ship move and also set a boundary on where he can go up to. I did a lot of code and it will be hard to explain everything so I'll just explain what I learned.

I learned how to use the RigidBody Velocity feature to move the ship left right forward and backward.

I learned how to use Mathf.Clamp to set a boundary where the player can't exit.

I learned how to use the RigidBody Rotation feature to tilt the player ship a bit left or right depending on velocity direction.

This is how it looks so far:


Tomorrow I will be continuing the tutorial.

Monday, February 20, 2017

Day 11


Today I continued my tutorial.

I worked on the camera angles and lighting in the game.

I started off by re-positioning the camera to the top of the player.


I then moved the camera a bit forward to make the ship appear at the bottom of the screen.
After that I made the background of the game black and I will change it later to the background that came with the asset pack.
I then proceeded to add lights to the ship.

I added a light and called it "Main Light" and made it shine on the right side of the ship and I changed the Intensity to 0.5.

But the right side of the ship looks a bit too dark so I had to add another light on the side called a "Fill Light". I made it shine on the right side of the ship and gave it a blue tint with an intensity of 1.0.


Now I had to add a little light around the rim of the ship so I made a light and called it "Rim Light". I moved the light to shine from the bottom up on the ship and gave it an intensity of 0.5. This in turn gave the rim of the ship a little bit of light.


This is all I did this class because it was a short class.

Tomorrow I will be continuing the tutorial.

Friday, February 17, 2017

Day 10

Today I worked more on the game that I'm making through a tutorial.

I renamed the ship model to "player"
Then I applied a rigidbody component to the player object by doing 
Add Component > Physics > Rigidbody

And then I had to add some sort of a collider to the player. So I originally added a capsule collider that is like a cage that you can shape around the player and it is very performance friendly but not as accurate. So I deleted that and added a Mesh Collider which automatically takes the models mesh and turns it into a collider. The mesh was very accurate but performance heavy so I used a premade mesh and dragged it to the mesh collider and it replaced the current mesh.

I then check off the "Convex" box and hid the mesh renderer so now I can see the collider.
Then I added the ship engines to the ship and it's pretty much two particles that appear at the back of the ship to give the illusion that it has an engine.

From the side it looks a bit weird
But from the top it looks fine :)


Tomorrow I will be continuing the tutorial.

Thursday, February 16, 2017

Day 9


Today I started a new tutorial from Unity called Space Shooter. Here

The Tutorial started off by laying down the basic environment and things.
I downloaded the asset pack from the unity asset store and imported them into the project.

I then proceeded to change the build settings of the project to make it build in a "web player". But it turns out this tutorial is a bit outdated and Unity does not have a "web player" setting to it, it only had something called "WebGL". So I had to download and install it.


And now I had the option inside the build settings.

So I did that and then proceeded to change the resolution of the game to 600x900 to make it long-wise.


And lastly I added the model inside of the scene from the asset pack.


Tomorrow I will be continuing the tutorial.

Wednesday, February 15, 2017

Day 8


Today I finished off my little scene I started 2 classes ago.

I added some effects to polish the game up and make it look nice and clean.

I started off by adding a depth of field effect to make the rock beside my face blurry so that it looks like a camera lens. I modified it a bit and this is the result.


Then I added an anti-aliasing effect which pretty much smoothens the edges of an object by adding some pixels around it to fill in the gaps. In this scene I used Supersamlpling Anti-Aliasing (SSAA).

Whitout SSAA:
 

With SSAA:

It makes a huge difference.

I then proceeded to add some lighting effect like ambient occlusion, bloom and flares, color correction, and some light blue fog in the background.

This is the result:
 
but its still not done

I decided to add some particles to add some movement to the scene so i downloaded "Sky FX" from the asset store. And placed them ( I had to remove some random lights from them and now i'm done.

Wow the quality sucks 0_0 But trust me it looks way better

I will probably start making an actual game in the upcoming classes.

Day 7

Today I worked more on my scene that I started last class.

Unfortunately I forgot to take picture of my progress. But I'll try to explain them as best as I can.

The point of this is to try to use only as many objects as I need to use because the camera won't be moving. So I only need to fill in the gaps on the camera everything else I will leave empty.

I put the camera in the bottom right corner of the path.

I then started placing the trees down and some rocks. With the rocks, I started combining them together to make new rocks all together and make them unique. I then started placing the rocks down around the sides of the path and some smaller pebbles on the path too. I also added a bride in that gap.
I did most of these things on both sides and also started placing some on the edges.

I got the water that came with Unity and started placing it in that big empty space to make a sort of river it looks pretty cool.

Scene View:

Camera/Game View:

You can see the difference... It looks way more designed than it acually is on the camera/game view :O

Tomorrow I will be polishing the scene and adding some cool effects :D

Day 6

Today I started a new project

I wanted to make a scene where you don't move and just kinda watch the environment around you.

I got the inspiration from this video.

So I started off by making a terrain and raising its height a bit to make mountain-side trail sort of
Then I went and started making some tiles that I could use to paint the terrain. I made the grass, dirt, path and rocks.


I added another hill beside the last one and I painted the terrain green and the added some other colors around to make it look cool.

That's all I did today for I was still trying to understand how the terrain feature works

Tomorrow I will be working more on my scene.

Wednesday, February 8, 2017

Day 5

Today I will be hopefully finishing my game that I started.

I started off by making a cube, naming it "Pickup" and resetting its x,y,z coordinates to (0,0,0).

Then I raised its Y-axis by 0.5 so that it sits on top of the plane and scaled it to 0.5 so it looks a bit smaller. Then I tilted to angle of the to 45 degrees in all angles.

But this still wasn't enought

I had to make it catch the players eye when looking at it. So I decided to add a spin to it (like a literal spinning cube).

So I made a new script and called it rotater and started coding in it. 

The code was easy to do. This is it:


And this made it spin

:D

After I found out about something called a "prefab" which is pretty much like a blueprint for the object and store all its information and child objects in one file. So to make a prefab you drag the object to the project tab and it automatically makes a prefab. I then got the cube and started duplicating it with CTRL + D and placing it around the plane 12 times like the numbers on a clock. Then using the prefab I made, I can change all a the cube's properties at once by using prefabs. So I colored all the cubes yellow to make them stand out.


And now what I needed to do is make them disappear on contact with the player. 

So I coded it by making a "trigger" that activates when you touch it. And activated some things in the cube's box collider component.
This was my code:


So now it picks them up when I touch it.


Now I had to add a counter that counts how many I have collected and show it at the top of the screen.
So I made a new text object and it automatically puts it in this thing called a 'canvas' which is pretty much what it's called. You can move things like text and images inside the canvas and it moves it automatically on the game screen. So I renamed the text to "Count Text" and made it in the upper left corner of the screen

.
Now i had to go and script. I made a variable called count and made it equal 0. And now i set it that when you collide with the cube "count = count + 1" (adds one to count). Then I made a whole new function, called it SetCountText() and defined it with what the text will say "countText.text = "Count: " + count.ToString();".

Then I called this function inside the trigger function. This is the code.


And now it counts the points :D


Now the last thing I had to do was a text that popped up when you collect all the pickups. So I made a new text, called it "Win Text", placed it a bit above center, and made an if statement in the code that made it show up when you collect all the pickup objects.


Now the game is finished! :D

Tomorrow I might start a new tutorial.