Sunday, April 30, 2017

April Evaluation

This month was a month of 3D modeling and I learned a lot.

The reason I started 3D modeling was so I can learn how to model stuff for unity and 3d modeling is actually a fun thing in itself and I didn't think it would be this fun.

This month I worked on 2 projects in 3ds max. A pokeball, and a detailed realistic coca cola glass. 

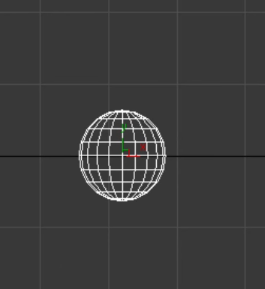
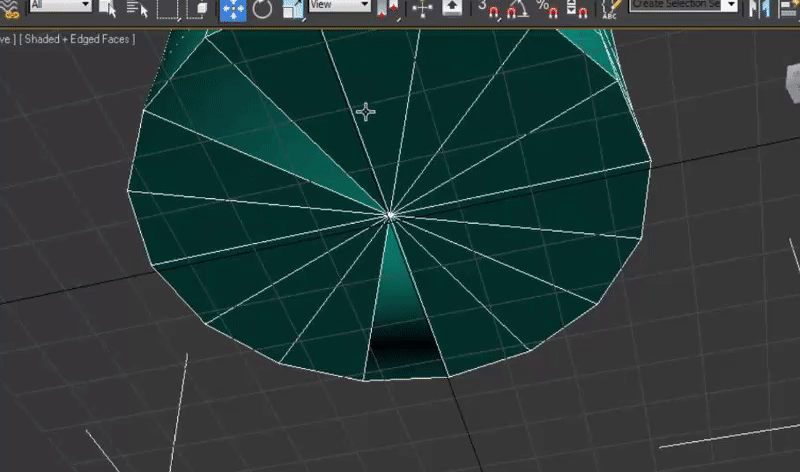
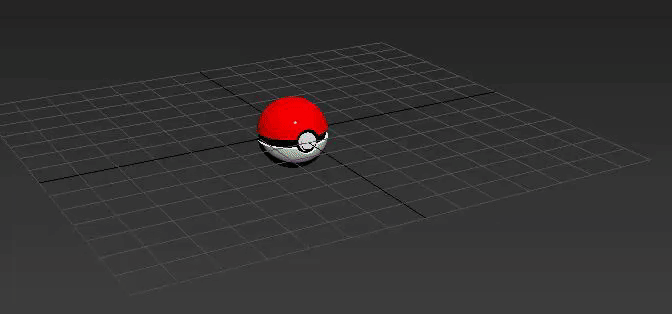
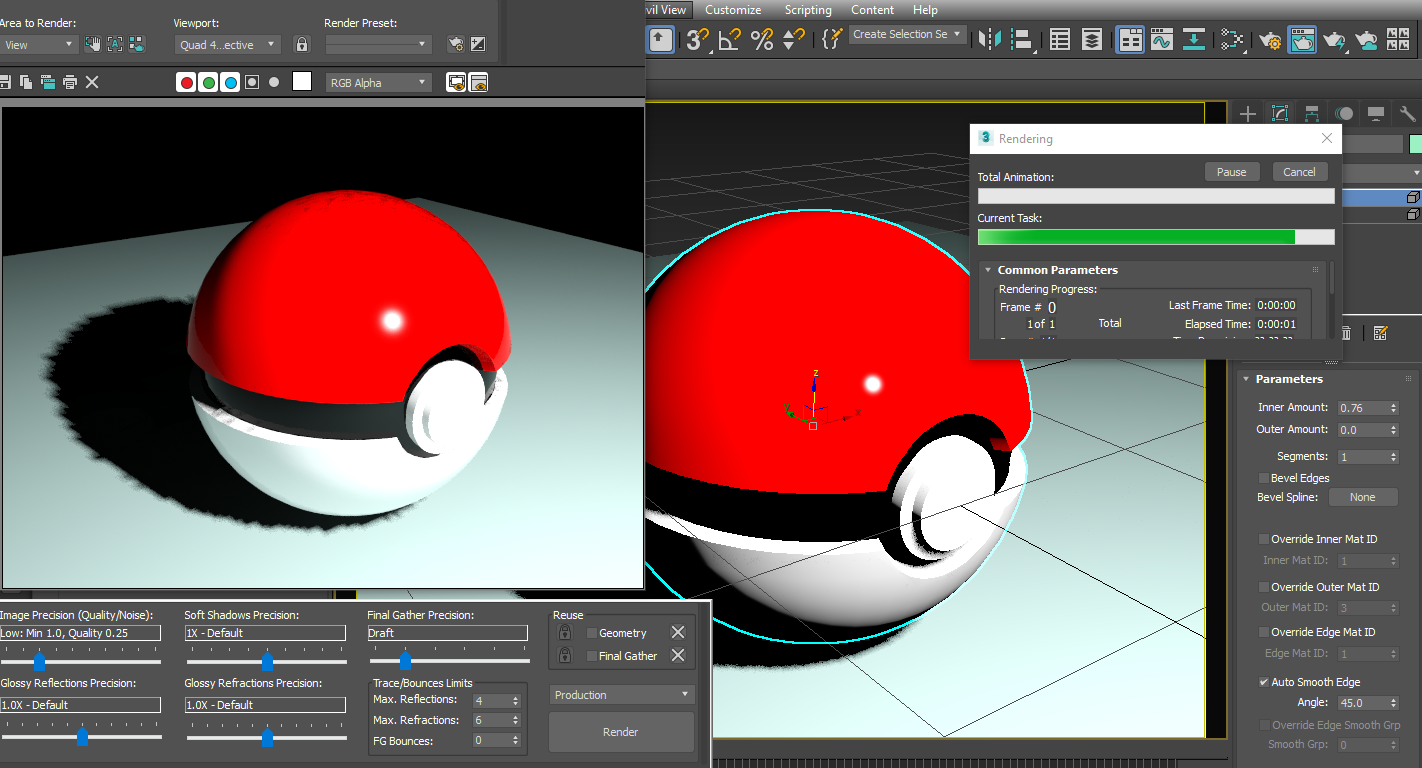
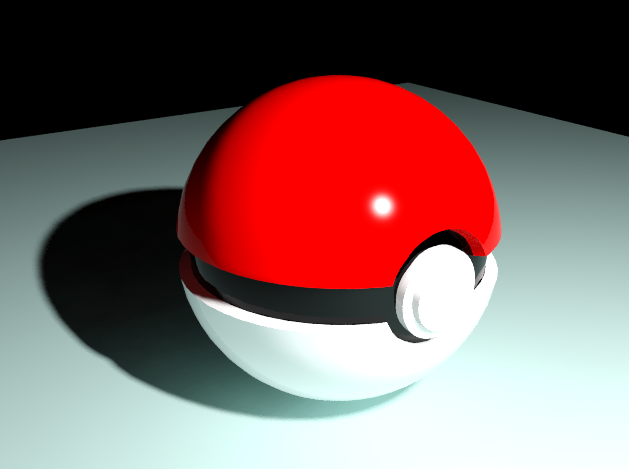
The pokeball was a fairly easy project to do as it was meant for beginners and I learned the basics through that tutorial. I learned how to make object and just overall basics like booleans etc.

This is the finished product:
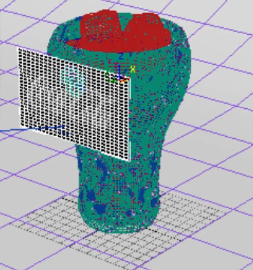
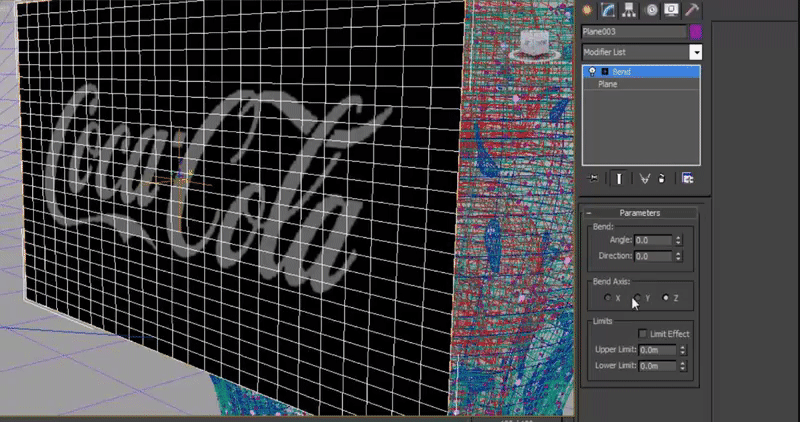
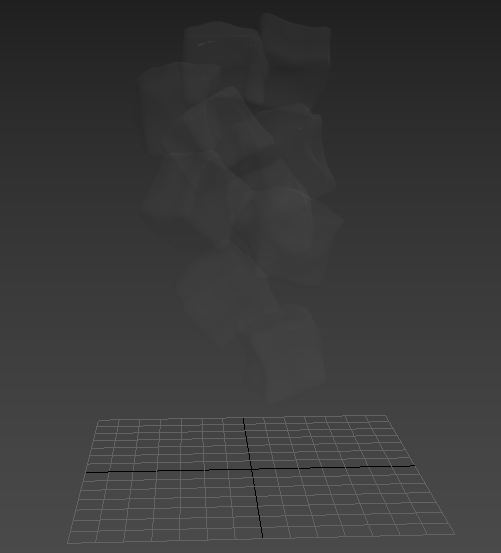
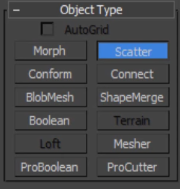
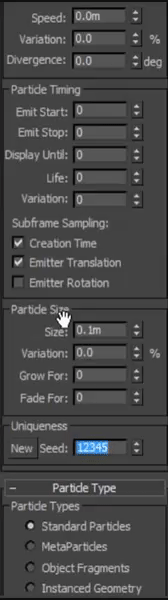
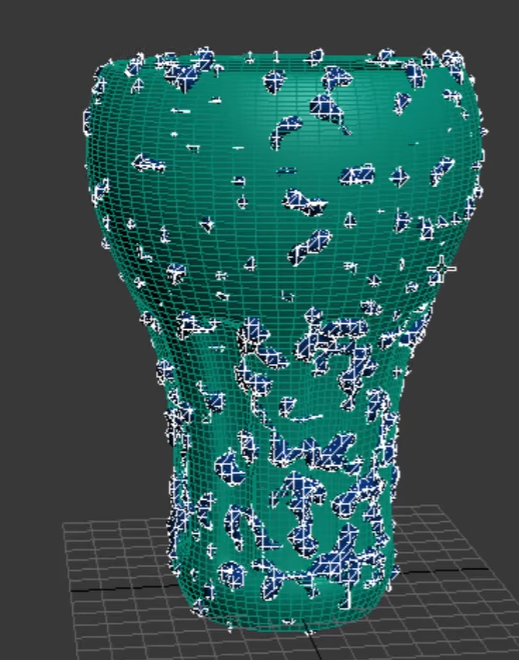
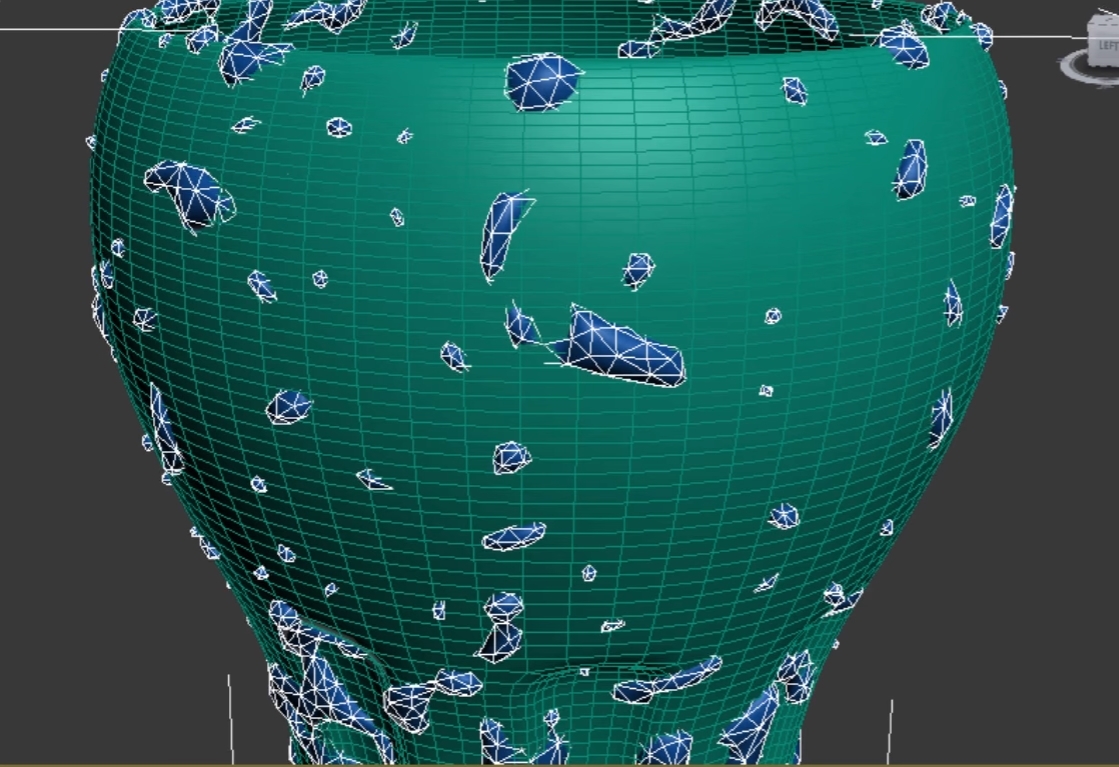
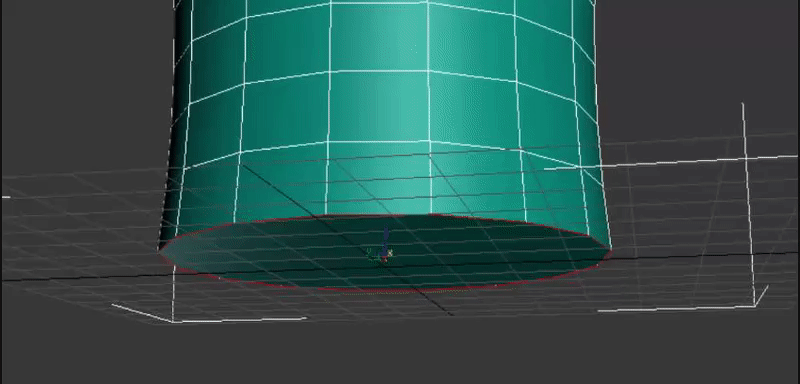
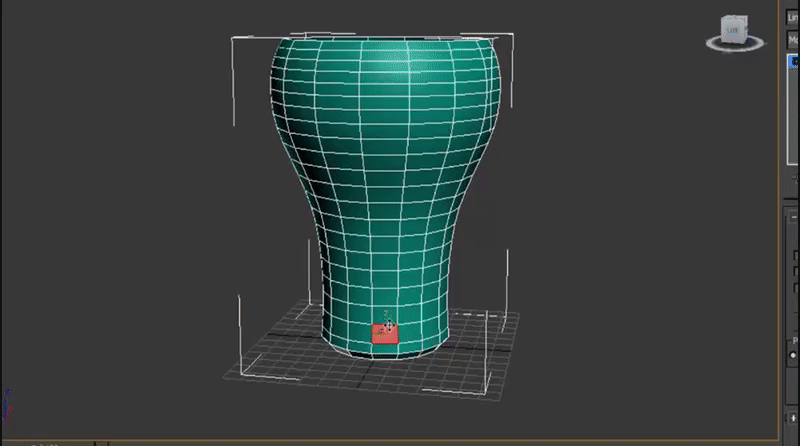
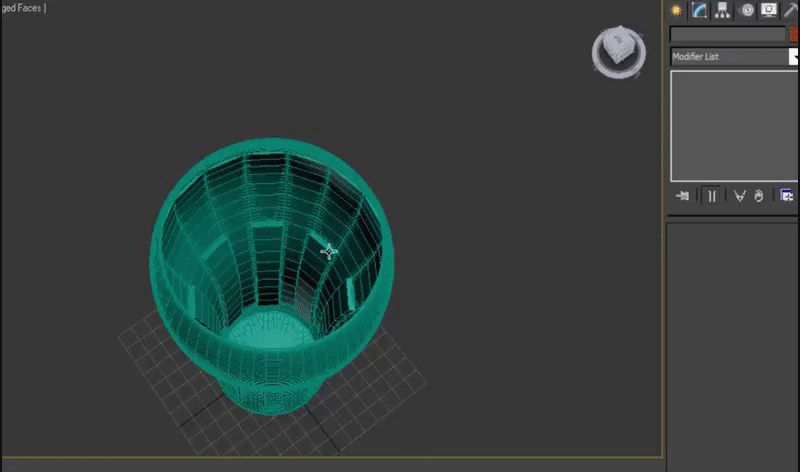
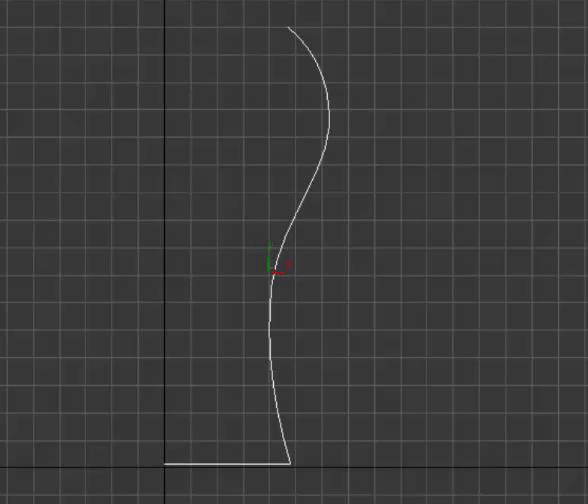
The coca cola glass was a really challenging model to do but I followed a tutorial which helped me through the journey. In this project I learned more advanced tools like using particle systems and the 
FX system which was pretty cool.

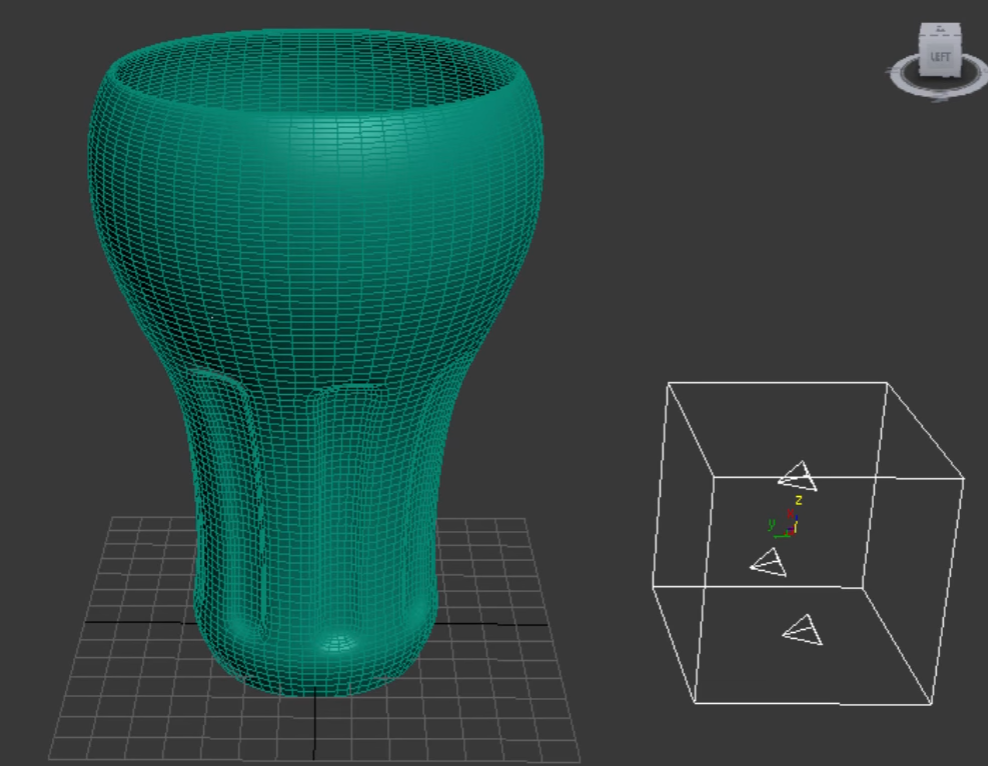
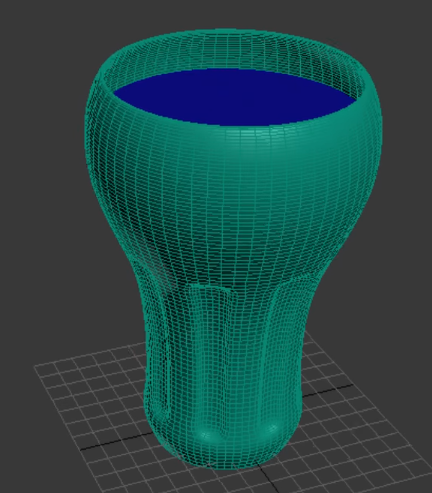
Here is my finished glass of coke:

Although it doesn't look as good as the one in the actual video, I'm still a beginner and for me I am happy of how it turned out :D

Next month I will try to make some 3d models and actually implement them in unity and add then to my games which will be super cool. I'm thinking of starting off to make a sword without using tutorials and only when I need them. :D

3DS Max is a really amazing program to work with for making models for games, architecture etc.
I recommend this program to beginner 3d modelers to start with. :D


Day 39

Today I fixed the scene, added the coca cola logo, and re rendered the whole scene.

I fixed the scene by moving the curvature up a bit which looks almost exactly the same but it works.

Now how I made the logo was easy.

I made a small plane to the right side of the scene


And then I applied the coca cola material I made before with the image.

I then moved it into the center and on the coca cola glass right to the end 

After this I applied a Bend modifier to it and bent it backwards a little bit until it touched the glass.

Now even tho I applied the bend modifier, the top parts still weren't touching. So to fix this I had to a FFD 4x4x4 modifier (free form deformation with the diameters 4x4x4) and I went and moved the vertices around until everything was touching.

Now I'm FINALLY done the coca cola glass. Now it is time to do a final render :DDDD
This is what it looks like before the render:

And this is the finished and final form of this 3d coca cola glass:

That took a long time :D 
This was a very fun experience and I learned a lot by doing this tutorial.

Next class I write the April evaluation and  will start a new project hopefully. :D

Day 38

Today I made my materials and scene for the coca cola glass.

This time I used the older standard material editor (also called compact material editor) which I find easier to use preferably than the "slate material editor" that I with the pokeball.

So I followed the settings in the video and here are screenshots from my project

Glass Material

Ice Cube Material

Coca Cola Liquid

Coca Cola Logo
Now I went ahead an applied them to the preferred objects.

Oh No! Everything is invisible.....For Now 😏
As soon as we get the scene set up and everything and render it, it wont look invisible in the render.

Now next thing I had to do was download a cracked version of Vray for the render. Vray is like a rendering program that is meant for rendering to look like real life. It normally costs a lot of money but with the power of cracking...it's free lol.

So that took a bit to install but now i'm ready to set up my scene.

I added this thing called a Vray Plane and a normal plane under that curves upwards behind the glass so the light reflects off it. Then I added 3 Vray Lights pointing at different angles across the scene and a physCamera so that when it renders it renders it from the camera perspective.

This is how it looks at the end.


After this I changed some render settings as shown in the video.


Now I'm ready to render it :DDDD
So I went home at lunch and actually started rendering this on my PC at home.

It only took 3 hours but this is the result:

About halfway through I forgot something.. And that was the coca cola logo.....
And also the ground looks really weird for some reason and I think I know why which I will fix next class.

So tomorrow I will put on the coca cola logo and fix the scene.

Day 37

Today I worked more on the Coca Cola glass.

I finished the Ice cube step.

I duplicated the top cube by holding down shift and moving it upwards and then I made 10 instance (always has the same properties as the original even if you change it) duplicates of it. 


Now after this I opened the "Mass FX" menu which allows me to add effects to the objects. Such as apply gravity and physics to the objects and then play it out to see how it turns out
After this I changed around in the Mass FX settings to make it so that the collision was right. I made the collision mesh original on the ice cube and made the shell static.

And then I played it to see how it turned out.
After this I converted all the ice cubes into editable poly's and deleted all the extras that fell around the side.
After this I isolated the ice cubes and used the "attach" tool to attach them all together into one object.

This is how the finished coca cola glass looks.


Tomorrow I will make the material and the scene and hopefully finish it within the next 2 classes or so.

Day 36

Today I continued working on the coca cola glass.

I made the ice cubes today that I will add to the glass tomorrow

So I made a cube beside the glass and converted it to an editable poly


After this I moved the vertices around to my preference until it looks sorta like an ice cube.


Now this is how it looks:

After this I proceeded to move it above and on top the cup.

This is all I did today (not a lot I know) but I will finished the Ice cube step tomorrow hopefully.

Day 35

Today I continued working on my coca cola glass.

I made some spheres and put them on the glass to make it look like there is fizz on the inside.

What I did was I made a sphere beside the glass and converted it to an editable poly

I then move some vertices in to make it look more like a half circle/sphere so that it can sit on the edge on the glass.

After this I used the "scatter" tool and selected the outside glass.

I then checked off the "random faces" tool to make the object scatter on a random face on the glass. I then scaled down the sphere and made 5000 duplicates in random faces all over the glass.
And this is how it looks now


Tomorrow I will be working with the Ice Cubes

Day 34

Today I continued work on my coca cola glass

I worked on the water drops that sit on the outside of the glass.

I made a new particle system called "PArray" and set the target object as the outside glass.
Now next I changed the specific setting to match what this would be. It places a certain amount of particles on the target object in a random order and you can set how it looks and stuff to make it looks like actual water drops.


Now it looks like this 


Next what I did was use the snapshot tool to make a few duplicates of the of the particles which in turn made them look more rounded and have rounded edges and overall looks very nice.
Now since there were many particles and many polygons and each one, it is really laggy and slow and would take a long time to render.

So I used the pro-optimizer modifier which does what it says, It optimizes all the pieces of the object by getting rid of a few poly's and making it a bit more rough/jagged but doesn't look too bad.
I then used the "relax" modifier to like not make it pop out as much.
After this i used the "turbosmooth" modifier on the water drops to make it more smooth.

This is all I did today

Tomorrow I will continue my project.

Day 33

Today I continued the coco glass that I started last class.

I finished the basic 3d model of the glass today.

I started off by using the chamfer tool too add a bit of a curve on the bottom

Now I want to make indents on the side of the glass all around like they are on the actual coco cola glasses
Image result for coca cola glasses
So I selected the outer edges of the model where I would like the indents to be and extruded them negatively. (so indented it)
Now next what I did was make a copy of the model. Using this copy I will make the inside glass piece and this will also act as my coca cola when I render it. So with the copy i removed the top part of it (because I don't want the coke filling up all the way to the top just a little bit below the top)
And then I scaled it a bit in so it is not the exact same width as the original piece.

I then moved the bottom vertices up a bit (making sure not to overlap the lines) so that it wasn't the same on the bottom too.

Now next what I added was a shell modifier that so that the glass actually had some thickness and not just completely flat (cause that would hurt 😱). 

These were the settings for the shell. 
I then converted the glass to an editable poly and proceeded to edit the vertices.
Now what I did was I removed the previous cap that I had made and extended the bottom a bit by moving the vertices on the bottom and then after this I added a "turbo smooth" modifier and changed the iterations to "2" which made the glass super smooth and then I converted to editable poly added the cap back.

Now the last thing I did today was change the color of the inner glass to blue, apply a turbo smooth to that too and then cap it to make it look like the liquid is there.

Now this is how the basic finished model looks like.

Next class I will be continuing the tutorial.

Day 32

Sorry to inform but most the images I will be uploading in this project are from the video as I lost all my screenshots that I took and I am writing these posts from the end of my project.

Today I started a new project

A coca cola glass by following this video here.

I started off by making half the coca cola glass by making a line with its shape


Now I changed the vertices and moved them a bit to improve the shape of the glass because it looks kinda weird right now.

Now next what I did was make the center pivot of the whole shape on the bottom
I did this because I'm gonna mirror on the other side anyways so I needed the pivot in the direct center on the bottom.
Now what I did next is use the lathe modifier to make the the line go around in a circle and then I made this an editable poly.

Now what I did was get rid of the bottom of the glass and and made it into one circle poly by using the "cap" tool after selecting the edge around.

This is all I did today and it was pretty fun. It is for sure an upgrade from the pokeball and way harder.

Tomorrow I will continue the glass.

Day 31

Today I finally finished my pokeball.

I made the lighting and scene today and made a small modification

I made the button more smooth by adding a "smooth" modifier to the button
And now the button looks like this 

Next I made a plane on the pokeball to act like a surface that its standing

Next what I had to do is make it actually under the pokeball lol so I set it a value of -10 across the Y value and it made it under.
Now next I made a light and set above so that it could add light to the scene or else it would be pitch black when you render it.

Now I'm done with the scene so I started rendering it
But as you can see the shadows are very jagged so what I had to do was go to the light settings and scroll down to the mental ray shadow map and set the map size to 4000.
After this I went back to the render and set the FG bounces to 4 which makes the light bounce more like in real life.
And this is the finished product :D
 

Tomorrow I will be starting a new project inside of 3dsmax