I finished the basic 3d model of the glass today.
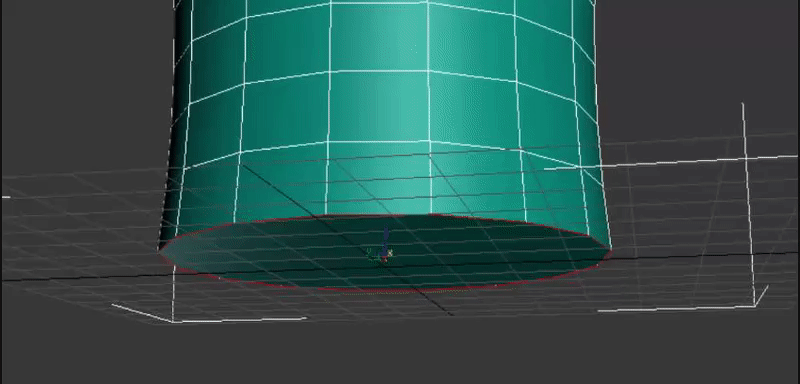
I started off by using the chamfer tool too add a bit of a curve on the bottom
Now I want to make indents on the side of the glass all around like they are on the actual coco cola glasses
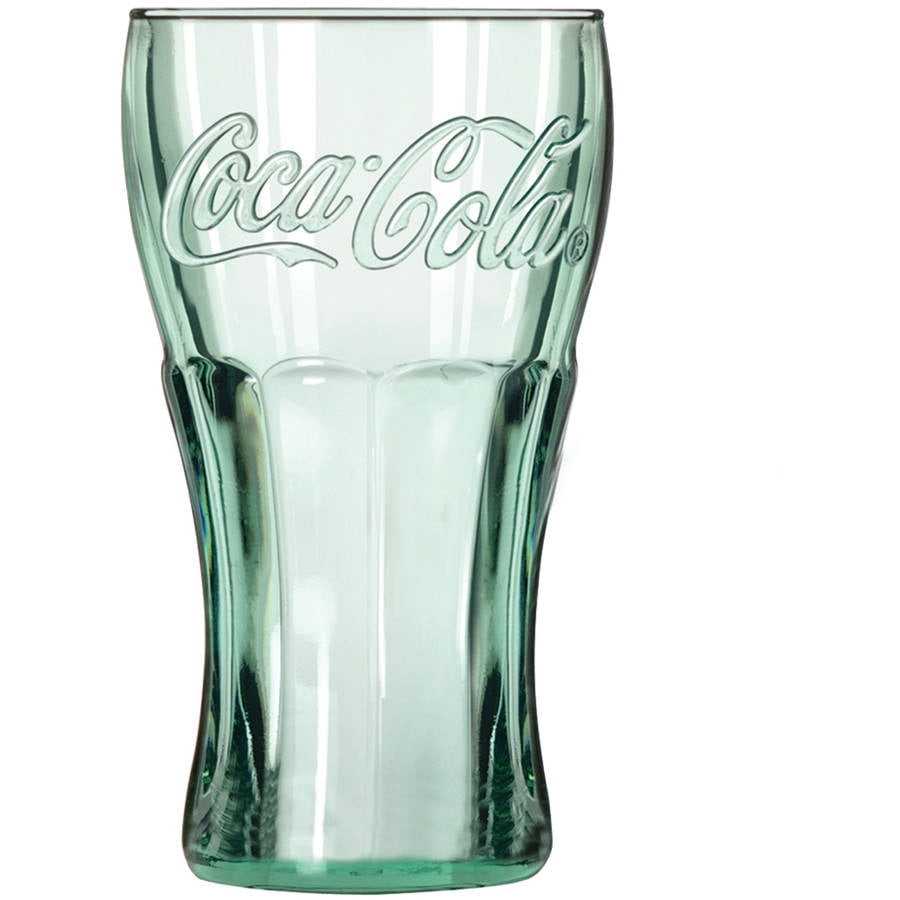
So I selected the outer edges of the model where I would like the indents to be and extruded them negatively. (so indented it)
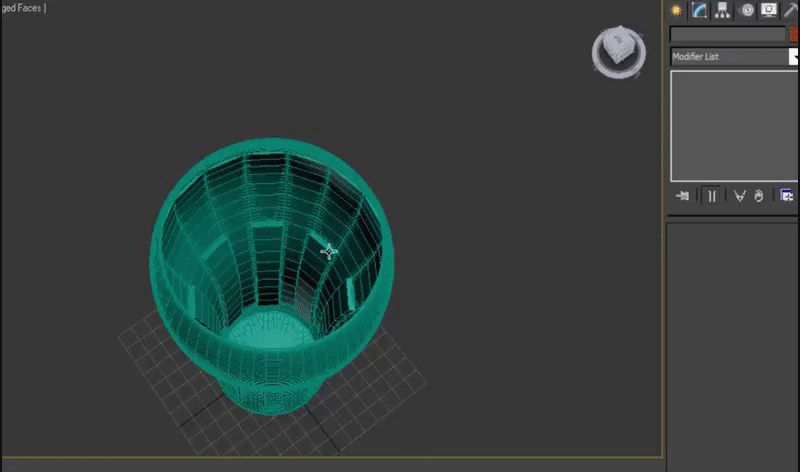
Now next what I did was make a copy of the model. Using this copy I will make the inside glass piece and this will also act as my coca cola when I render it. So with the copy i removed the top part of it (because I don't want the coke filling up all the way to the top just a little bit below the top)

And then I scaled it a bit in so it is not the exact same width as the original piece.
I then moved the bottom vertices up a bit (making sure not to overlap the lines) so that it wasn't the same on the bottom too.

Now next what I added was a shell modifier that so that the glass actually had some thickness and not just completely flat (cause that would hurt 😱).
These were the settings for the shell.

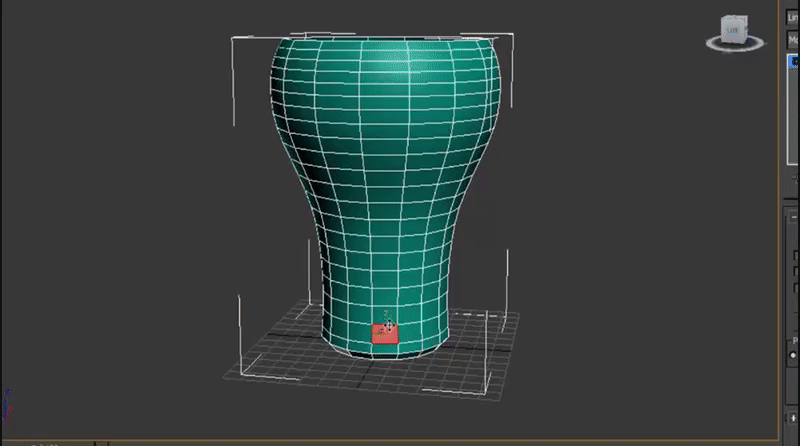
I then converted the glass to an editable poly and proceeded to edit the vertices.
Now what I did was I removed the previous cap that I had made and extended the bottom a bit by moving the vertices on the bottom and then after this I added a "turbo smooth" modifier and changed the iterations to "2" which made the glass super smooth and then I converted to editable poly added the cap back.

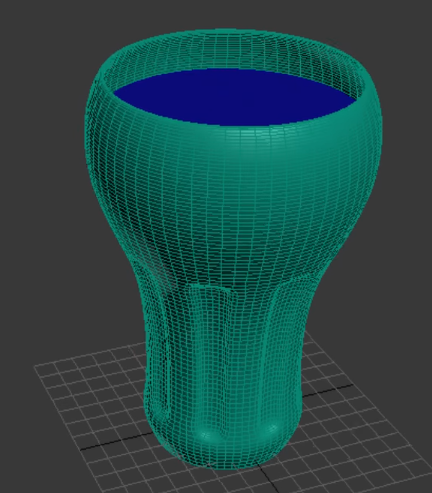
Now the last thing I did today was change the color of the inner glass to blue, apply a turbo smooth to that too and then cap it to make it look like the liquid is there.
Now this is how the basic finished model looks like.
Next class I will be continuing the tutorial.
No comments:
Post a Comment