Tuesday, April 4, 2017

Day 29

Today I continued work on my pokeball

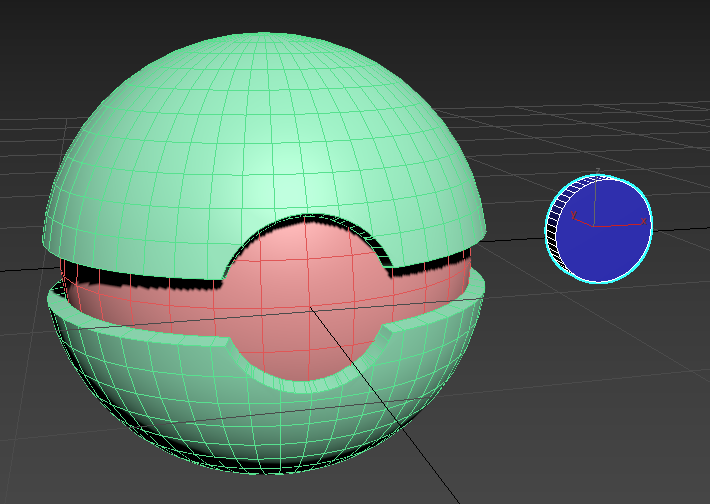
I finished the button today

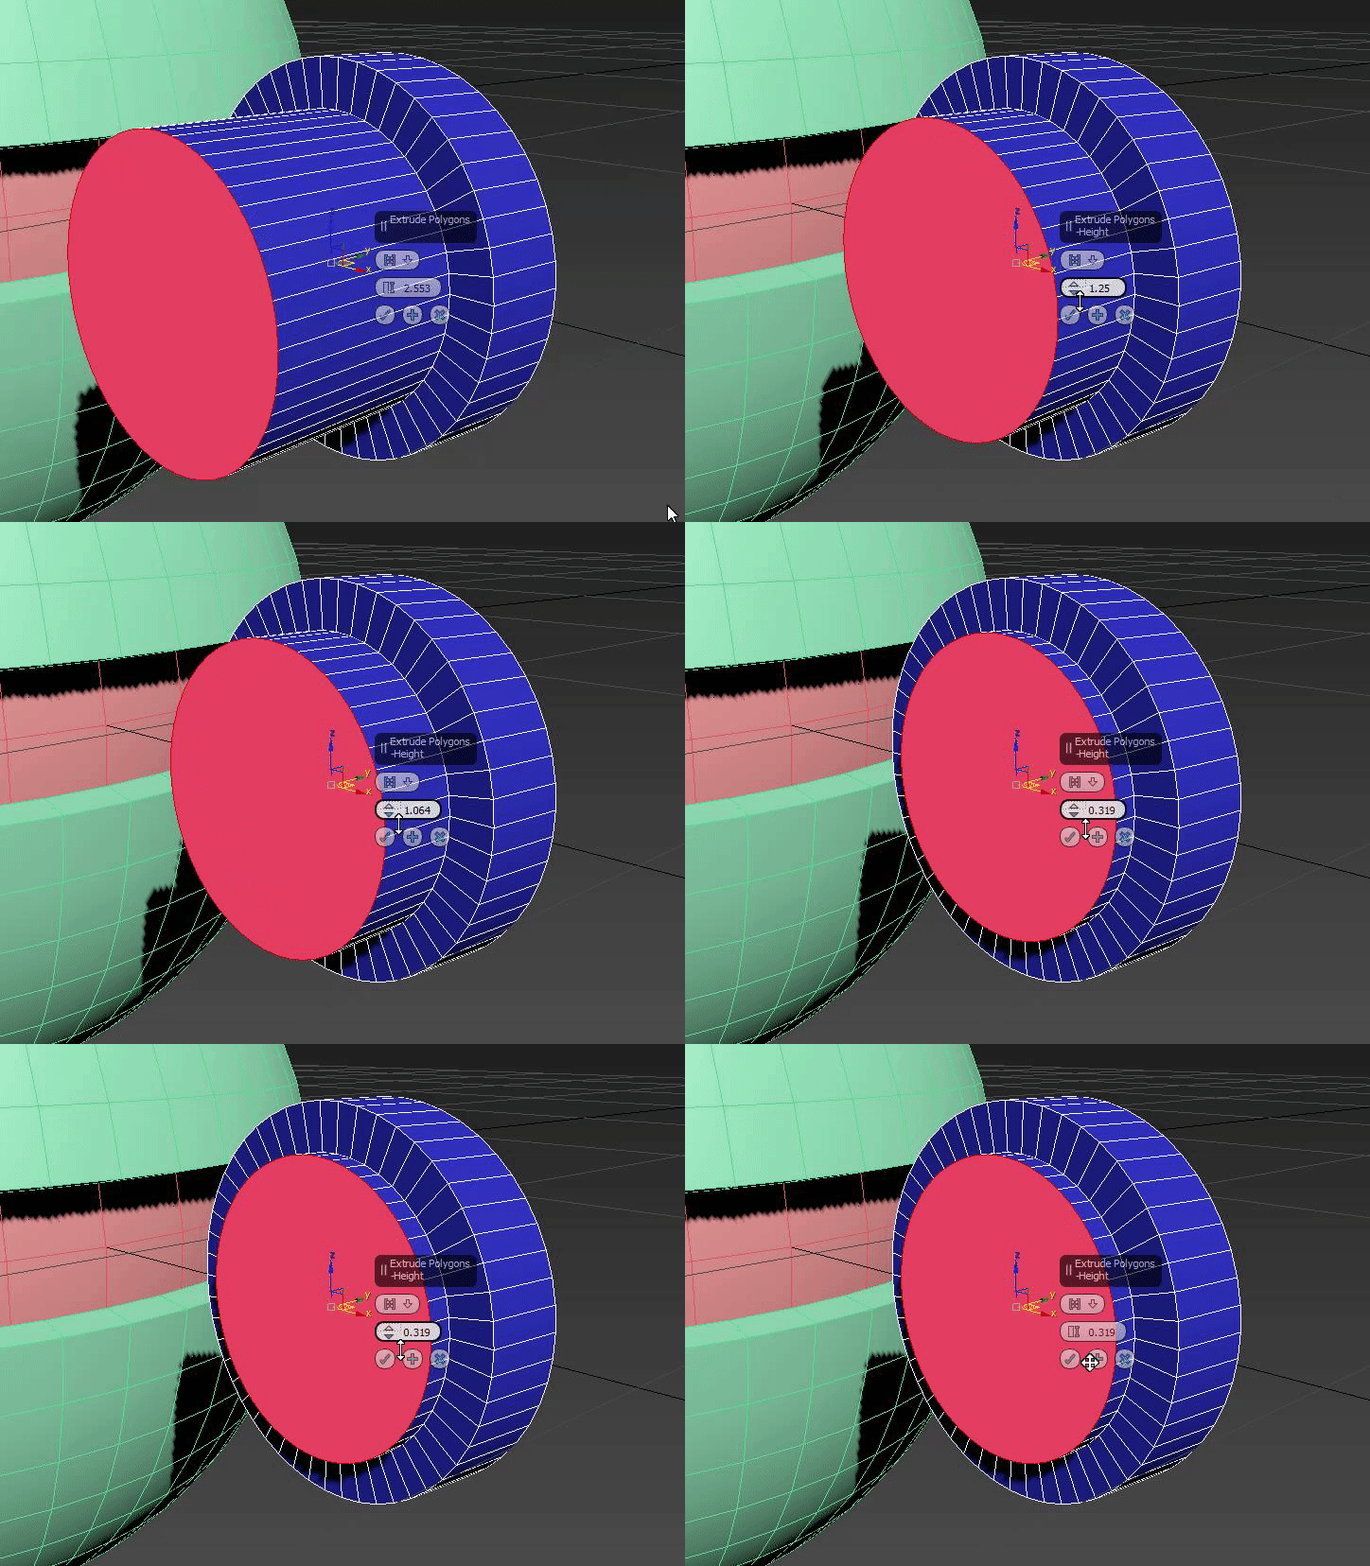
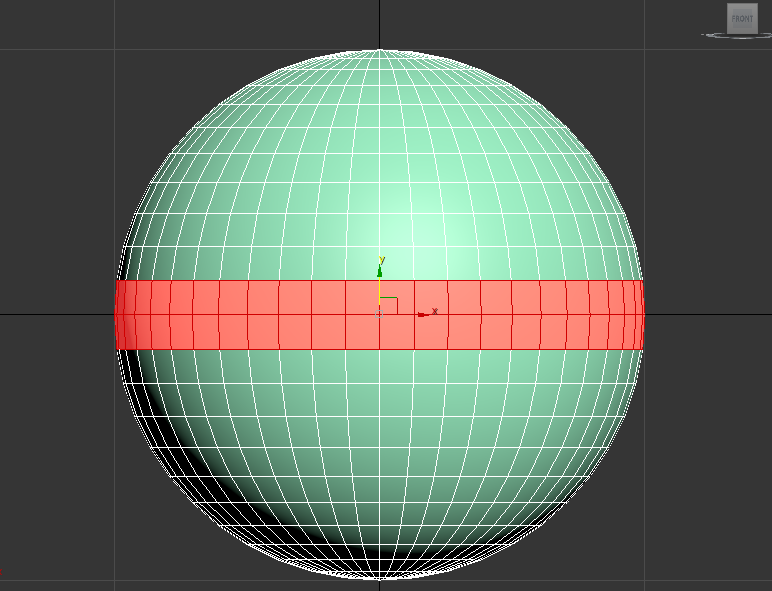
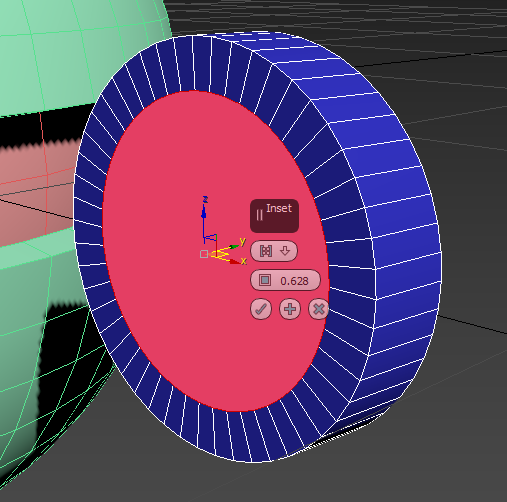
I used the Inset tool to kind inset a circle in the middle of the button.


Now next I used the extrude tool to make the actual button to come out a bit so it looks like the button on a real pokeball.
Now next up what I had to do was move it in front of the actual pokeball so I set the coordinated of the pokeball to 0,0,0 and the moved it out until the it stood in front of the pokeball.


This is all I did today

Tomorrow I will hopefully finish the pokeball.

Day 28

Today I worked more on my pokeball

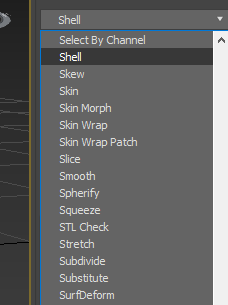
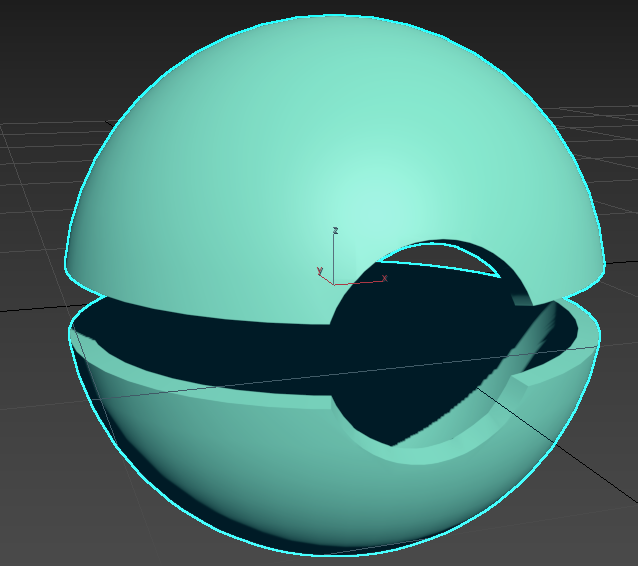
I made this thing called a shell around my pokeball


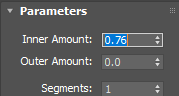
and set the inner amount to 0.76

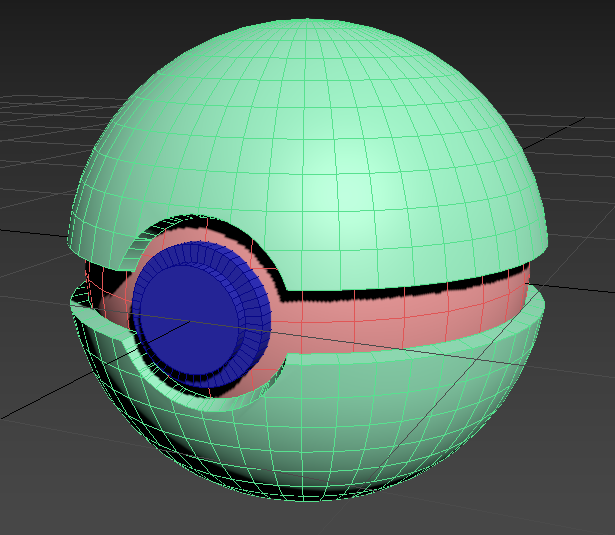
Now it looks like this
Which is pretty sik :D

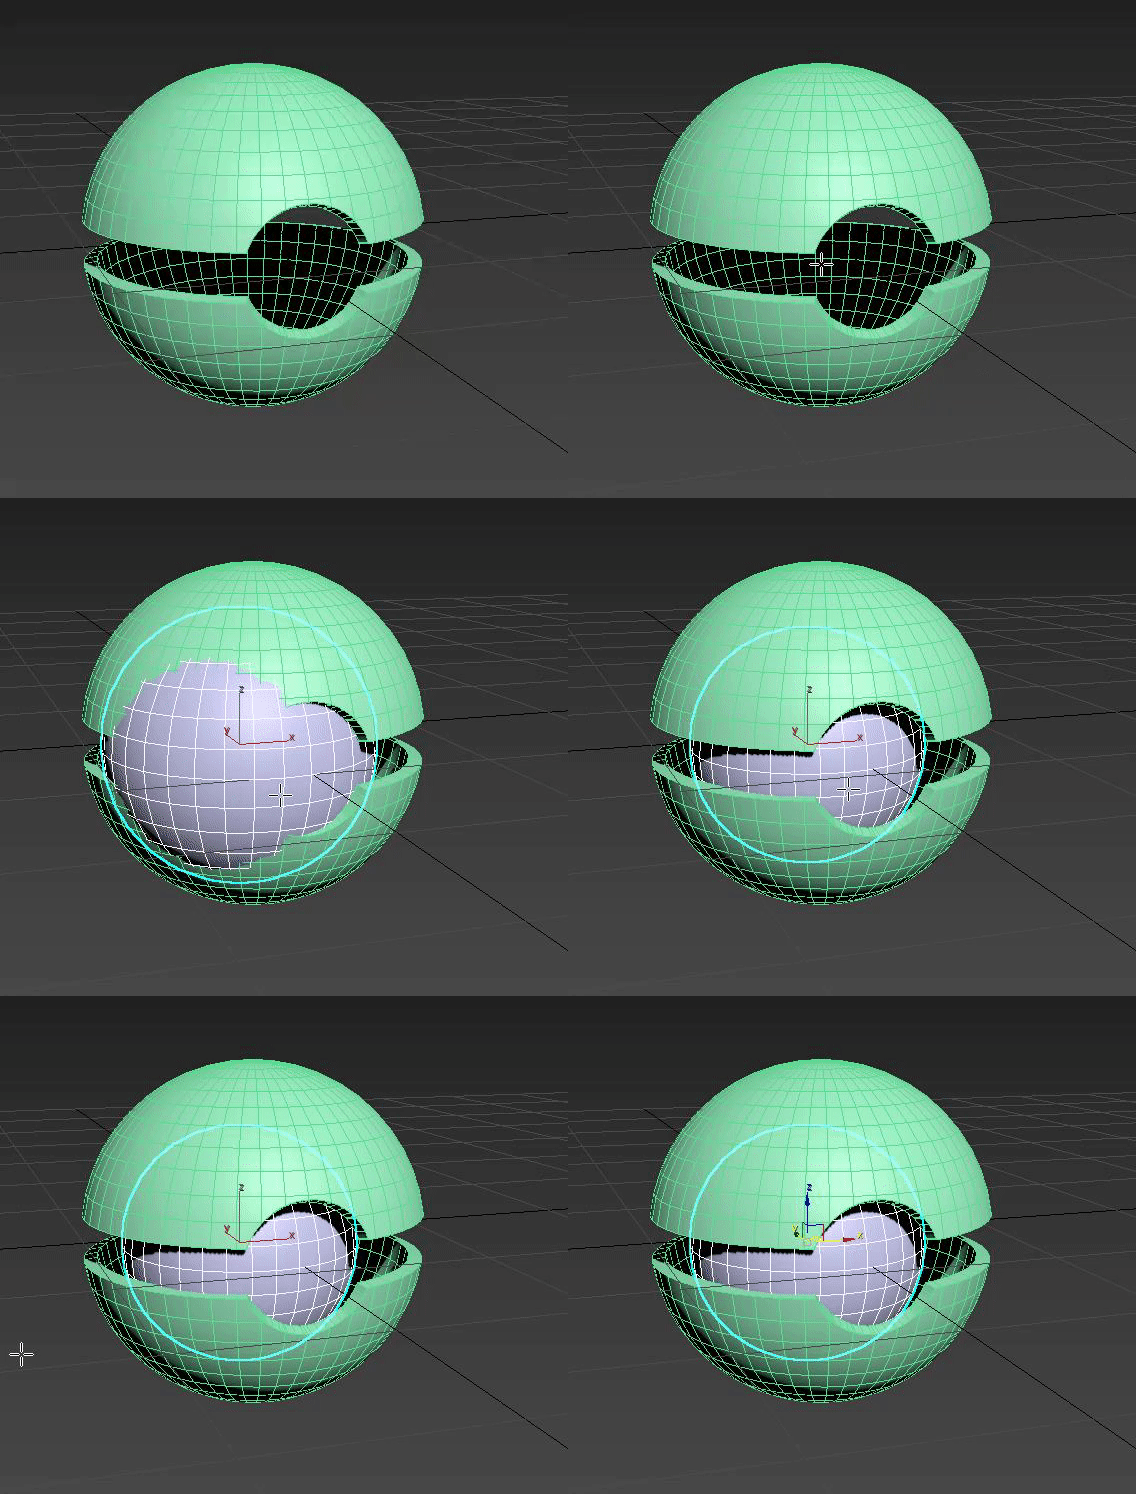
Now next up I made another circle on the inside
Now next what I had to do what make a button

So I made a cylinder beside the pokeball

This is all i did today I will continue this tomorrow.

Friday, March 31, 2017

March Evaluation

This month I didn't do that much since spring break took up half the month.
I didn't learn that much either in the time I had. I would call it wasted potential.

I finished my space shooter game within the first few days which can be found on this website here.

But after that the tutorial I started was a complete waste. Almost all the code and objects/environment in that tutorial were already pre-made and pre-written what they taught was just beginner stuff that I already knew. I would've liked to learn more but I didn't learn that much. I will still explain kinda what I did.

The point of the game was about a little boy that has a dream where his toys are coming to life and attacking him. 

I got up to the point of where I made the health bar and the zombie can attack you can can move around.

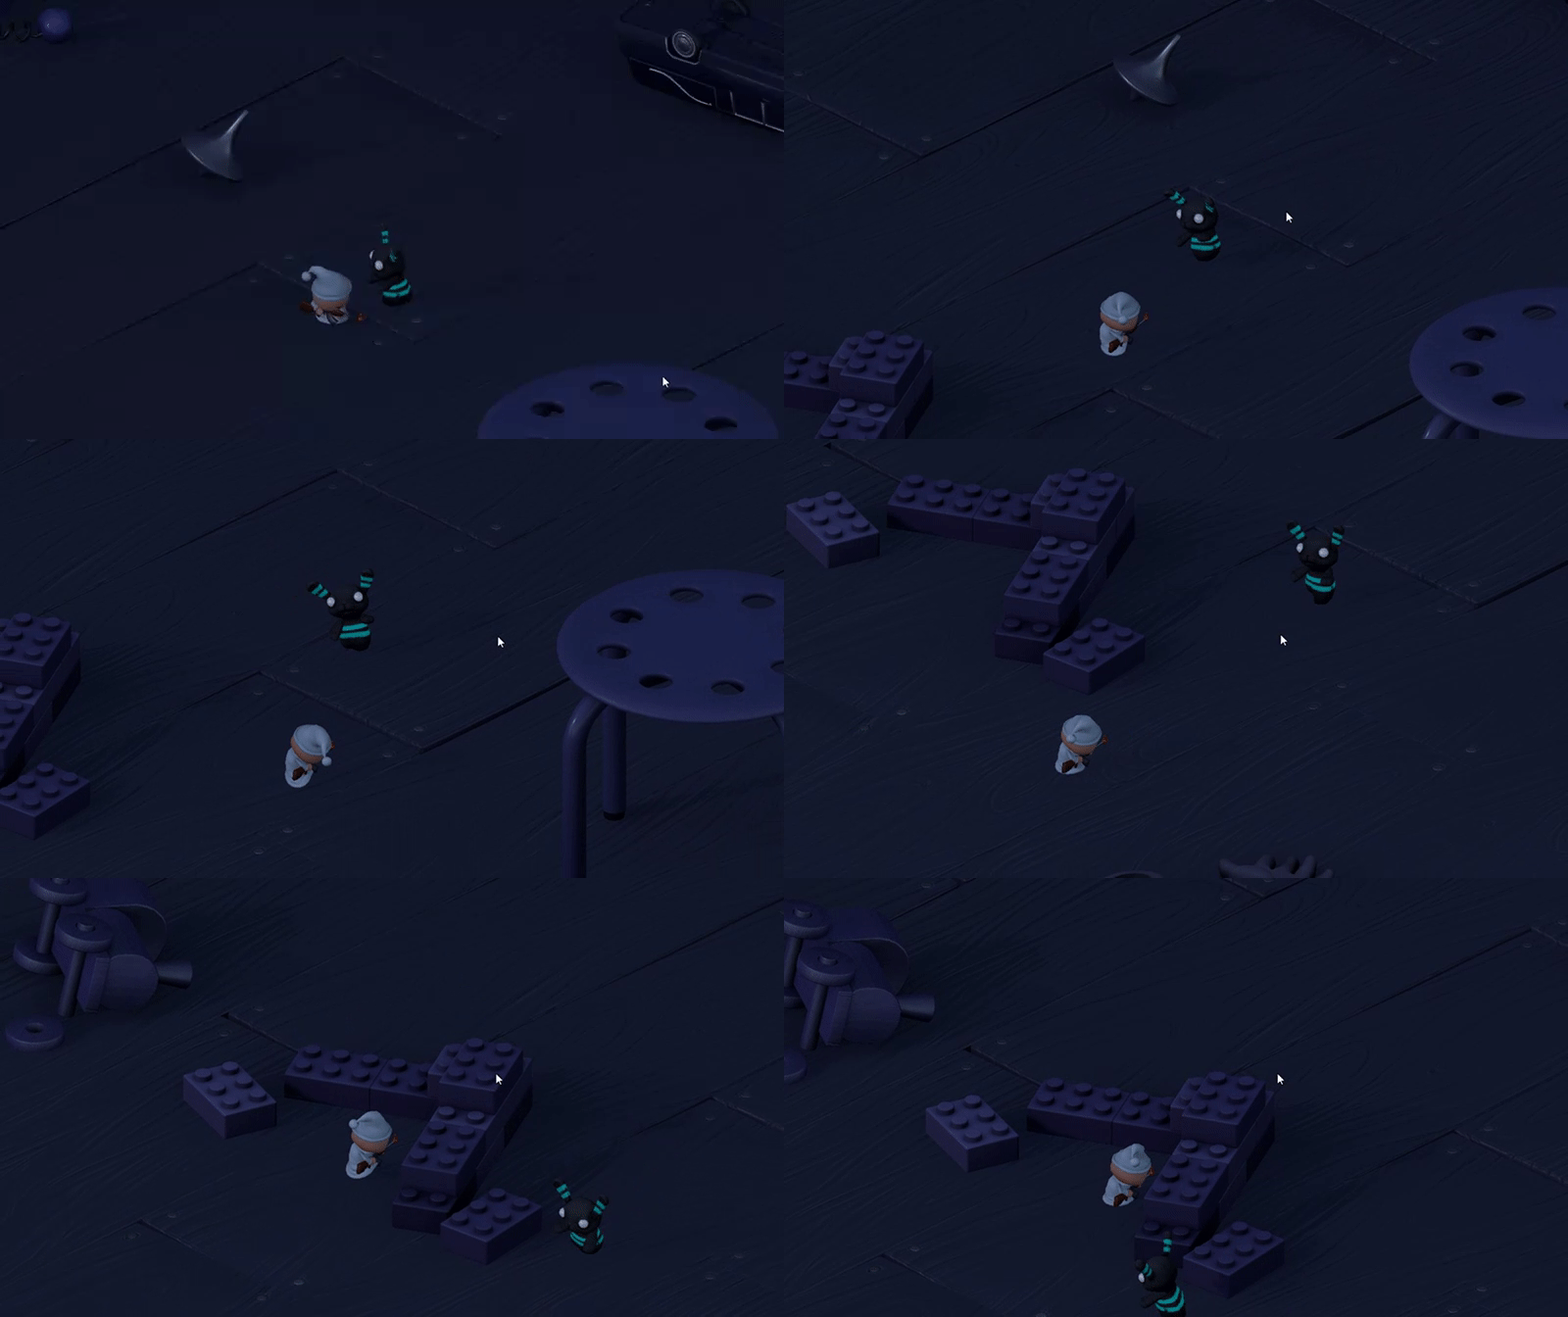
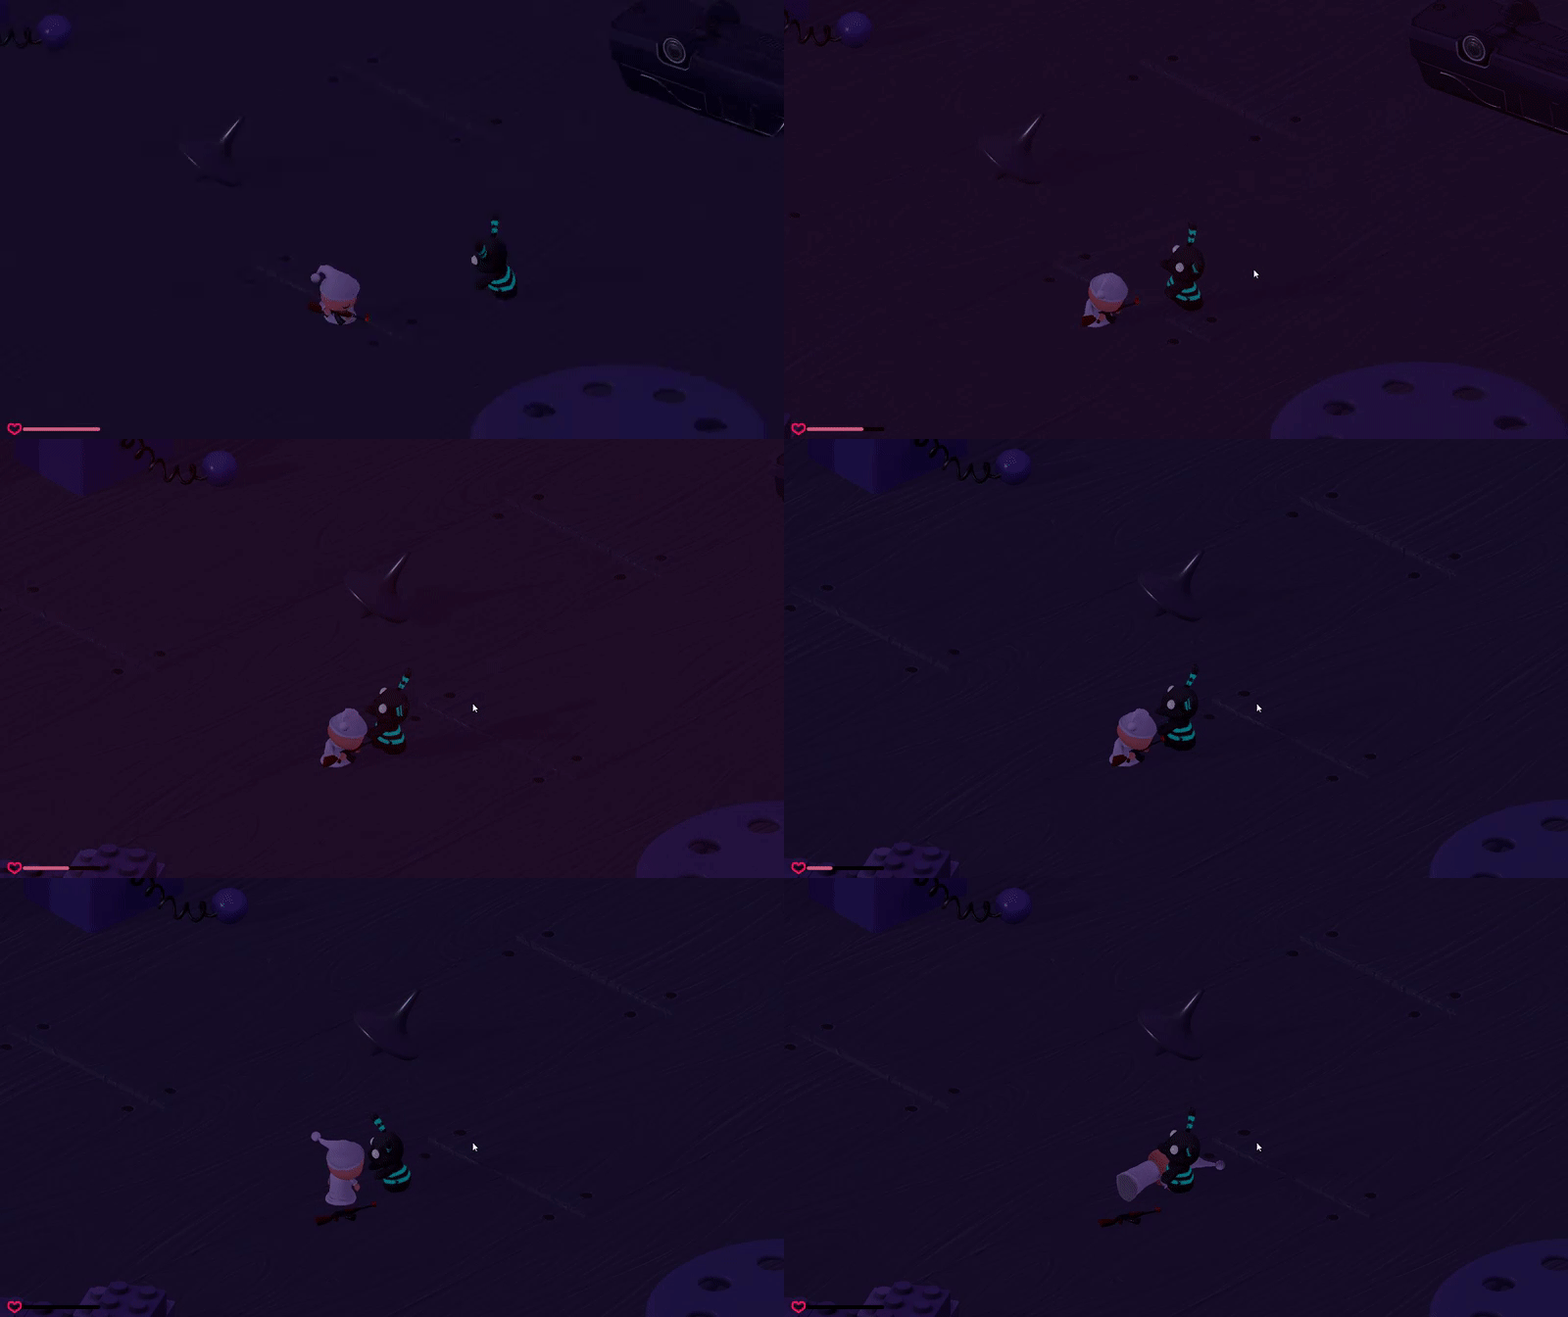
Here are some pics of my progress.

Player Movement

Zombunny following movement

Health Bar


I hope I will learn more next month and it will be more productive. I have started working in 3dsmax which is really exiting because I've wanted to learn 3d modeling for the longest time.
Image result for 3ds max logo

See you next evaluation. Cheers :D

Day 27

Today I worked more in 3dsmax.

I watched this tutorial on how to make a pokeball.

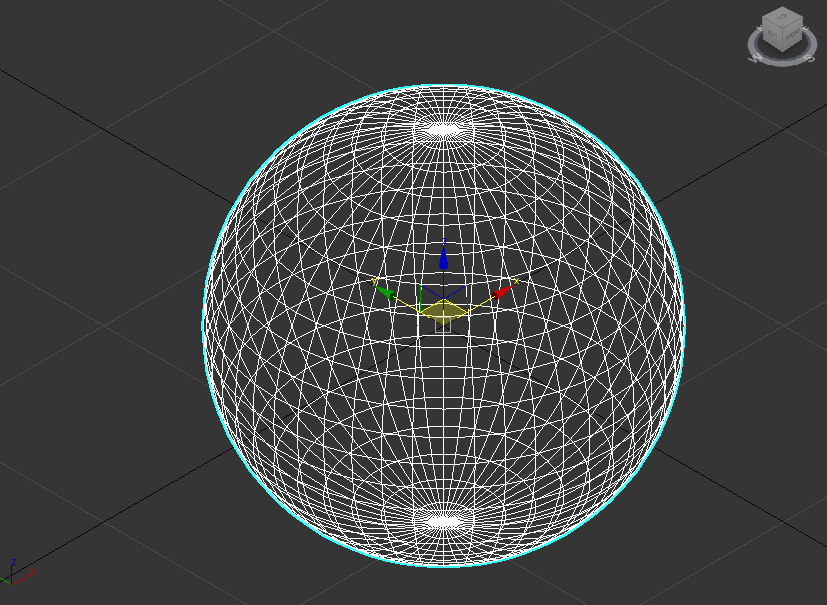
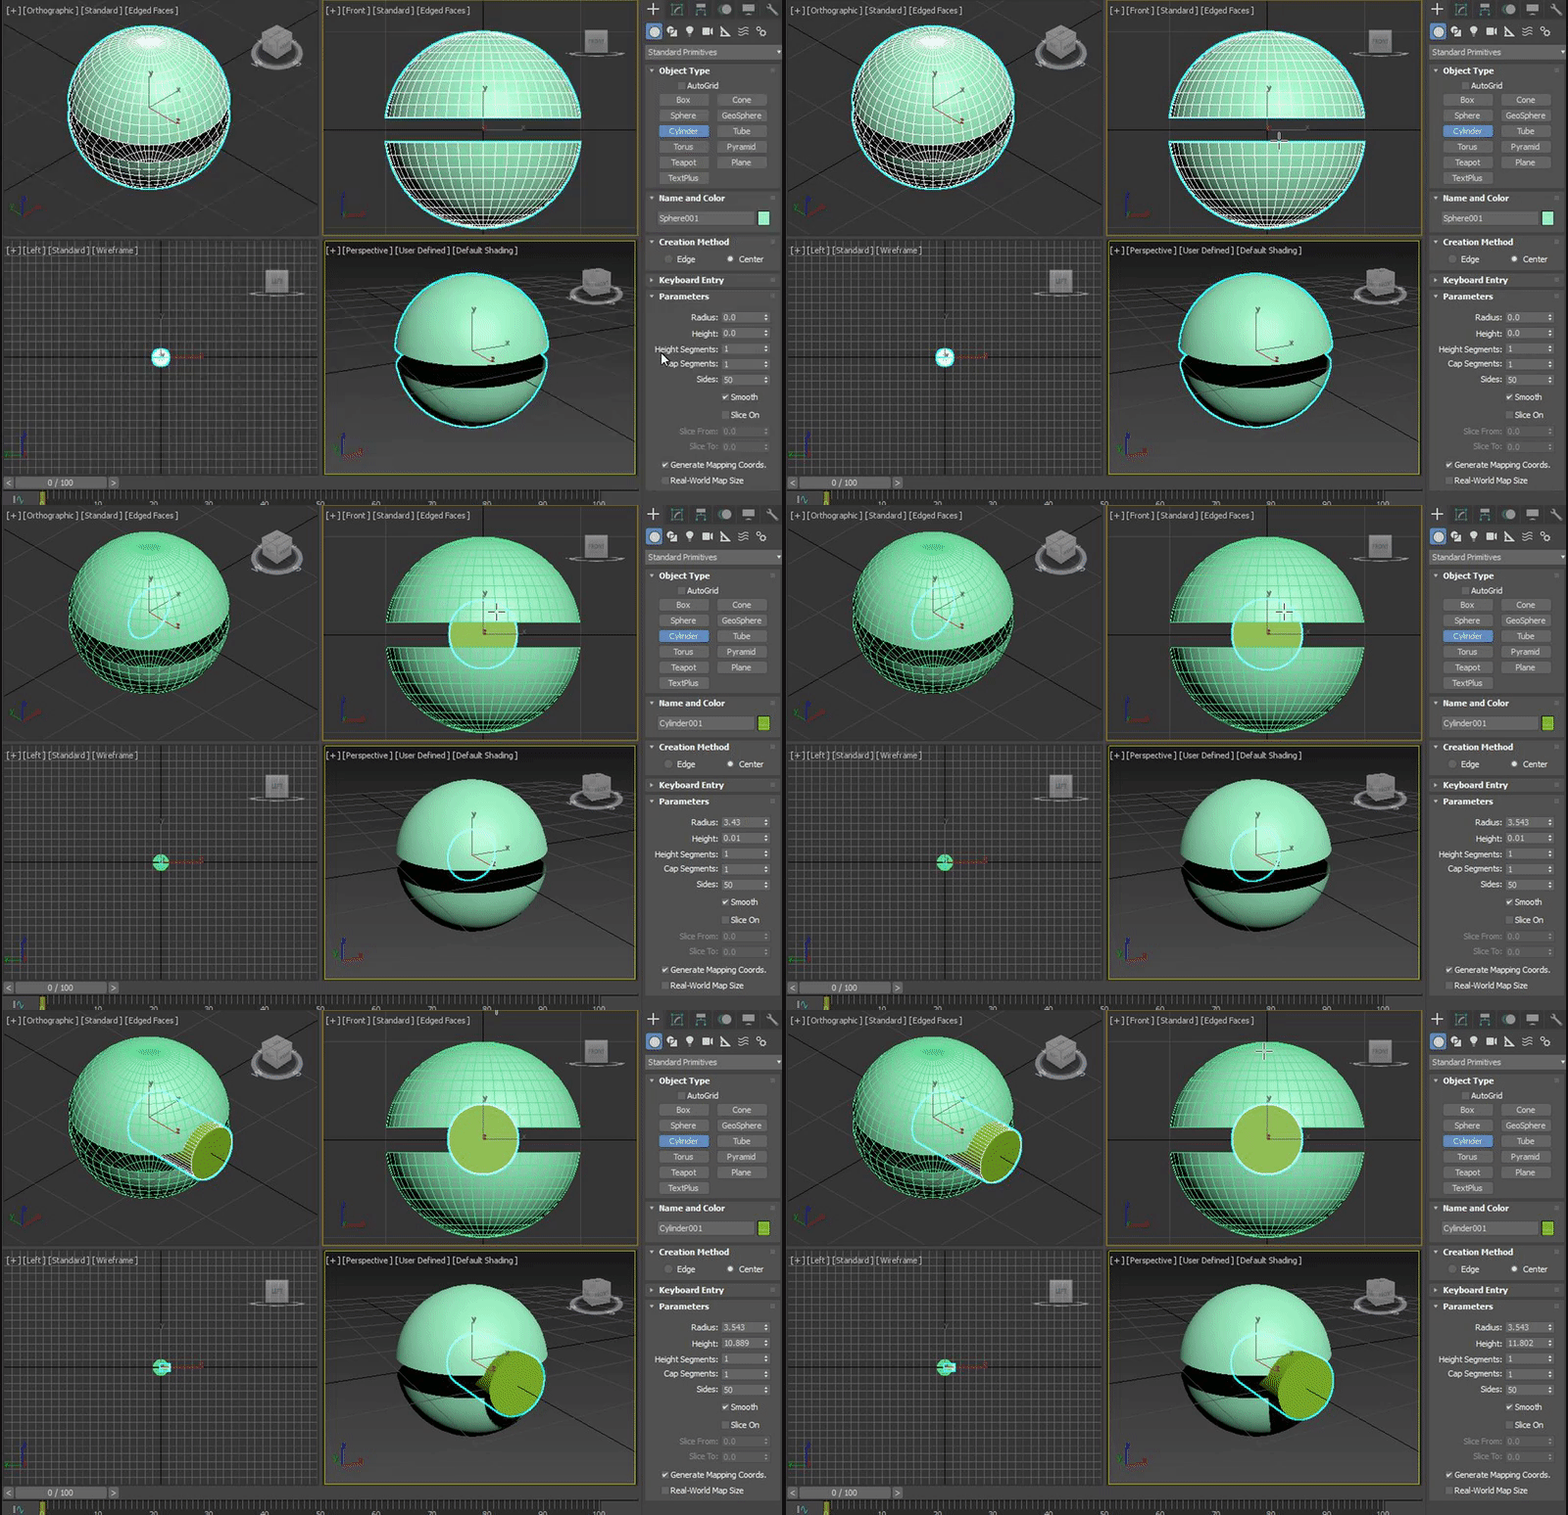
I started off by making a basic sphere shape.
I then centered it right in the middle at coordinated 0,0,0
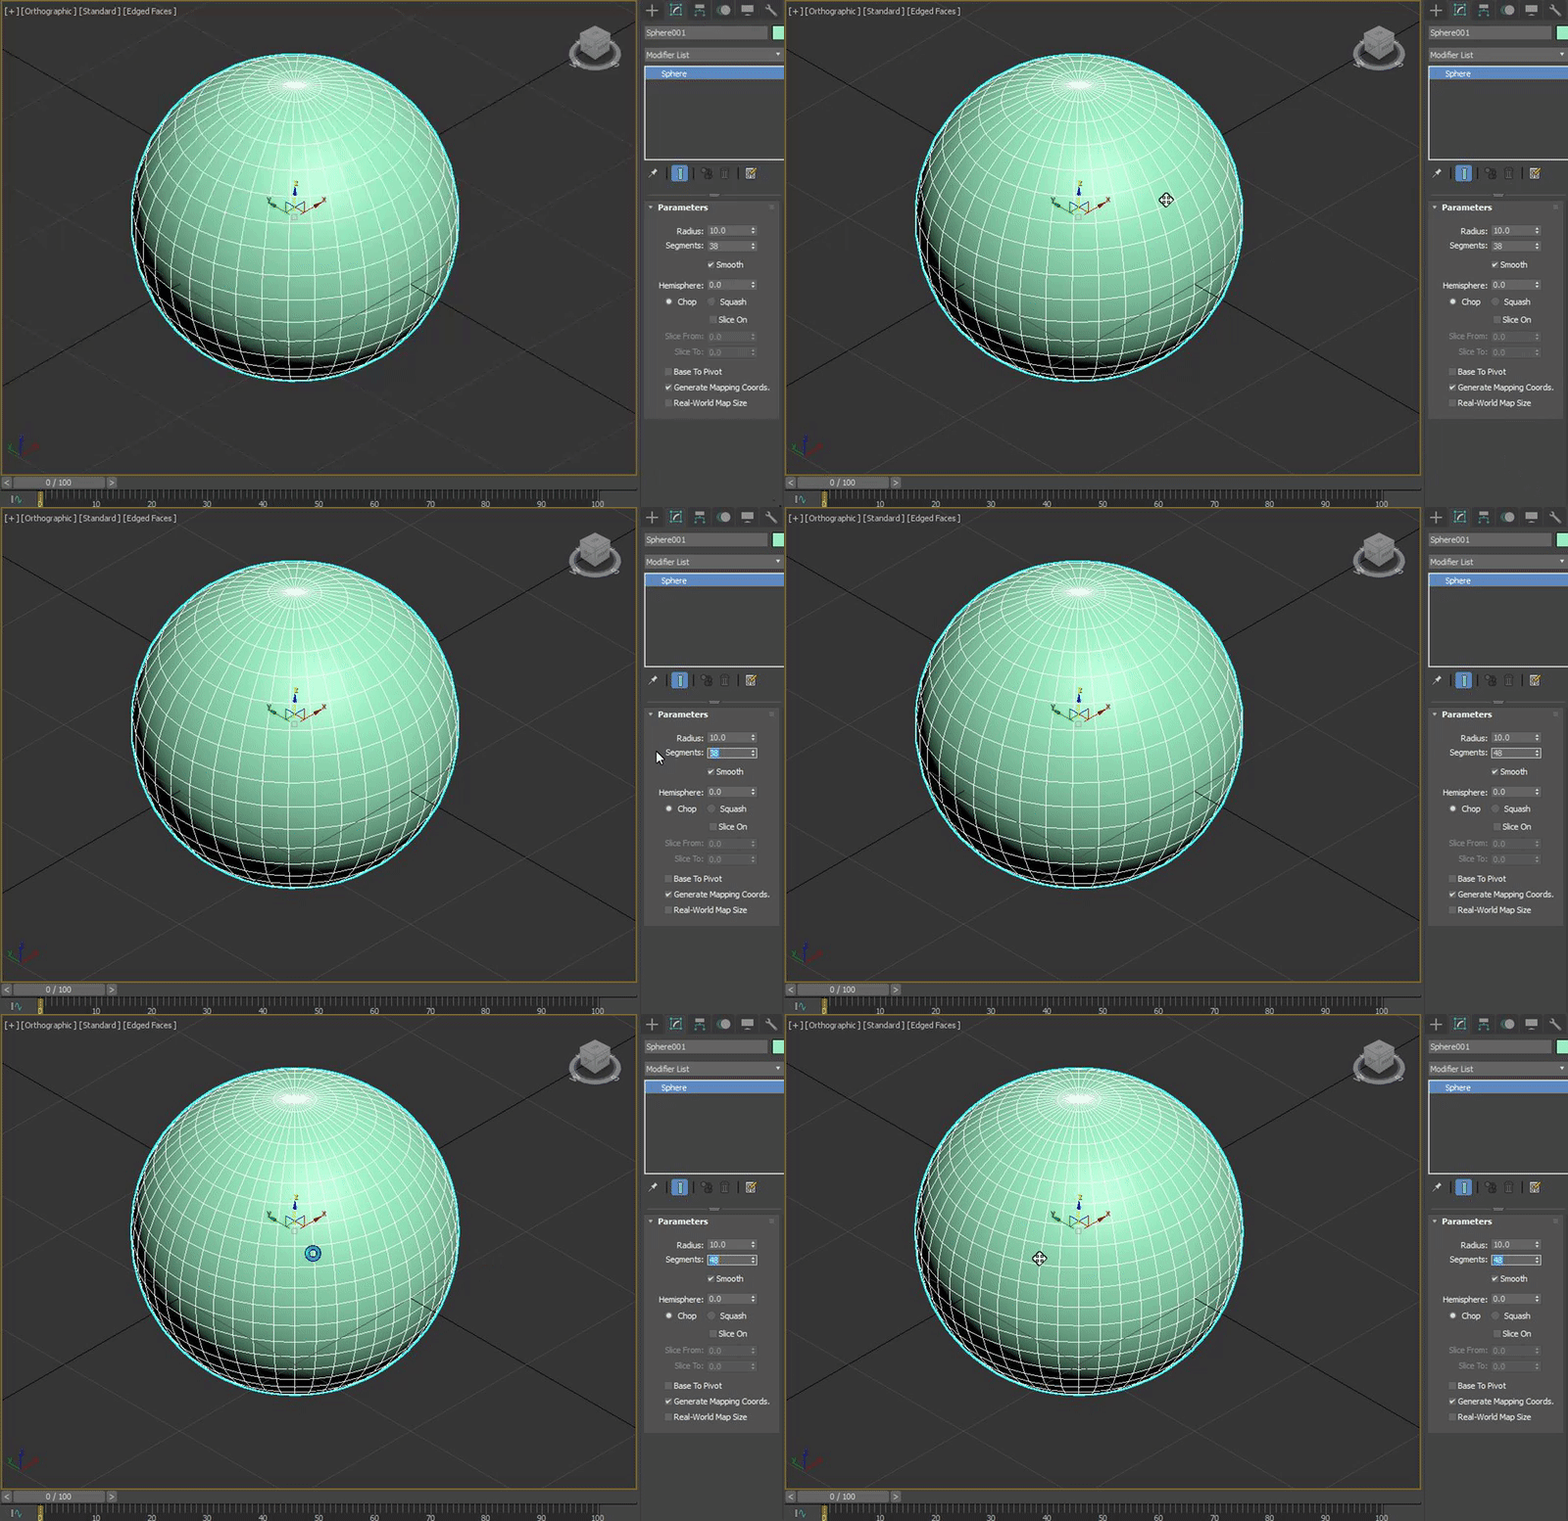
I pressed f3 and this made it kinda like rendered a color on the sphere. 

After this i went and changed the amount of segments there were on the sphere because they were too little. 

I then converted the sphere to an editable poly. What this does it it makes the program treat it like its an actual polygon and not to apply any sphere mathematics to it.

I then selected the middle parts of the sphere and deleted them.
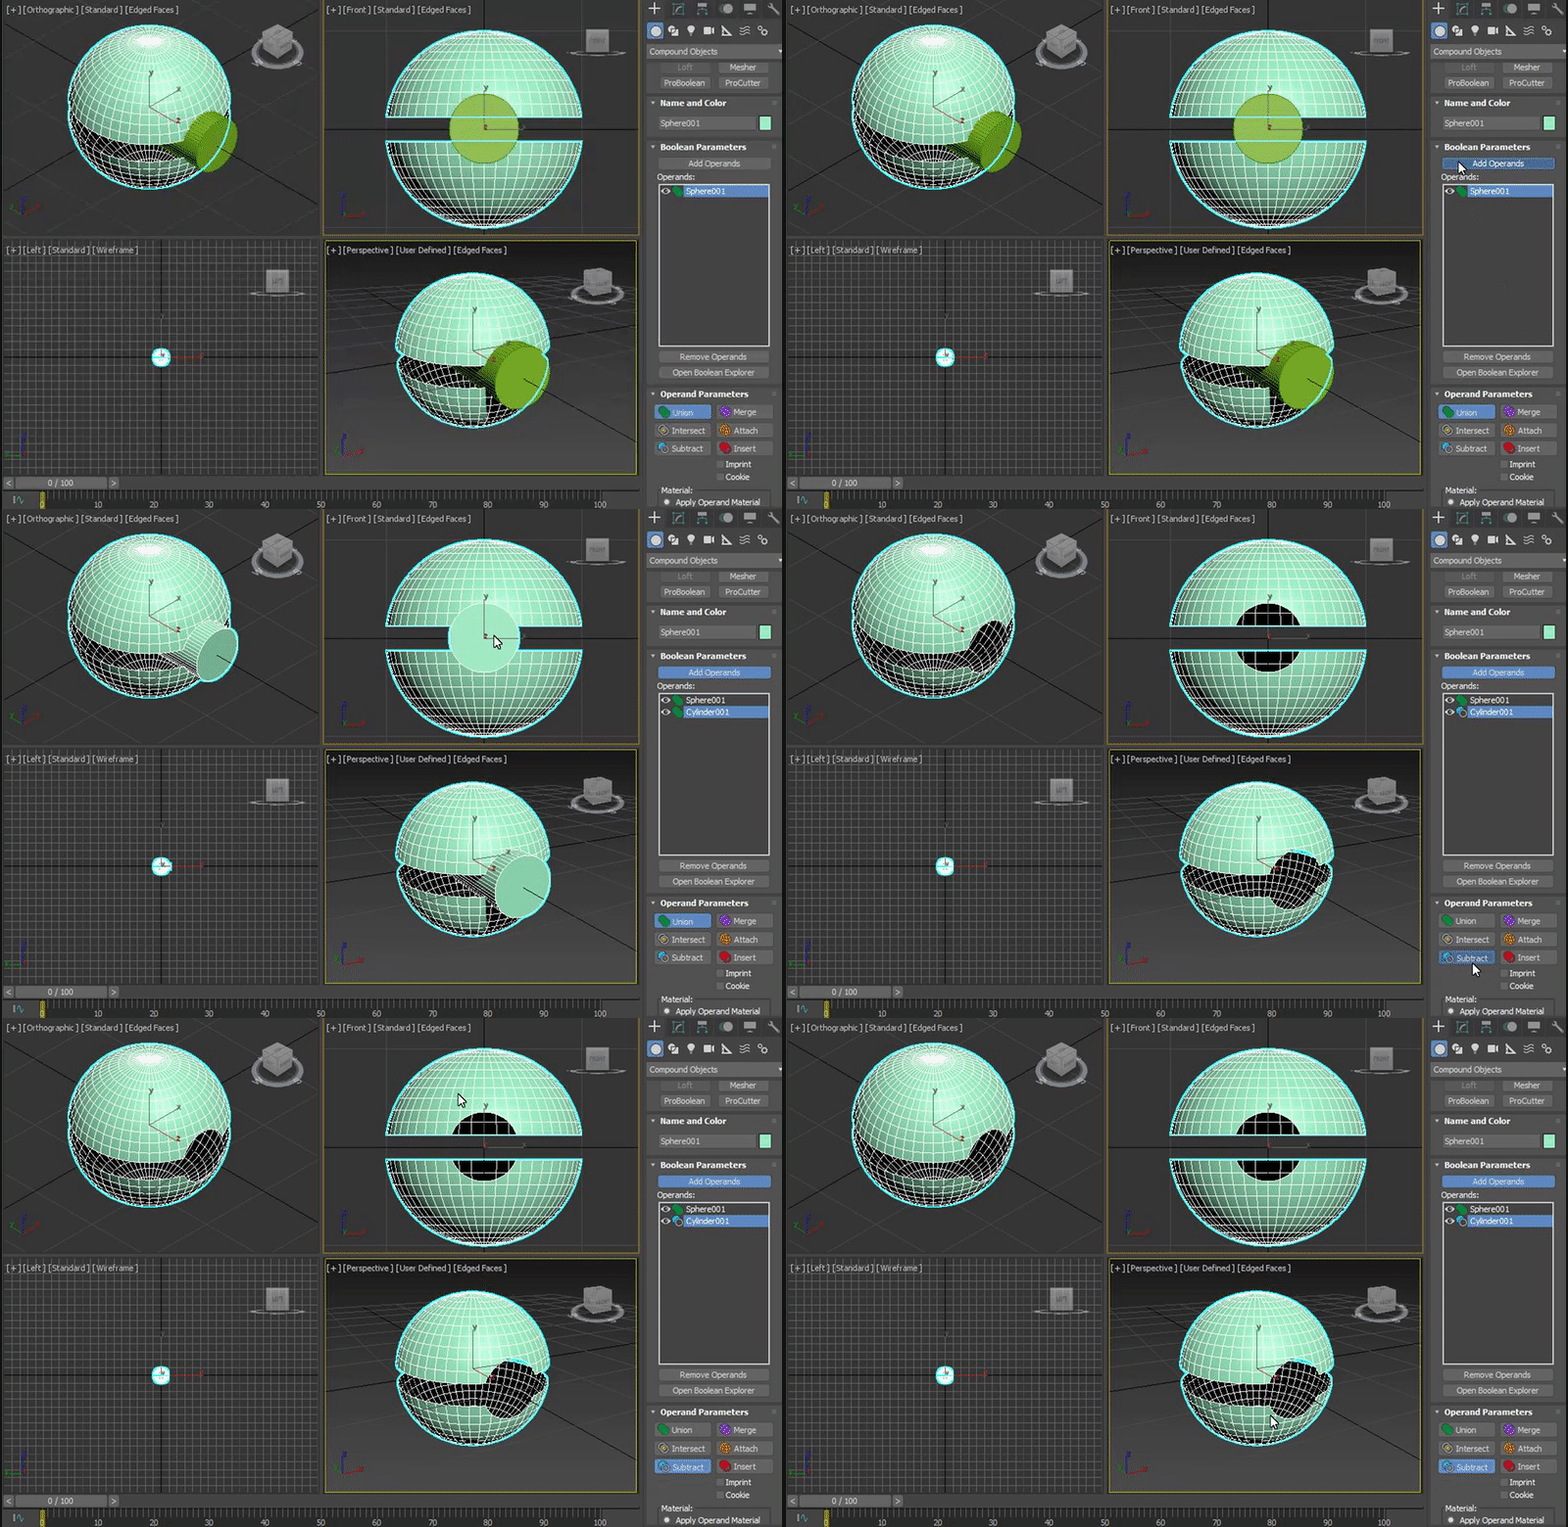
Now what I had to do was make a hole in the middle of the sphere and to do this I used the shape of another object to remove this space. These are called boolean operators.

So I made a cylinder inside the sphere and made it pop out a bit
Now I made a boolean on the sphere and selected the "subract" option and made a hole in the sphere.


Unfortunately this is all I did today as I was trying to set up 3dsmax.

Tomorrow I will do my evaluation.

Wednesday, March 29, 2017

Day 26

Today I finally got to do something :D

I started some tutorial on how to use 3dsmax.

It looked super scary at first 0_0


So I started off by learning the UI of the program.

I noticed that the navigation and some of the program was really similar to Unity.

I watched a tutorial on youtube on the basic UI and what you can do with the program.

I found out that there are a lot of cool preset shapes already made and setting you could use.

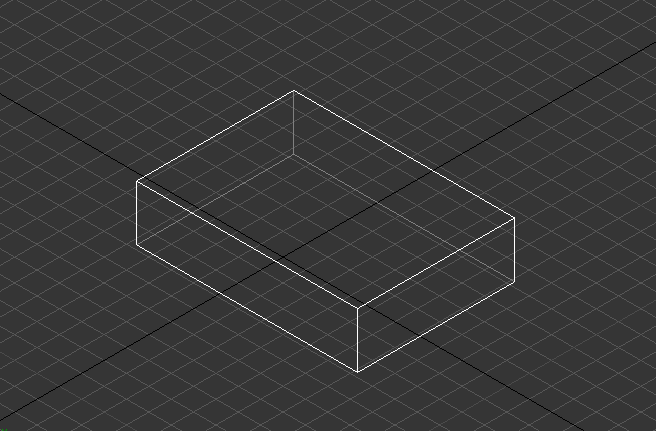
I started off by making a cube

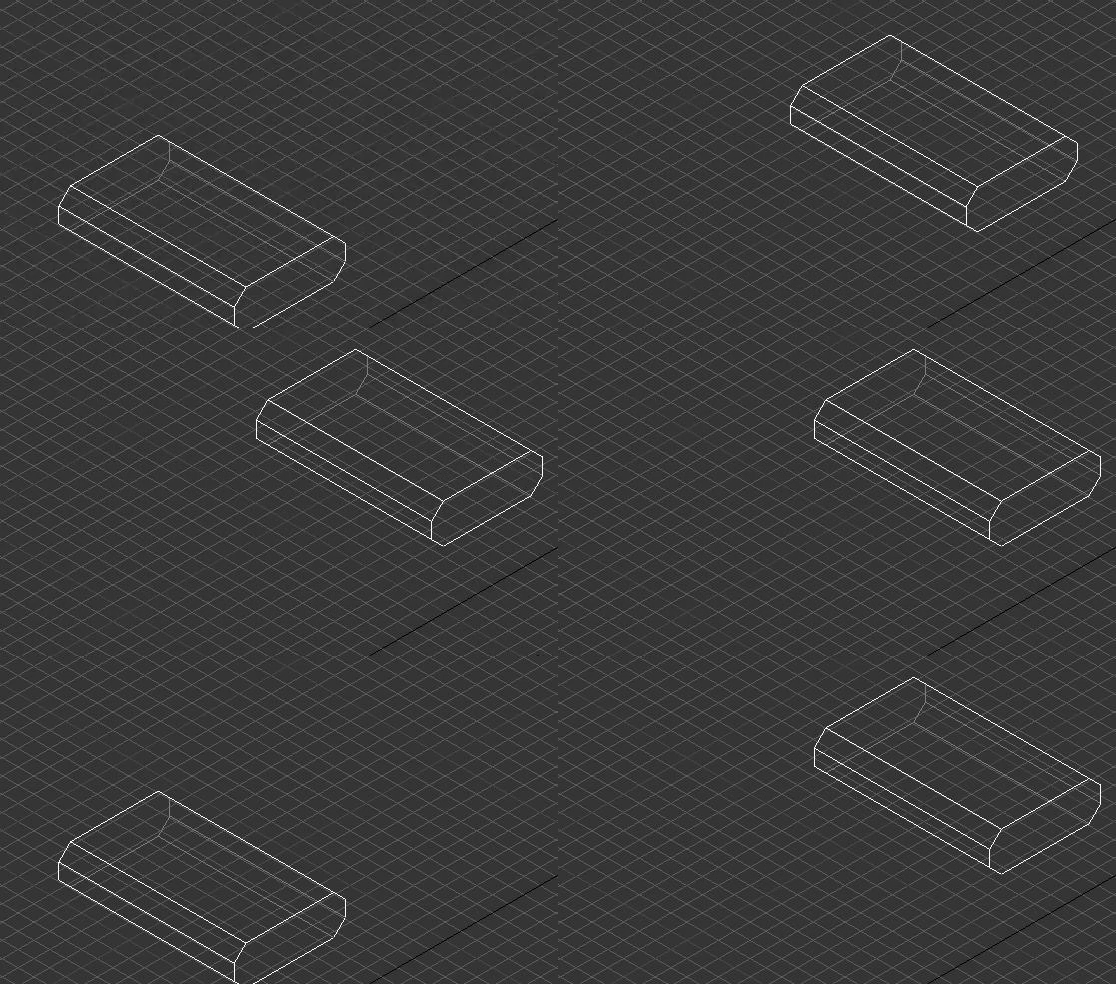
And then i selected 4 edges and used the chamfer tool to make it look like this


And then I learned that you should save each edit on an object by adding things called modifiers. (kinda like layers but theres no layers involved just the seperate changes)
I then used the "relax" tool to make it a bit smaller.

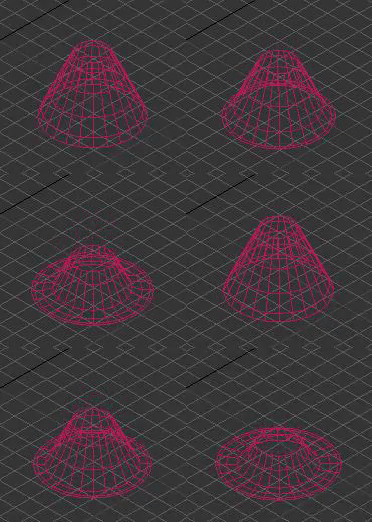
After this I made a cone and made it super pointy. Then I used the "relax" tool to make it a bit smaller and flat at the top.

I then learned about animating in this program.

The animation is very similar to photoshop. You use these things called keys that store information about that current point. Then you can use it to automatically transfer from one point to another over time. In this case I was using the "Melt" tool to make a transition from a melt point of 0 to a melt point of 100.
You can also do the same thing with movement. In this case I used the rectangularish box I made and use keys to move it from one place to another animating the whole way there.

Tomorrow I will be continuing the 3dsmax tutorials and will learn more.


Tuesday, March 28, 2017

Day 25

Today was the first day back from spring break and they wiped all the PC's over the break. So for the entire class I was resyncing my OneDrive, redownloading and installing Unity Engine and installing 3ds max again -_-. I helped out my classmates with their photoshop project for most of the class.

Friday, March 10, 2017

Day 24

Today I wanted to start how to do modeling with a program called 3dsmax.

I found out that you can get the whole program with a three year license free using my school.

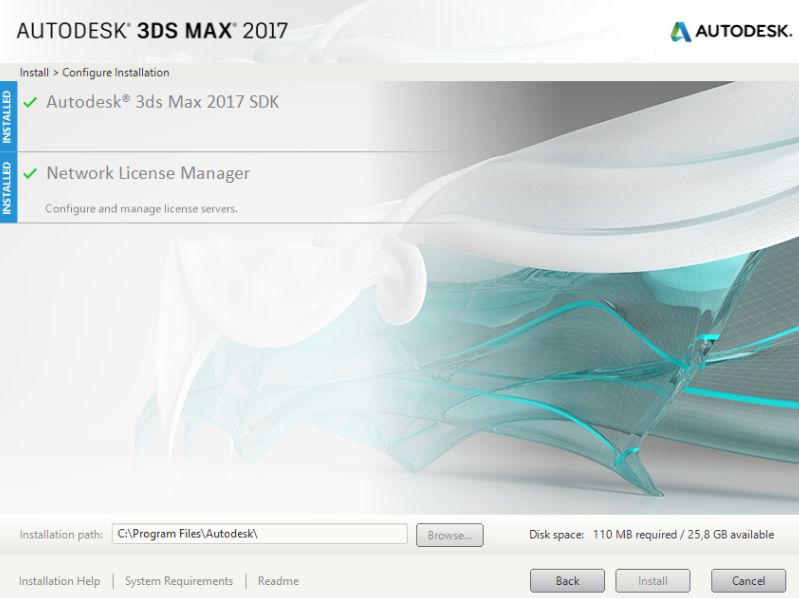
So again I spent most of the class trying to download and didn't do anything

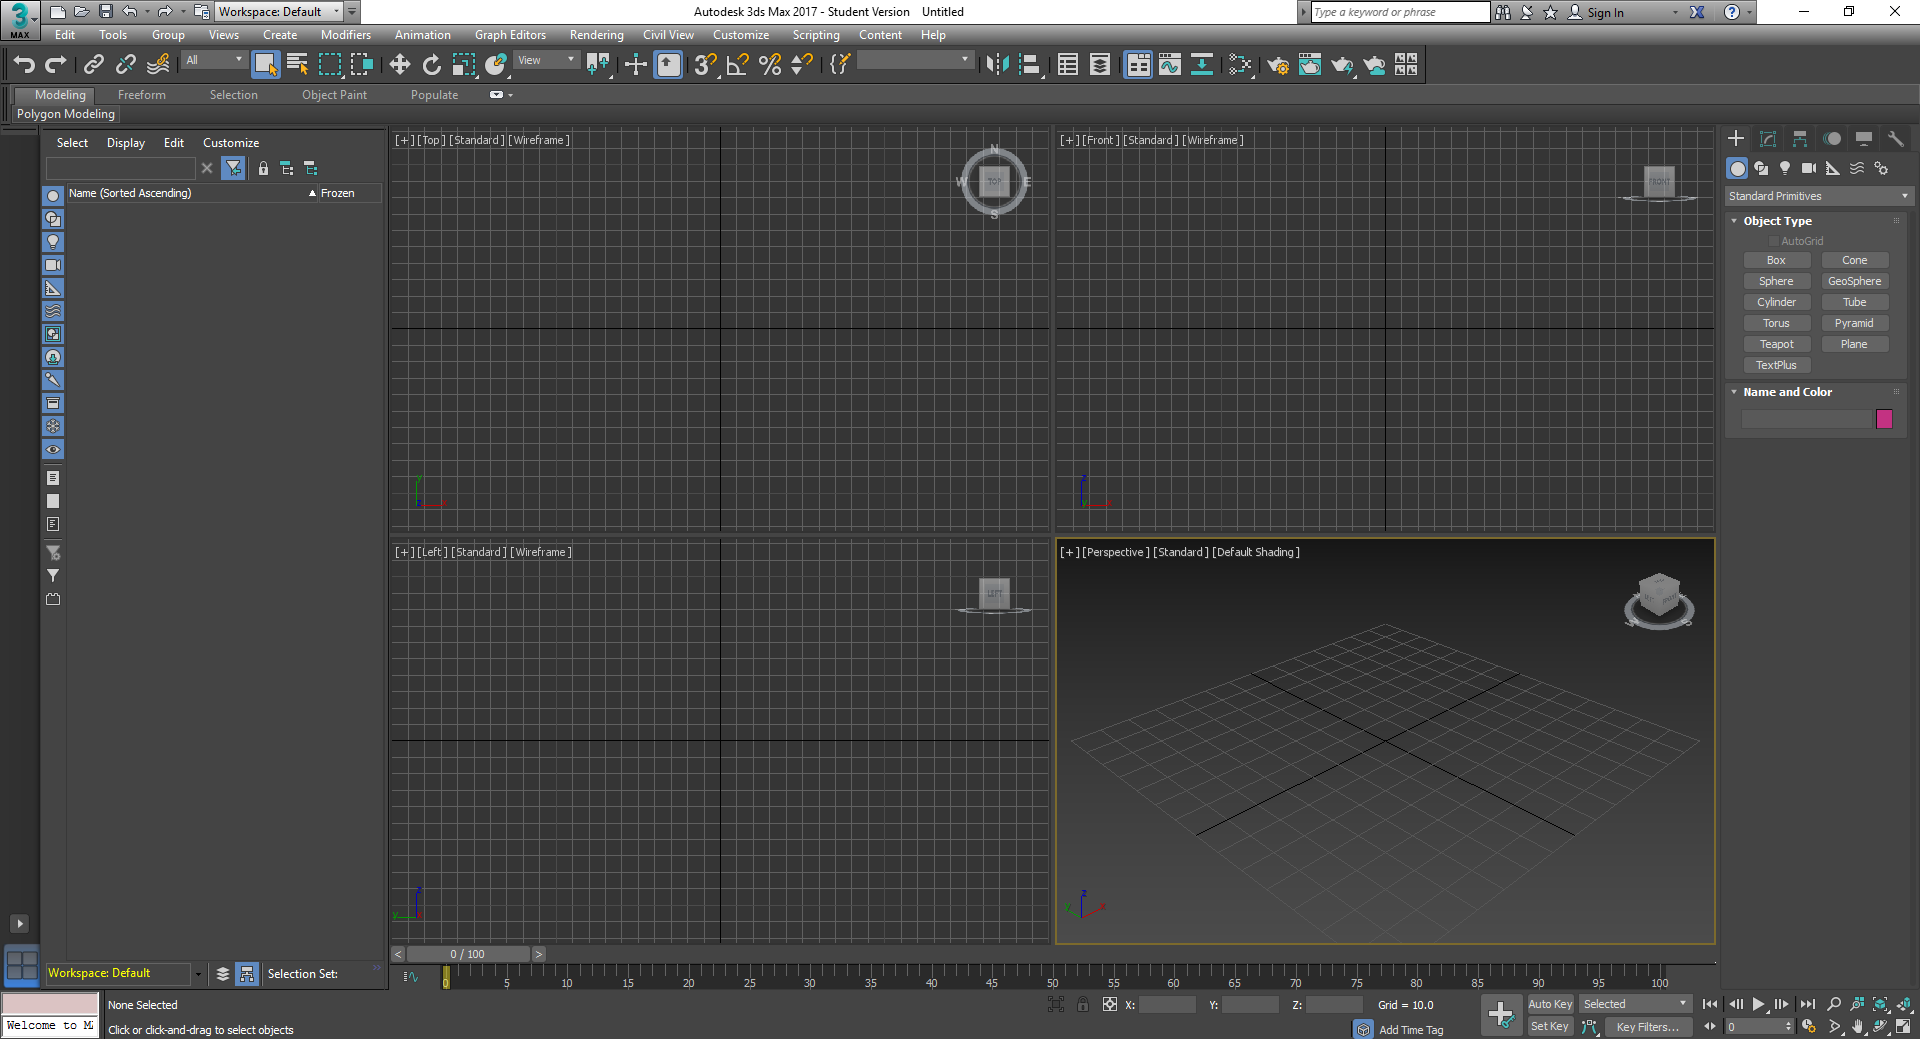
Heres a pic of the progress -_-

Last day before spring break hopefully all is good.

Next class when I come back I will start some 3dsmax tutorials.