Wednesday, May 31, 2017

Day 43

Today I continued work on my sword

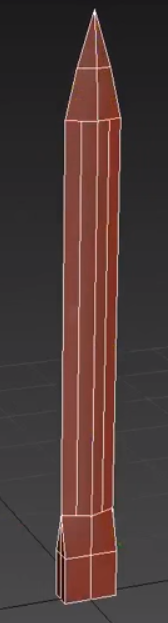
I finally started work on the hilt of my sword today

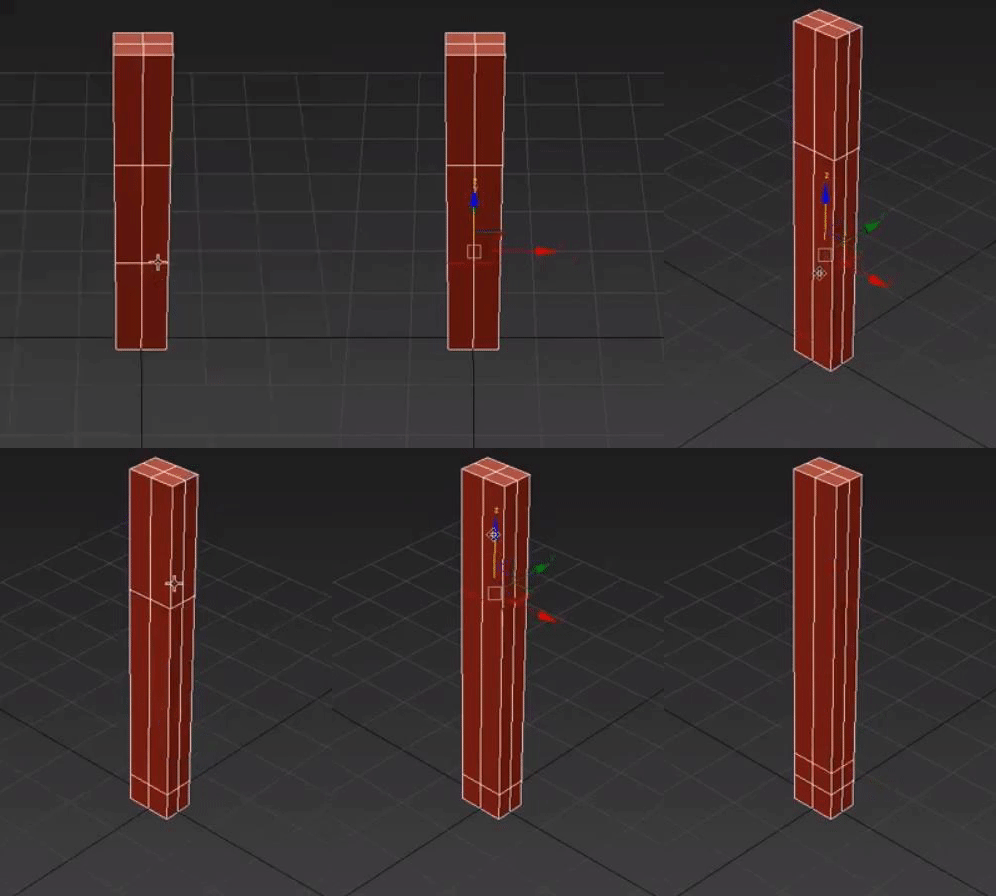
So the first thing I did was bring the sides up a bit for where I was gonna build my hilt from so that it would be square and not rectangle lol.


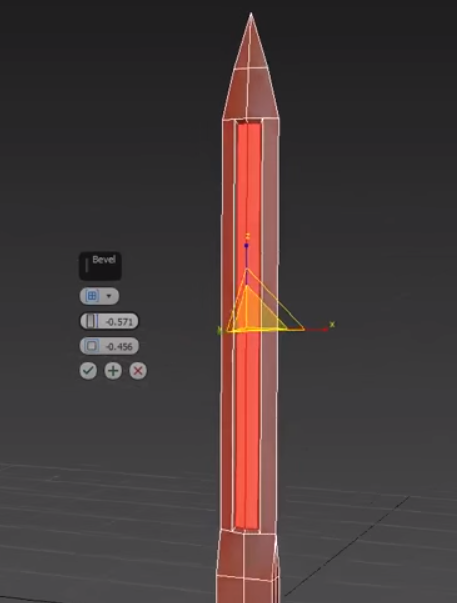
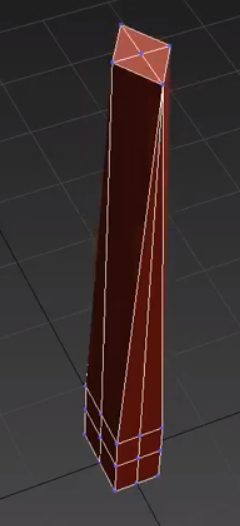
So now to make the hilt you have to select the side polygons and bevel from the sides (just like the blood groove but outwards).

Then I used the bevel tool to bring out the sides to my desired length.
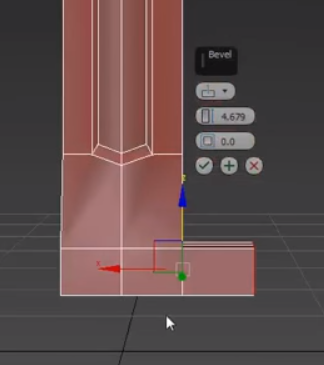
After this, I learned that you can use the little plus button below the numbers to extend another box with the same size that you can move around
.
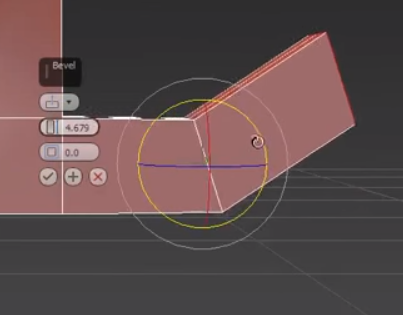
So I just kept doing that until half my hilt was finished.
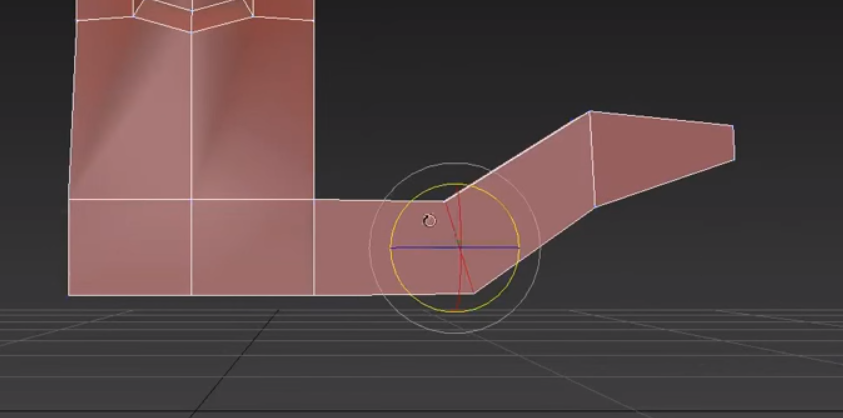
Today I learned how to add boxes using the "+" below the numbers while using the bevel tool. And by doing this you can box model a hilt. (or at least half of one for now lol)

Tomorrow I will try to start working on the handle. MAYBE. but we'll see. I have a few other things in mind such as adding some curves to the sword.

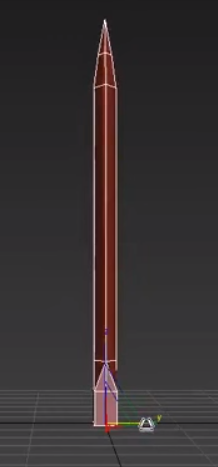
Day 42

Today I continued more work on my sword.

I made the sword a bit thinner so it would look nicer.
I used the scale tool and dragged the mouse until it fit the desired length.


Now I wanted to make like a blood groove (whatever you call it) so I had to make a spot in the middle to indent it.
I used something that I did before, connecting some segments together to add more lines.
Now next what I learned to do was use the "bevel" tool. The bevel tool is like extrude except you can change some stuff from it and add some curves etc. So what I did was select the middle poly's and I beveled them inwards.


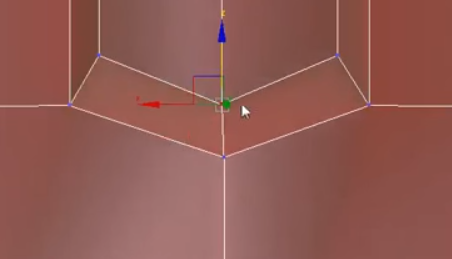
Now the groove had to also have some points, so I changed the vertices and moved them up a bit.

and same for the bottom

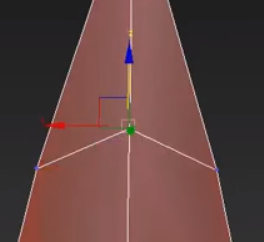
The last thing I did was move the vertices up on the point of the sword so that it would look cooler in the end


Today I learned how to use the bevel tool to make a blood groove on my sword.

Tomorrow I will continue work and hopefully start the hilt......


Day 41

Today I continued more work on my sword

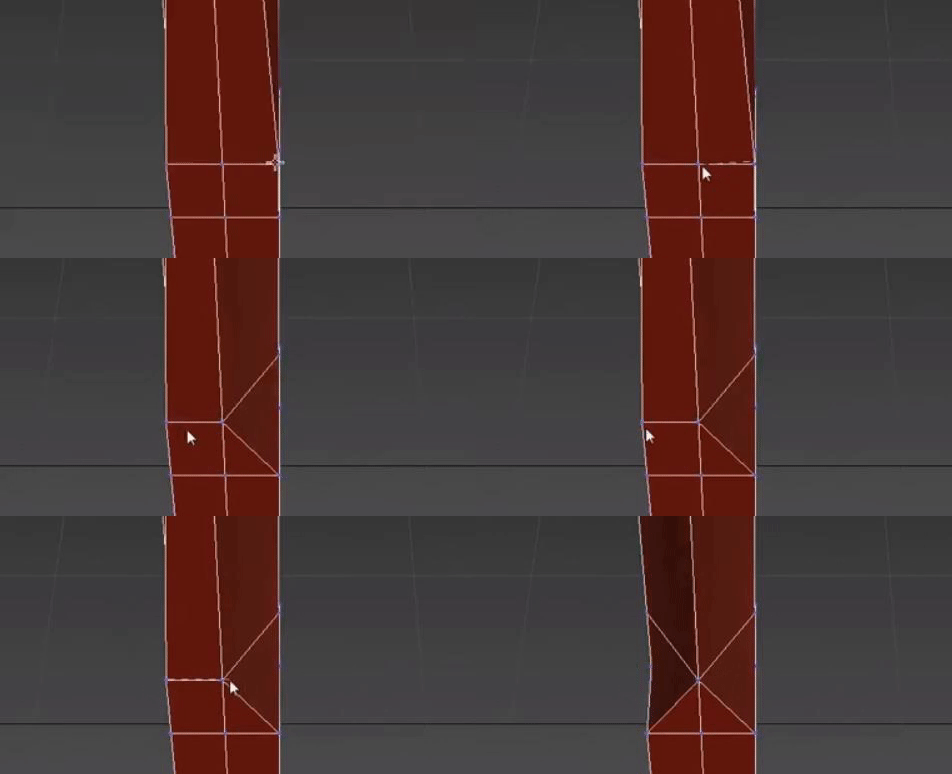
I connected some vertices on the bottom that I forgot last time because that's where I actually will extend my hilt from.

After this I selected the segments in the middle and connected them. I learned that you can connect them together which adds a segment between them that you can move around.


So now I moved that segment upwards a bit so I had a place where I can make an actual point for my sword. 

So you see now I didn't want a completely straight point so I would want to add another segment to the point so I can change it in more detail. So that is what I did. I then connected the top vertices together to form a point and moved the segment to my desiring and it looks pretty sick.


Today I learned how connect together multiple edges and connect them together to form new edges or segments.

Tomorrow I will actually be starting my hilt hopefully.

Monday, May 1, 2017

Day 40

Today I started a new project in 3dsmax max.

I wanted to use my skills that I have learned to make a sword that I would later on add to a game i'm making in Unity.

So I had the idea to box model my sword as in form it through boxes and modify the boxes to the shape of a sword. You'll get what I mean later.

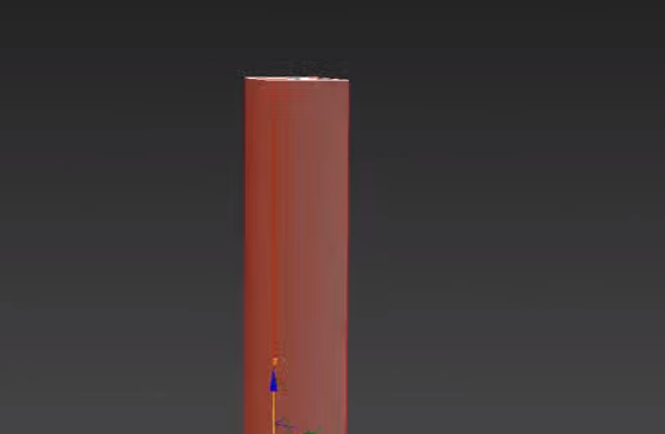
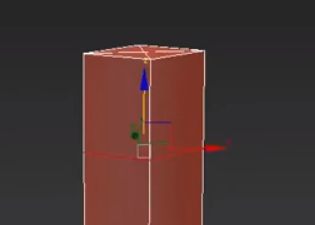
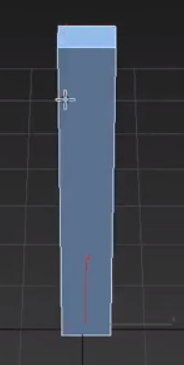
I started off today by making a box and making it a bit long. This will be the blade.

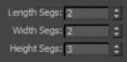
You can set how many width, length and height segments there are (how many lines/how many cuts) and I set the sword (trying to keep it low) to 2,2,3

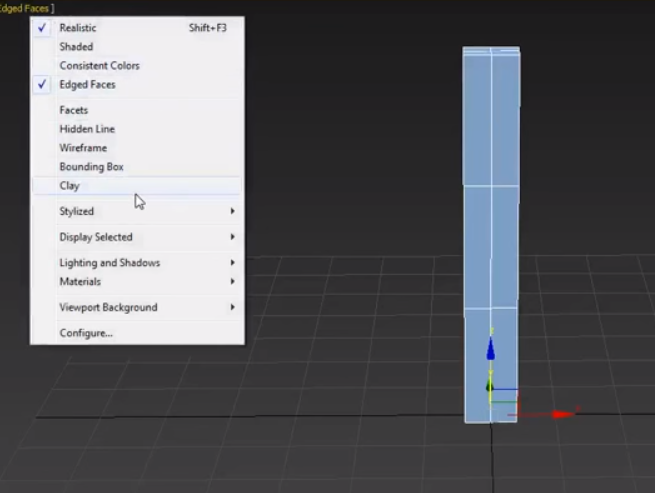
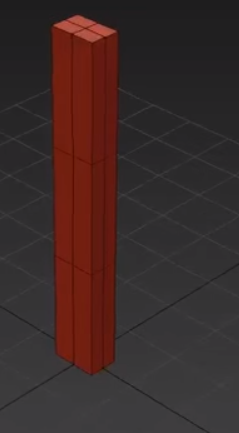
After this I changed the view of the program so that it would render the object to look like clay
What this does it it makes it look cleaner and smoother with the shadows too because it is pretty low poly.

So now I wanted to have something to extend my hilt from the side of the blade. So I took one of the segments and brought it down to the bottom so that the handle would be the right side when I extend it.
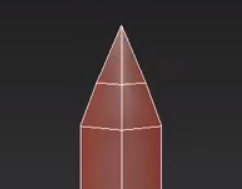
The last thing I did today was moving the vertices together at the top to make a point at the top. I learned you can do this with "weld together" and I put them together.

Today I learned how to move segments and to weld together vertices on my sword.

Tomorrow I will be working more on my sword. I plan to try to make the hilt tomorrow.

Sunday, April 30, 2017

April Evaluation

This month was a month of 3D modeling and I learned a lot.

The reason I started 3D modeling was so I can learn how to model stuff for unity and 3d modeling is actually a fun thing in itself and I didn't think it would be this fun.

This month I worked on 2 projects in 3ds max. A pokeball, and a detailed realistic coca cola glass. 

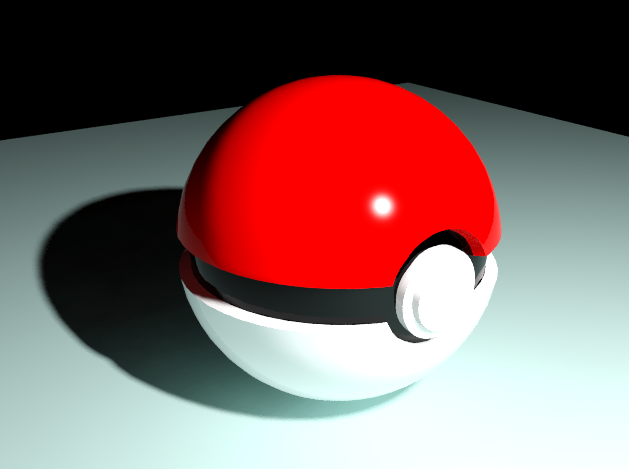
The pokeball was a fairly easy project to do as it was meant for beginners and I learned the basics through that tutorial. I learned how to make object and just overall basics like booleans etc.

This is the finished product:
The coca cola glass was a really challenging model to do but I followed a tutorial which helped me through the journey. In this project I learned more advanced tools like using particle systems and the 
FX system which was pretty cool.

Here is my finished glass of coke:

Although it doesn't look as good as the one in the actual video, I'm still a beginner and for me I am happy of how it turned out :D

Next month I will try to make some 3d models and actually implement them in unity and add then to my games which will be super cool. I'm thinking of starting off to make a sword without using tutorials and only when I need them. :D

3DS Max is a really amazing program to work with for making models for games, architecture etc.
I recommend this program to beginner 3d modelers to start with. :D


Day 39

Today I fixed the scene, added the coca cola logo, and re rendered the whole scene.

I fixed the scene by moving the curvature up a bit which looks almost exactly the same but it works.

Now how I made the logo was easy.

I made a small plane to the right side of the scene


And then I applied the coca cola material I made before with the image.

I then moved it into the center and on the coca cola glass right to the end 

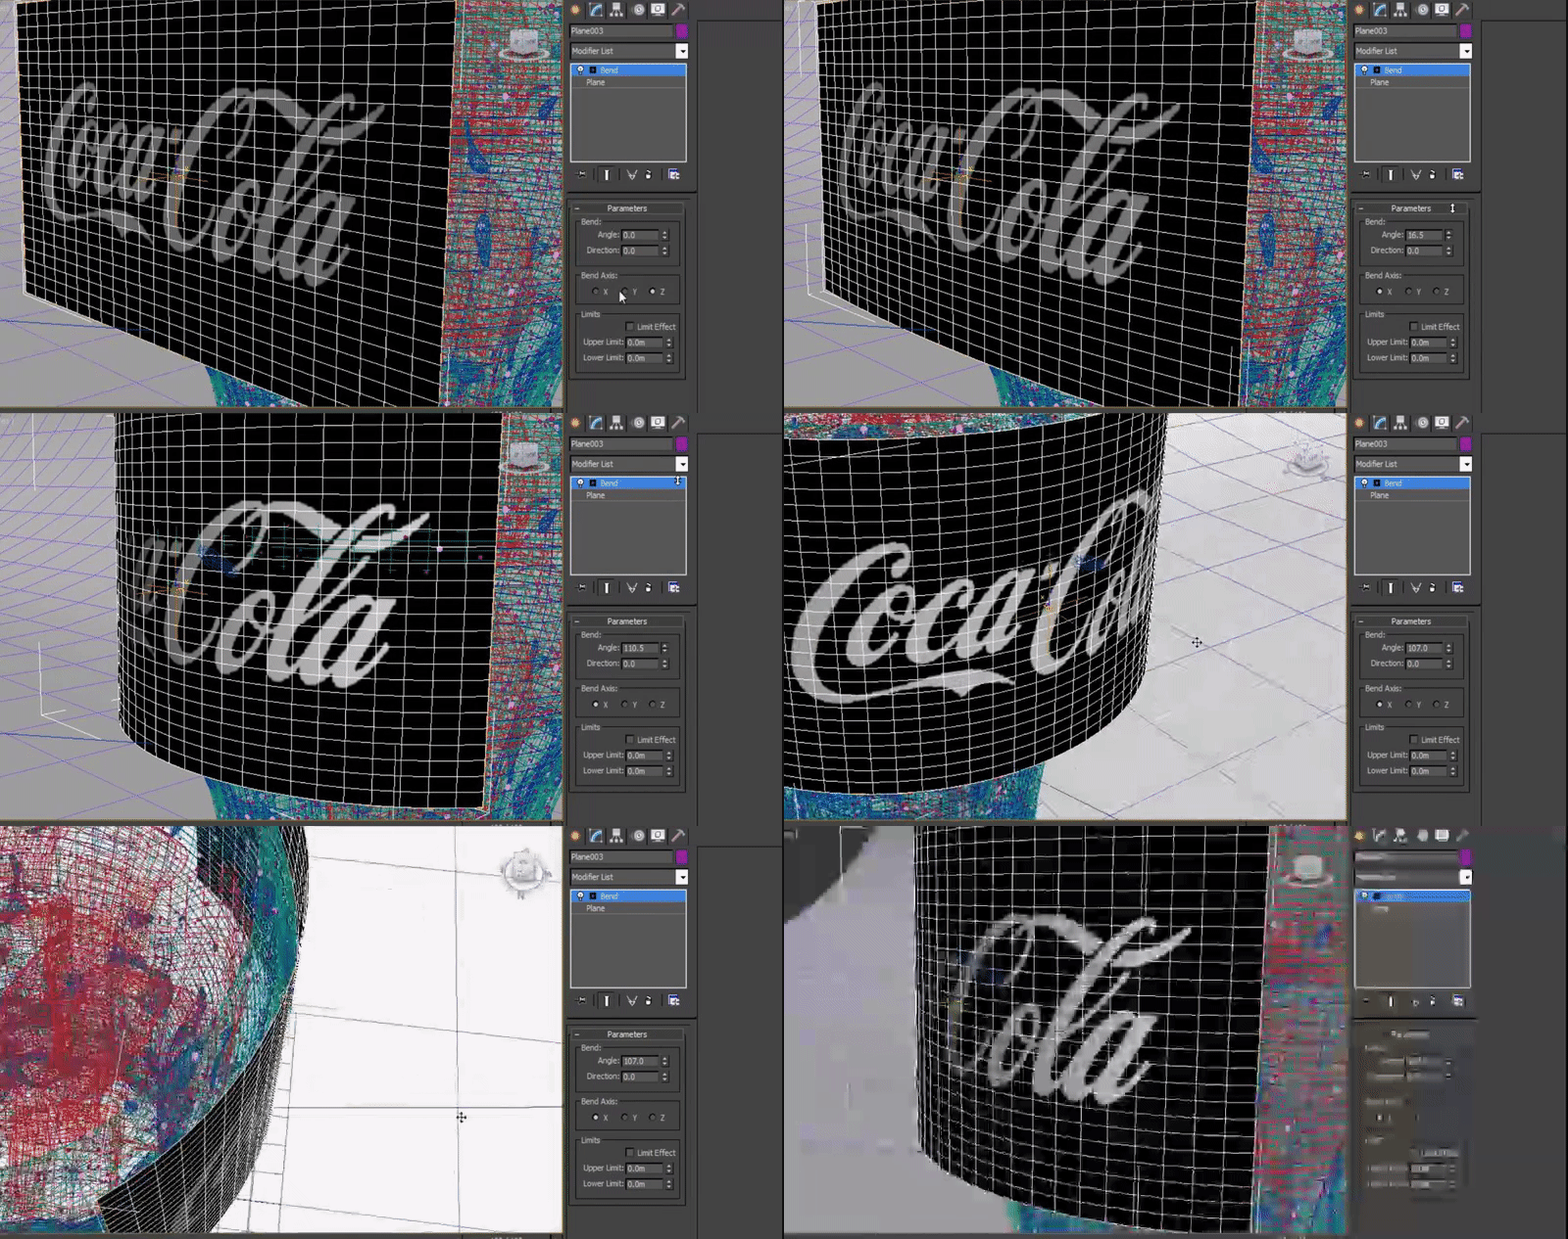
After this I applied a Bend modifier to it and bent it backwards a little bit until it touched the glass.

Now even tho I applied the bend modifier, the top parts still weren't touching. So to fix this I had to a FFD 4x4x4 modifier (free form deformation with the diameters 4x4x4) and I went and moved the vertices around until everything was touching.

Now I'm FINALLY done the coca cola glass. Now it is time to do a final render :DDDD
This is what it looks like before the render:

And this is the finished and final form of this 3d coca cola glass:

That took a long time :D 
This was a very fun experience and I learned a lot by doing this tutorial.

Next class I write the April evaluation and  will start a new project hopefully. :D

Day 38

Today I made my materials and scene for the coca cola glass.

This time I used the older standard material editor (also called compact material editor) which I find easier to use preferably than the "slate material editor" that I with the pokeball.

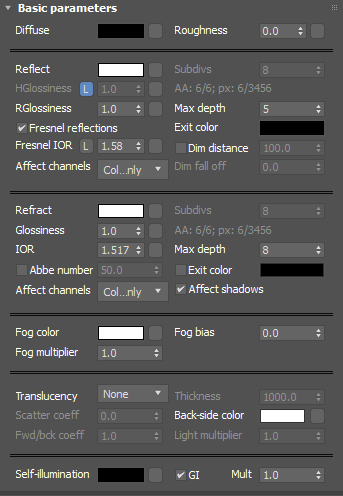
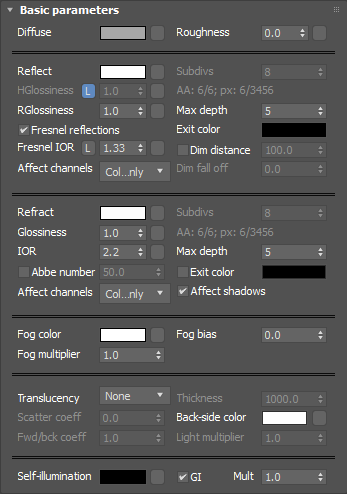
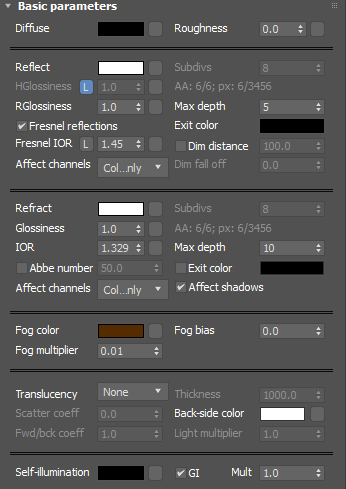
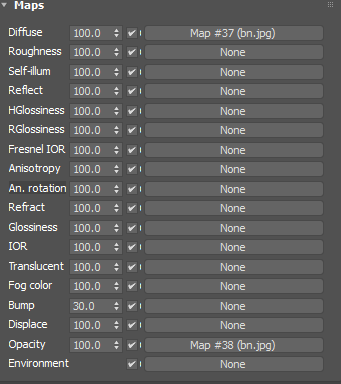
So I followed the settings in the video and here are screenshots from my project

Glass Material

Ice Cube Material

Coca Cola Liquid

Coca Cola Logo
Now I went ahead an applied them to the preferred objects.

Oh No! Everything is invisible.....For Now 😏
As soon as we get the scene set up and everything and render it, it wont look invisible in the render.

Now next thing I had to do was download a cracked version of Vray for the render. Vray is like a rendering program that is meant for rendering to look like real life. It normally costs a lot of money but with the power of cracking...it's free lol.

So that took a bit to install but now i'm ready to set up my scene.

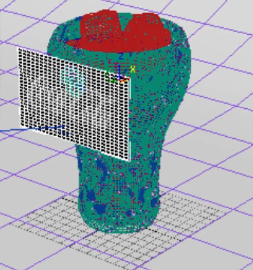
I added this thing called a Vray Plane and a normal plane under that curves upwards behind the glass so the light reflects off it. Then I added 3 Vray Lights pointing at different angles across the scene and a physCamera so that when it renders it renders it from the camera perspective.

This is how it looks at the end.


After this I changed some render settings as shown in the video.


Now I'm ready to render it :DDDD
So I went home at lunch and actually started rendering this on my PC at home.

It only took 3 hours but this is the result:

About halfway through I forgot something.. And that was the coca cola logo.....
And also the ground looks really weird for some reason and I think I know why which I will fix next class.

So tomorrow I will put on the coca cola logo and fix the scene.