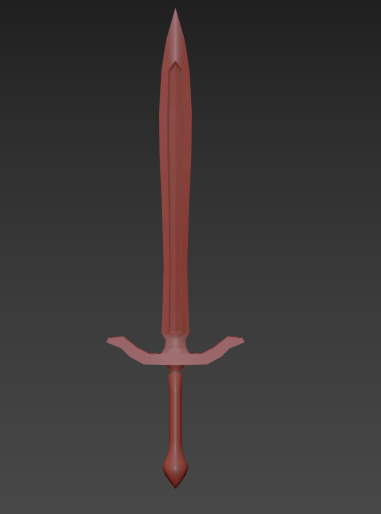
Wednesday, May 31, 2017

Day 55

Today I finally finished my sword.

I worked on one more design of the sword.

Wesley also gave me the idea to add hieroglyphics on the blade because it would look cool. So that's exactly what I did.

I went on google images and went searching for a nice Egyptian hieroglyphic image.
And I found this one:

Image result for egyptian alphabet

So I put into photoshop. Now what I have to figure out what I should spell. I eventually came up with "Blessing of Cato" with the help of Wesley. So now I cut out the individual letters and moved them on the blade in a certain order spelling "Blessing of Cato". I then made sure the fit in the center and combined all the separate layers into one. I then did what I did with the other design and did and overlay with the setting "divide" to make it glow white.

This is how it looks now:
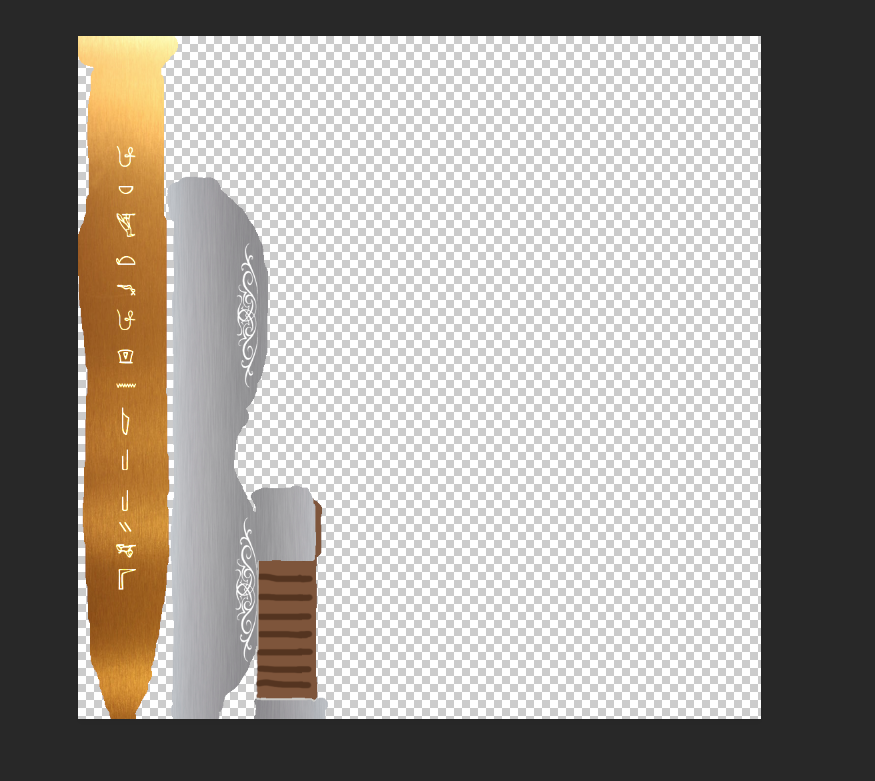
Now there's one thing I had left to do and was recommended by Mr. Bilesky. I add edges on the sword so that the sword doesn't look flat.
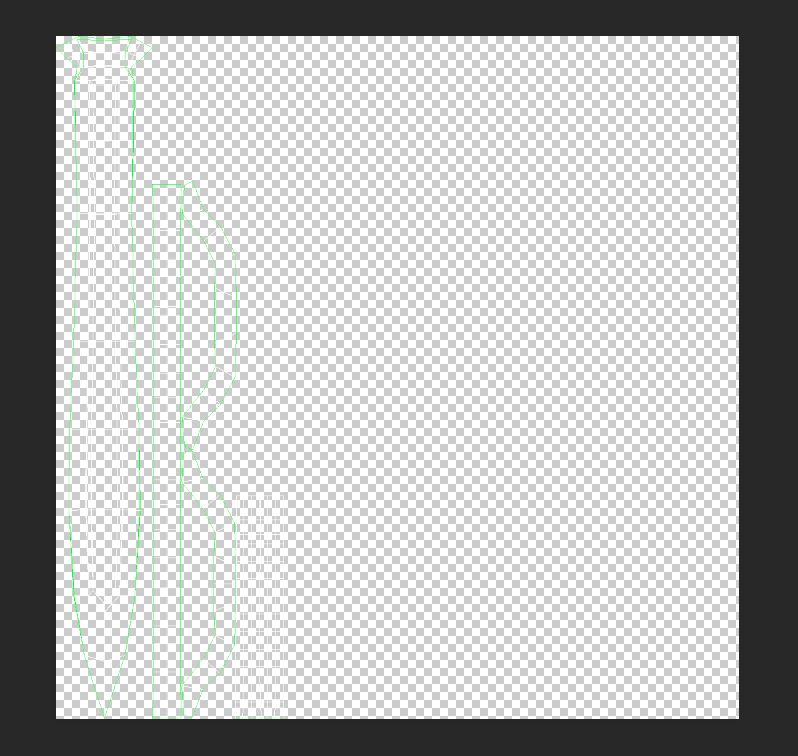
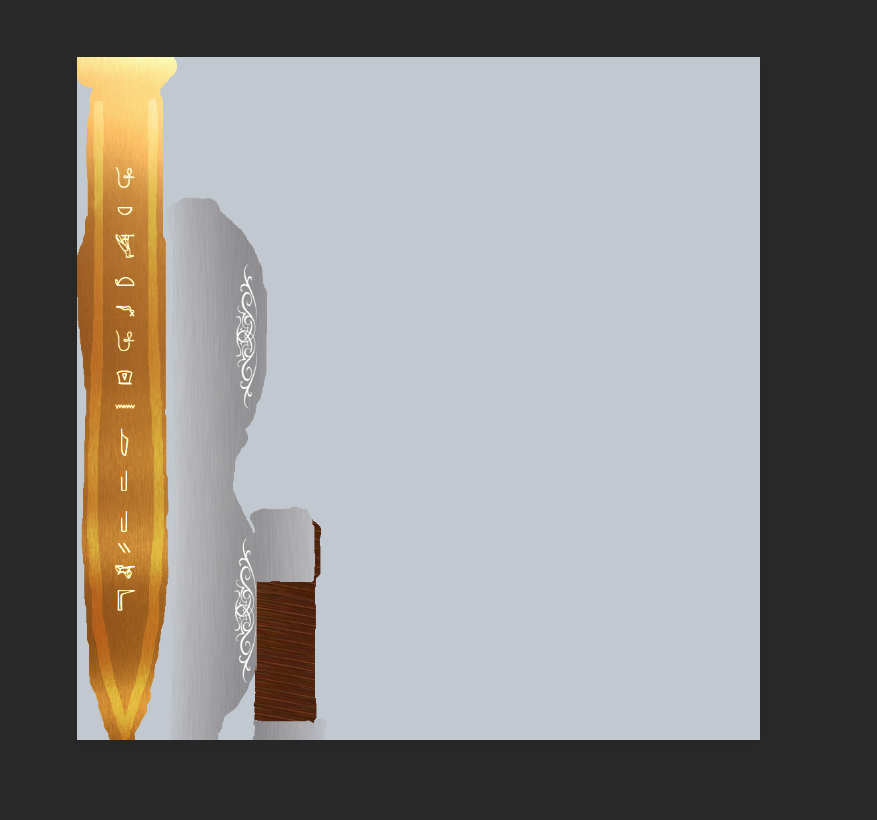
So what I did was follow along the lines from the UV layer and kind of trace an edge around the sword. Then what I did was overlay it on top of the main texture layer using the "color dodge" selection. But it looked too different. So I reduced the opacity to 34% and now it looks super clean.

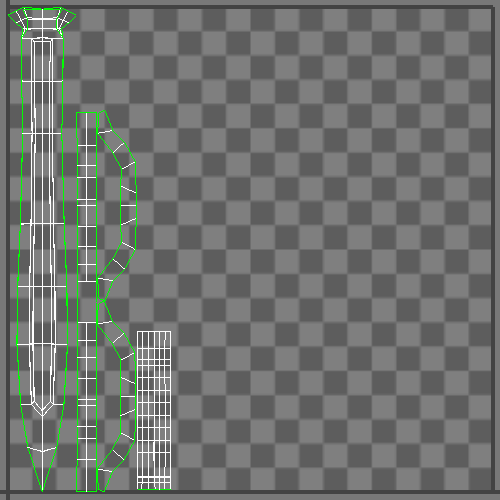
This is how the finished UV map looks like:

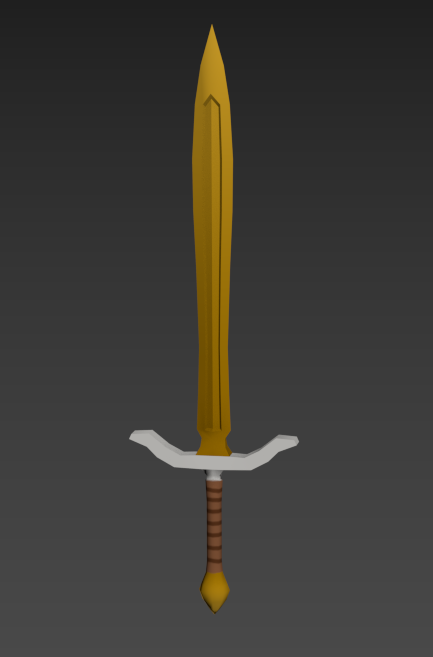
And this is how the completely finished sword looks like:
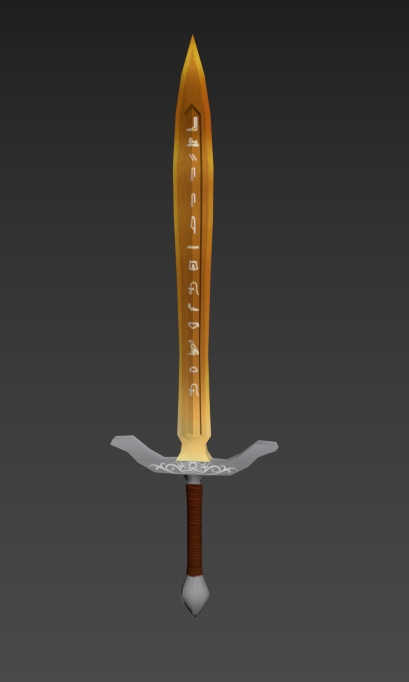

I am now finally done my sword and it was a fun.

Today I learned more on how to use overlays and how they work so that you could do cool things with an image.

Tomorrow I will be writing my May Evaluation.

Day 54

Today I continued more work on my sword.

Wesley gave me an idea to make some sort of design on the sword.

I was looking online at some designs which took a while.
But I finally found one that looked pretty cool.


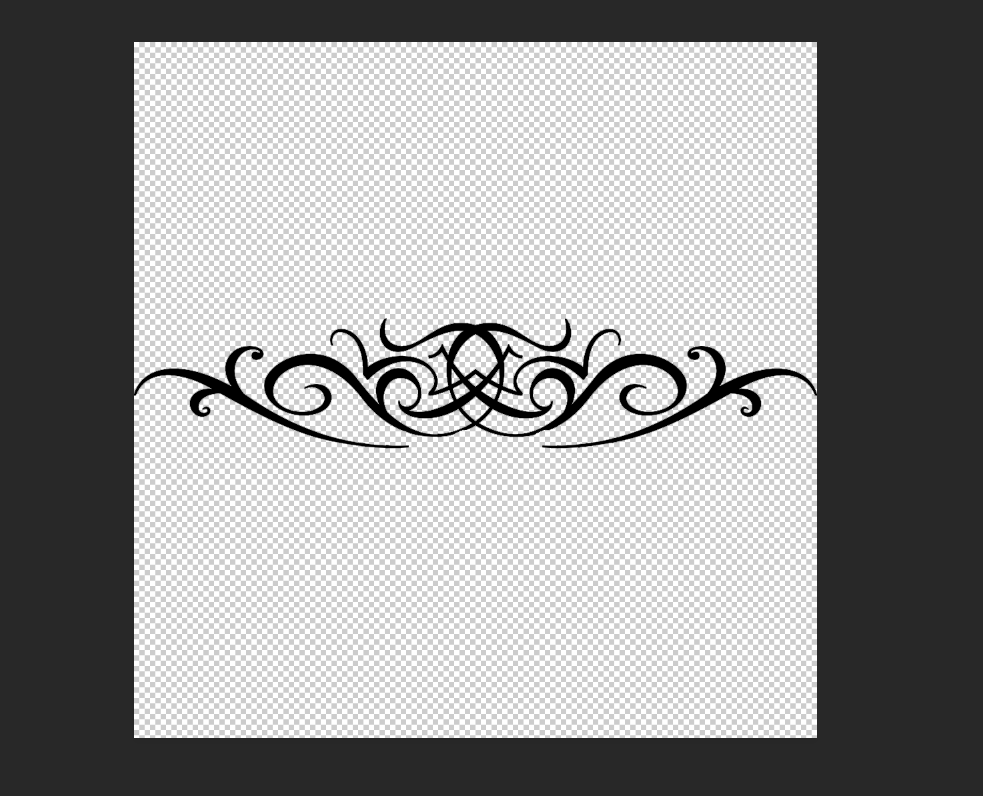
So now i needed to get rid of the fat watermark on the image. So what I did was use the magic wand tool to select the design and then I would invert the selection and delete everything on the outside. After this I inverted the selection again and filled in the whole color of the design to be fully black (because it still had some grey in it from the watermark text)

Now this is how it looks:


So now Wesley told me to put the design on the hilt because it looks cool. So I needed to take this image and apply it to the other image. So what I did was select everything and CTRL + C'd it to copy it and then CTRL-V'd inside of the other image to paste it there. I then moved it to the hilt and scaled it down until it fit. Then I duplicated it and moved to the other side. I combined the 2 layers and overlayed it with "divide" which made it glow white and look cool.

This is how it looks now.

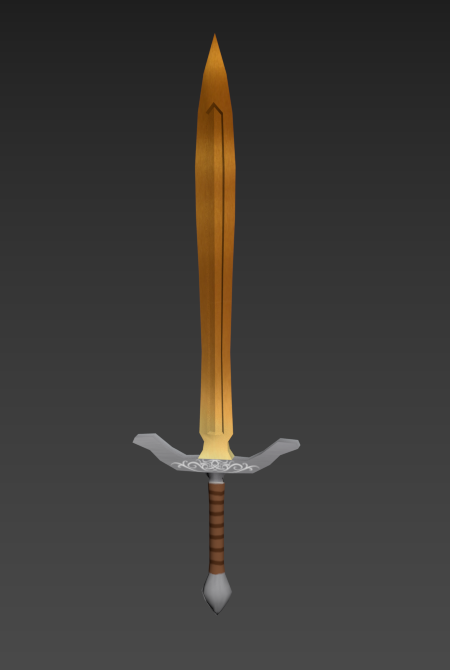
And this is how it looks on the actual sword:

Today I learned how to add a design to a sword using my super cool photoshop skills.

Tomorrow I have one more idea for a design and will hopefully finish.

Day 53

Today I continued more work on my sword.

For some reason everyone I asked was complaining on how my sword looks gold even though it looks pretty brass to me.

So I had an idea to try to make it looks better.

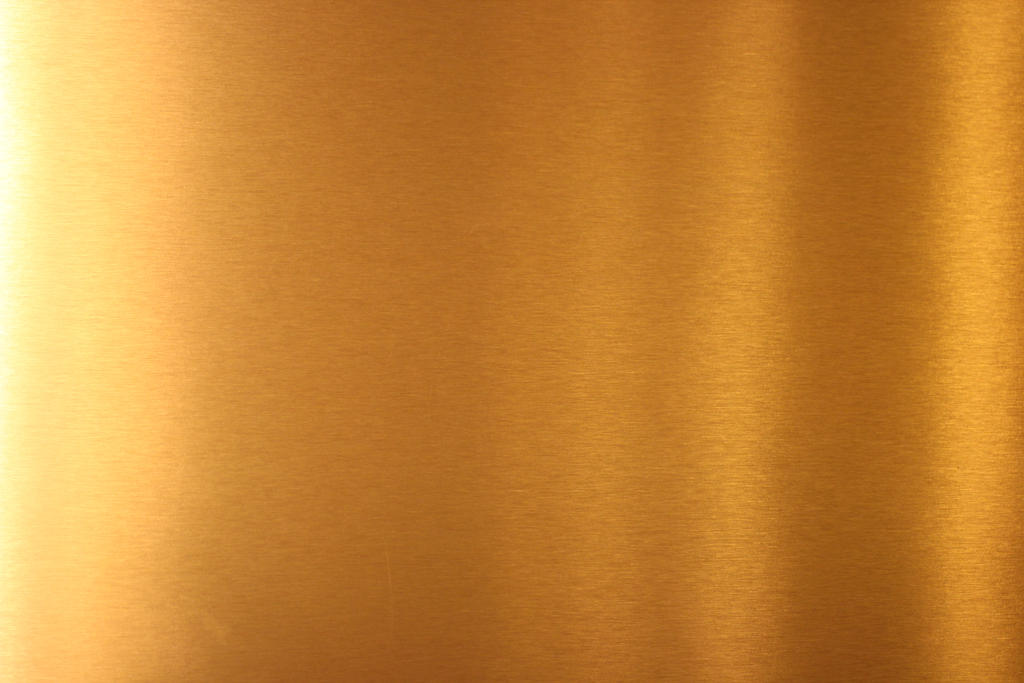
I was gonna use an actual brass texture and apply it to my sword.

So I looked online and a found a pretty decent one

So I started using this and pasting it over the blade of the sword using my photoshop skills.

Now this is how my blade looks like


Now I wanted to be consistent so I also used some textures I found online of a shiny metal. Like steel or something and it looks pretty cool. I also a found a better picture of a grip that I could use.

So I applied the metals to my sword and then I grabbed the grip texture and turned it sideways to give it that angle. And then I cut out the part that wasn't needed and this is how my sword looks so far.


And this it how it looks on the sword:

Unfortunately this is all I could do today.

Tomorrow I will do some more stuff with the texturing of the sword.

Day 52

Today I continued more work on my sword.

I started texturing the sword today and this process is kinda of hard tbh.

I opened up my UVW map in photoshop.

When I first opened it up, you could barely see the lines for the UV map.

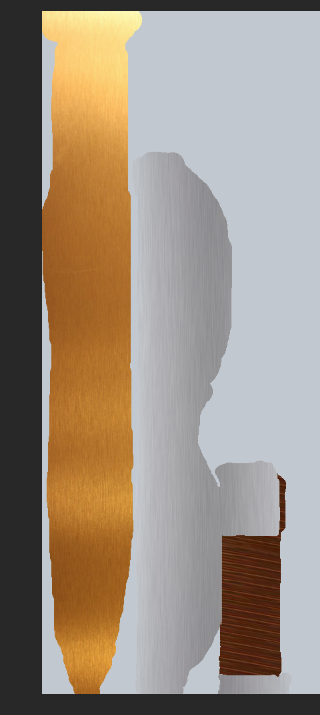
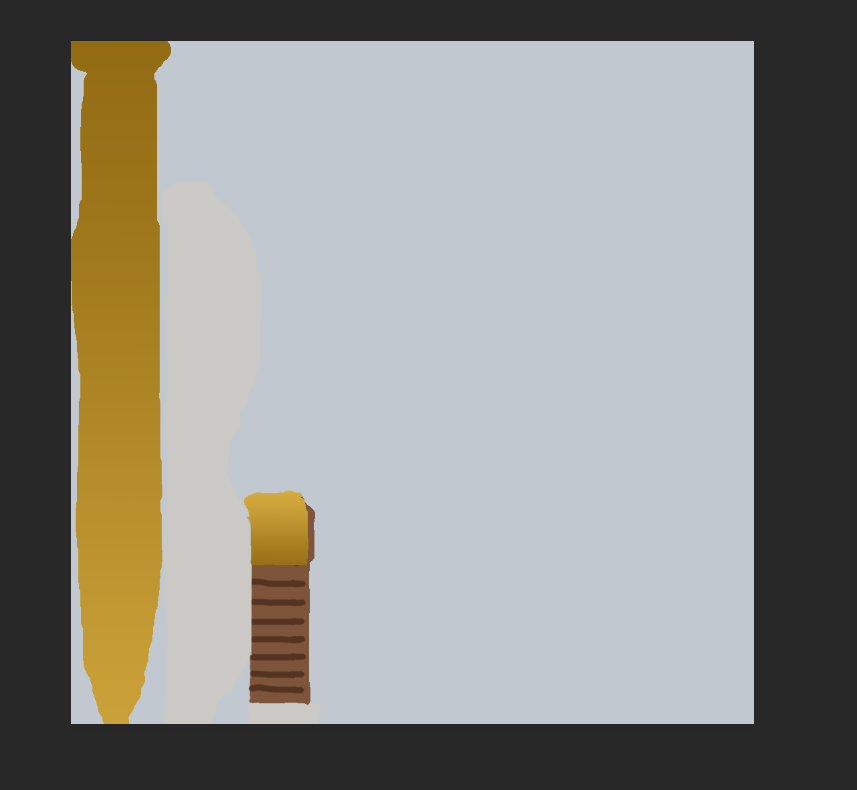
So I had to make a background. I chose to have a grey background and I just made a new layer, filled in the layer with grey, then put the layer under the UV Map layer

Now it looks like this:


This is way easier to see and read.

So I started off coloring the pieces of the sword using my sik photoshop skills.
I wanted the sword to be a brassy color so I looked up the color hex code for brass online and I got #b5a642

I then used this color and applied a gradient to the sword and I think it looks pretty neat.
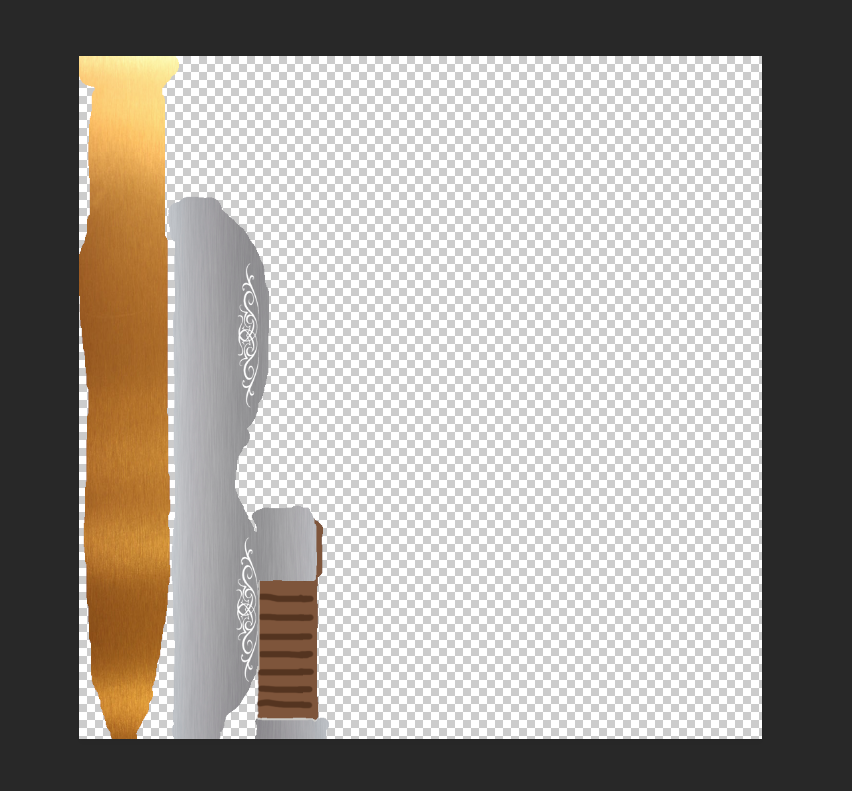
Next up was working on the hilt. I wanted the hilt to be just a metal color like iron or something. So I found a nice looking silver and used it to color in my sword.
This is how the hilt looks

(I got rid of the background for this image because the hilt was blending in with the grey background and you couldn't see it lol)

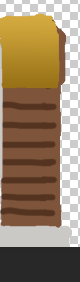
Now next I had to move to the handle. I wanted the bottom of the pommel to be a brass color too and then the handle be brown.

This is what it looked like when it was finished.

And now I think I'm done my UV Map.

So I saved it then applied it to my sword inside of 3ds max by making a new material and making this .psd file, the bitmap for the material.

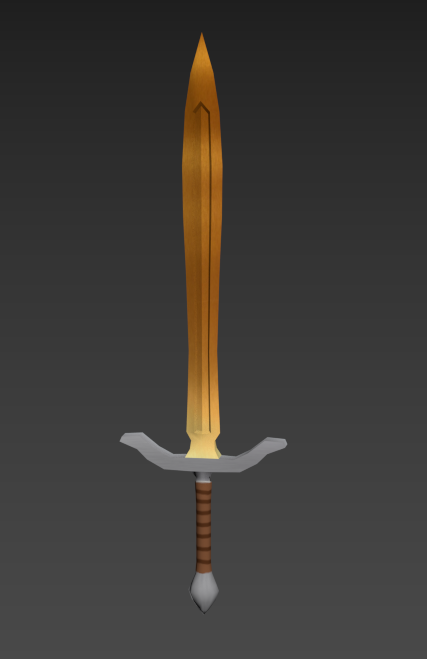
So now this is how my sword looks.

Today I learned how to texture a sword for the first time.

Tomorrow I will be working on my sword more I still have some stuff to do before it's done.

Day 51

Today I continued working on my sword project.

I continued UVW unwrapping my sword.

Today I finished stitching together the hilt and it looks pretty neat.

I started off by grabbing the pieces of the hilt and stitching the edges together. I stitched most of the of the top part of the hilt together. And then the sides of the hilt I only stitched certain parts. And in the end it ended up looking kind of like a bow lol.

Here is the finished hilt of the sword.
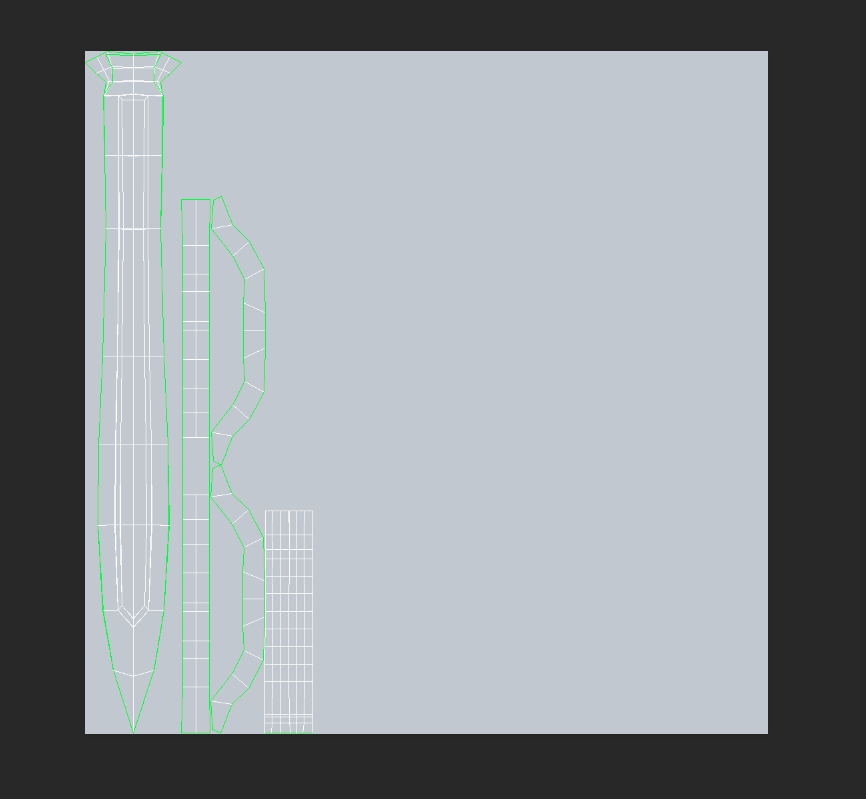
Now I'm practically done with the UVW unwrapping and I think it's ready to be textured.


So now I needed to export my UV map. And I learned how to do this from the video. I went to the top, clicked Tools>Render UVW Template Then I selected my rendered settings and rendered it. I then saved the render as a .png file that I will later texture using some type of photo editing software. Preferably Photoshop. 

Today I learned how to export a UVW map into a .png file.

Tomorrow I will hopefully start texturing my sword.

Day 50

Today I worked more on my sword.

I started UV Unwrapping today.

UV unwrapping is pretty much getting a 3d Model and flattening it out and then organizing the different parts to make it easier to texture.

Unfortunately, I did not take any screenshots during this process because I'm dumb but I'll try to explain the process as best as I can. But I do have end screenshot of the finished parts.

So I watched this video on how to do UV Unwrapping on a sword.

So pretty much UV Unwrapping is a modifier that you apply to an object and then you open up the actual UVW window and you go from there. I started off by selecting my whole sword using CTRL+A and then going to mapping > flatten mapping. What this did was make an unorganized flattened version of the sword. So what I had to do now was to move the pieces around and try to connect them through the form of "stitching". What stitching does is it connects pieces together so that you have an easier time texturing it. So today I proceeded to overlap the sword blades because they were identical on both sides.
This is how the finished blades look like:

I overlapped them so that when I texture it, it textures both sides already.

Then I proceeded to stitch the handle and the pommel into a rectangle. I achieved this by learning how to use the "relax" tool to pretty much spread out the sides of the handles after I stitched them together. After this, I grabbed the whole thing and turned it into a rectangle to make it really easy to texture. Although using the "relax" tool can end up making a texture distorted, it doesn't matter in this case because I'm not making a triple A game and it also helps on reducing the quality making it more optimized when I make my game.

This is how the fnished handle looks like


Today I learned how to stitch together different pieces of the sword while doing a UVW unwrap. I also learned how to use the "relax" tool to spread out the pieces to make them easier to texture at the cost of quality.

Tomorrow I will continue my journey on UVW Unwrapping.

Day 49

Today I worked more on my sword

I made some final edits and added curves on the handle and one last thing I forgot to do.

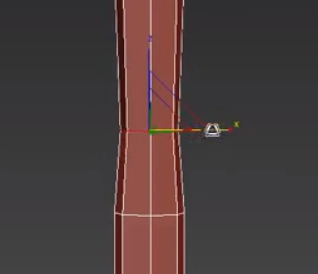
I started off by adding some curves to the handle using the same method as I have before, using scale and moving the segments inwards.


Now after I finished adding curves I completely forgot I was gonna add Pommel to the sword. (the round sphere thing at the bottom)

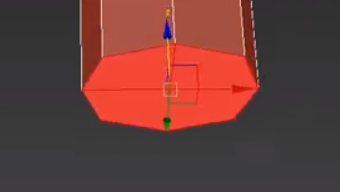
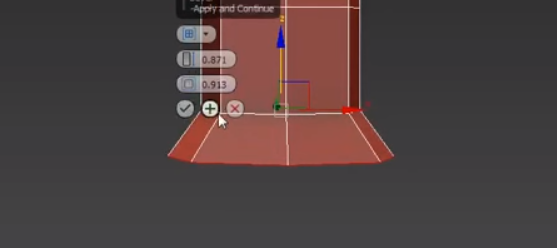
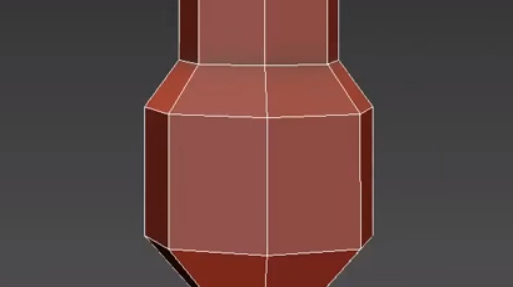
And now this is an easy fix, I just have to use the bevel tool and add a bunch of pieces together and shape them until they're round. So that's what I did.

Now that's done I made some final changes. I moved the hilt around because Wesley recommended a better design and then I applied a "smooth" modifier to the whole grip/handle. Unfortunately I didn't get any pics because I was rushing it and forgot.

But this is the final result of the base sword.


I think it looks pretty slick and I worked hard to get this design. Now comes the fun part, I gotta UV unwrap it and texture it so that it would actually look like a sword and not a piece of clay.

Tomorrow I will start UV unwrapping the sword.